Part 3 - Conguration
41
Camera Setup
Refer to the Menu Use on page 34 for basic
information on using the Setup menus.
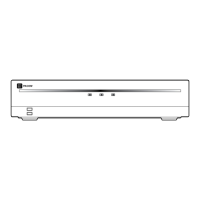
General
Enable/disable the covert view and rename cameras.
• Title: Edit the camera's name.
• Use: Set the camera as Normal, Covert 1, or Covert 2.
Live images and video recordings from cameras that
have been set as Covert 1 or Covert 2 will not be
available to users who do not have covert camera
access. Setting a camera as Covert 1 hides its images
but does display OSD information about the camera.
Setting a camera as Covert 2 hides its images as well
as ODS information about the camera as if it has been
deactivated completely.
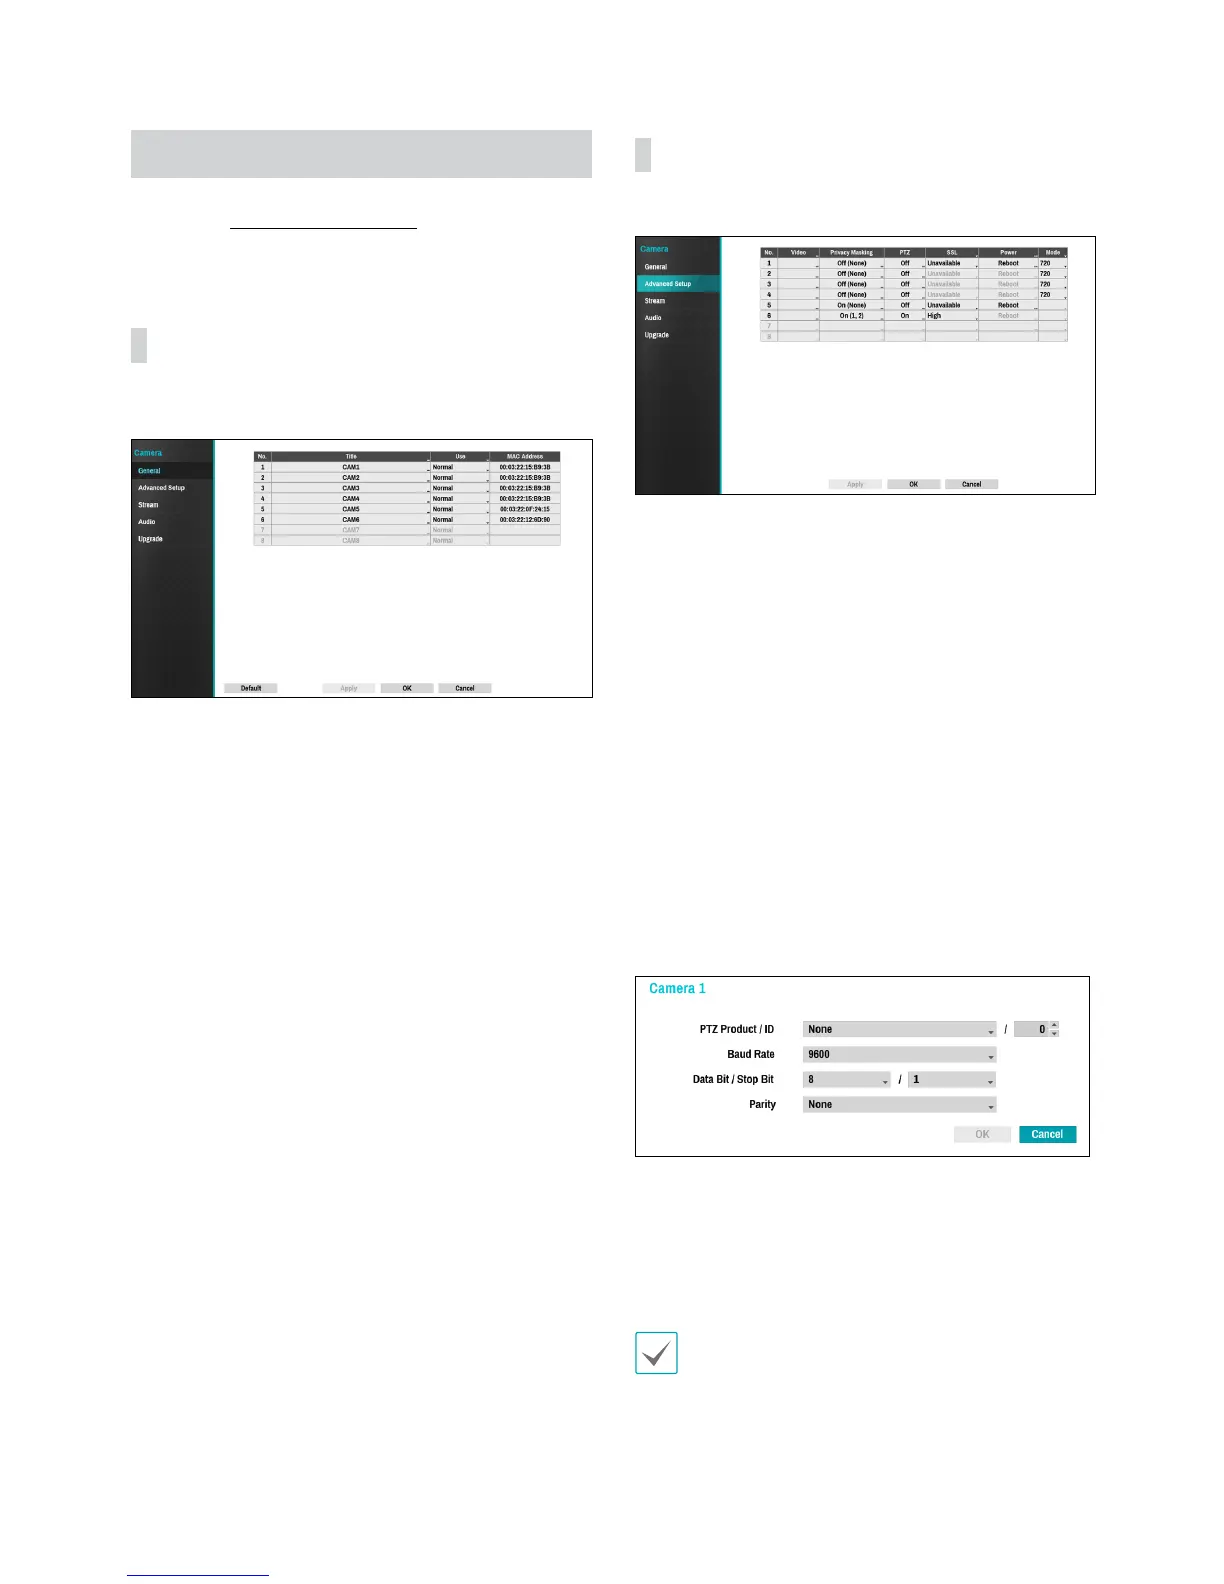
Advanced Setup
Congure security and other advanced camera settings.
• Video: Adjust the camera image sensor settings such
as white balance and exposure.
• Privacy Masking: Enable/disable and congure
privacy masking for the camera.
• SSL: Set the camera's security level as Unavailable,
Standard, High, or Very High. Standard, High and
Very High settings apply SSL (Secure Sockets Layer)
protection to the camera.
• Power: Control the camera's power. This option is
available when connecting to Video In/PoE port or
using a DirectIP™ PoE Switch (optional). Select Reset
in the camera’s power settings to restart the camera. It
is not supported by video encoders.
• Mode: Select a resolution mode. It is supported by
analog cameras only.
• PTZ: If using an RS-485-compliant camera, congure
it for use in PTZ Mode.
– PTZ Product: Choose to select the model of
installed PTZ device.
– ID: Choose to assign an ID to each PTZ device.
– Choose to set up Baud Rate, Data Bit, Stop Bit
and Parity of the connected device.
Refer to the PTZ device manufacturer’s instructions for
the proper settings.
 Loading...