ORIGINAL OPERATING INSTRUCTIONS
PD-I laser range meter
It is essential that the operating instructions
are read before the tool is operated for the
first time.
Always keep these operating instructions to-
gether with the tool.
Ensure that the operating instructions are
with the tool when it is given to other persons.
Contents Page
1 General information 19
2Description 20
3 Accessories 21
4 Technical data 22
5 Safety instructions 22
6Beforeuse 23
7 Operation 26
8 Care and maintenance 33
9 Troubleshooting 34
10 Disposal 34
11 Manufacturer’s warranty - tools 35
12 EC declaration of conformity (original) 36
1 These numbers refer to the corresponding illustra-
tions. The illustrations can be found on the fold-out cover
pages. Keep these pages open while studying the oper-
ating instructions.
In these operating instructions, the designation “the tool”
always refers to the PD-I laser range meter.
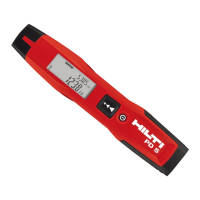
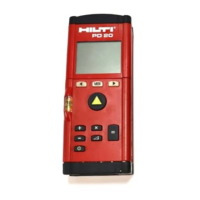
Parts, operating controls and indicators 1
@
Rear contact surface
;
Reference indicator LED for rear contact
=
Left arrow button
%
“Menu” button
&
“Measure” button
(
Graphic display
)
Reference indicator LED for front contact
+
On/off button
§
Right arrow button
/
Wrist strap attachment point
:
Delete (clear) button
·
¹/₄" thread for PDA 72 measuring extension
$
Folding spike
£
Laser emitting and receiving lens
|
¹/₄" thread on the underside
1 General information
1.1 Safety notices and their meaning
DANGER
Draws attention to imminent danger that will lead to
seriousbodilyinjuryorfatality.
WARNING
Draws attention to a potentially dangerous situation that
could lead to serious personal injury or fatality.
CAUTION
Draws attention to a potentially dangerous situation that
could lead to slight personal injury or damage to the
equipment or other property.
NOTE
Draws attention to an instruction or other useful informa-
tion.
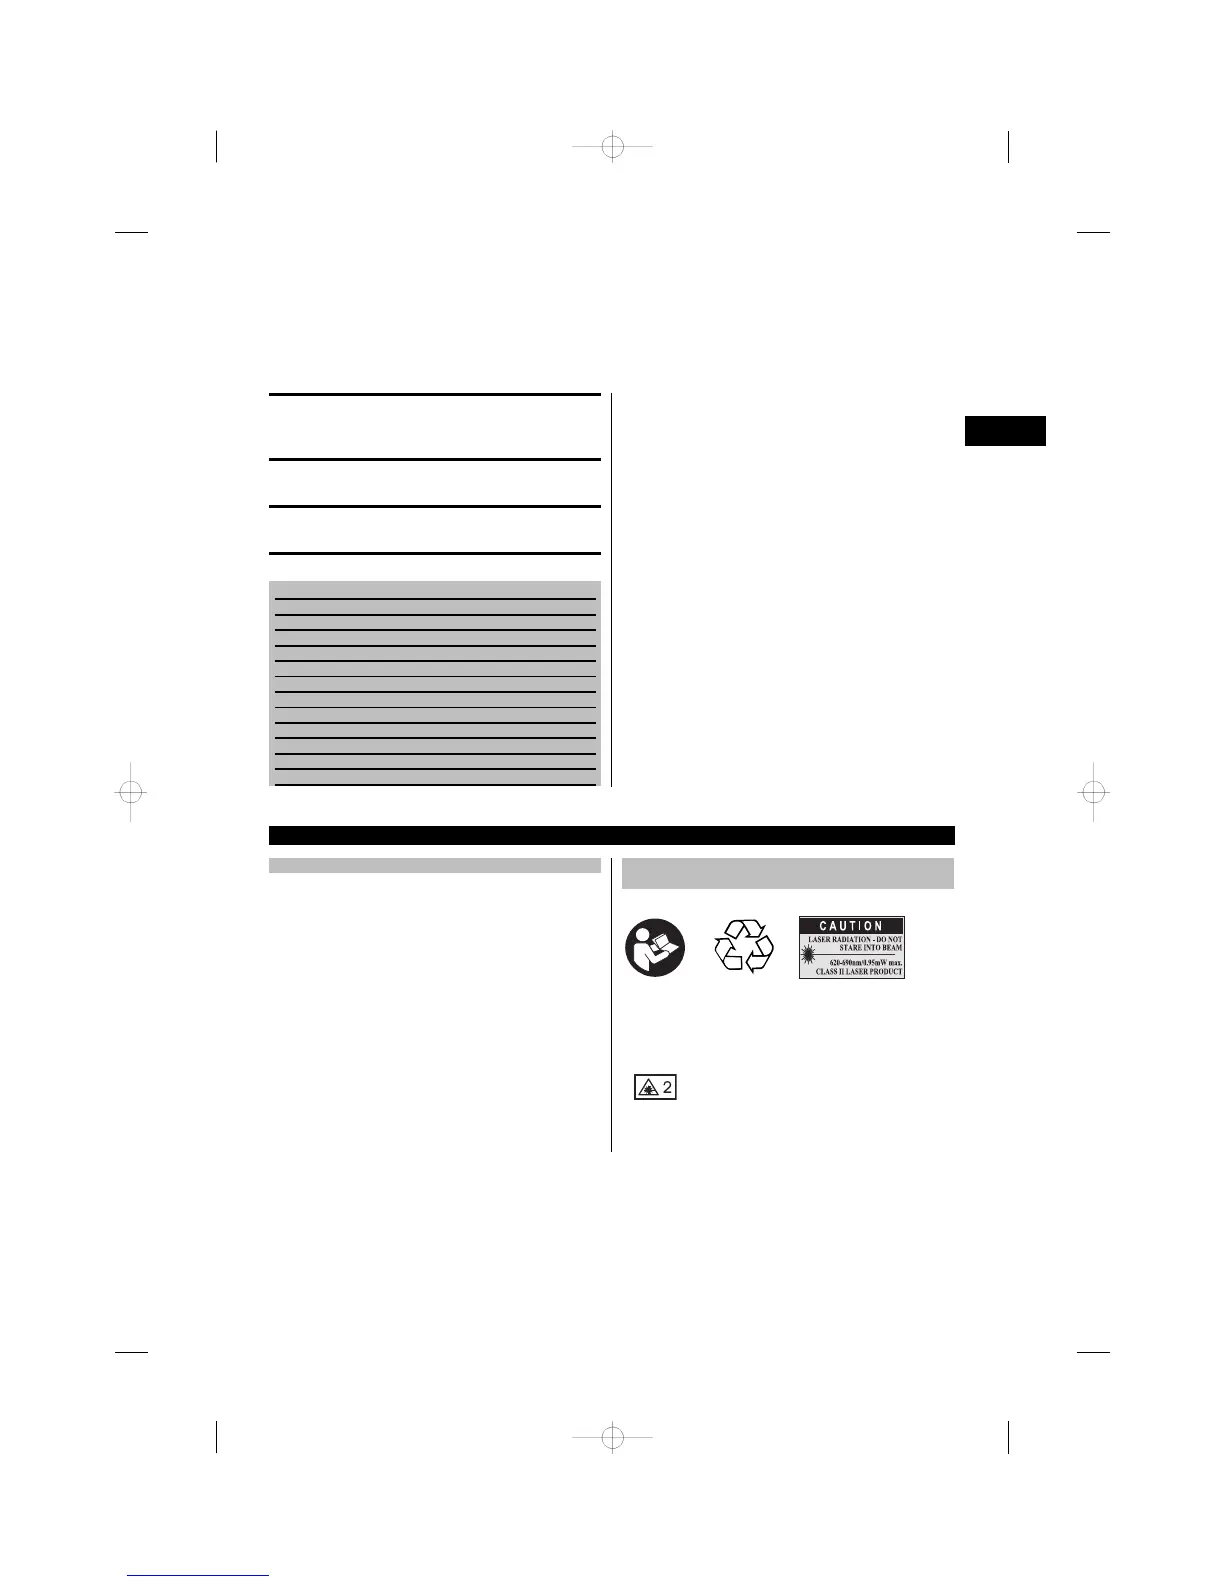
1.2 Explanation of the pictograms and other
information
Symbols
Read the
operating
instructions
before use.
Return waste
material for
recycling.
Laser class II
according to
CFR 21, § 1040
(FDA)
Laser Class
2
en
19

 Loading...