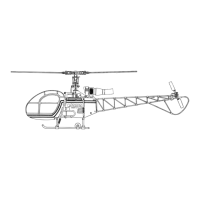
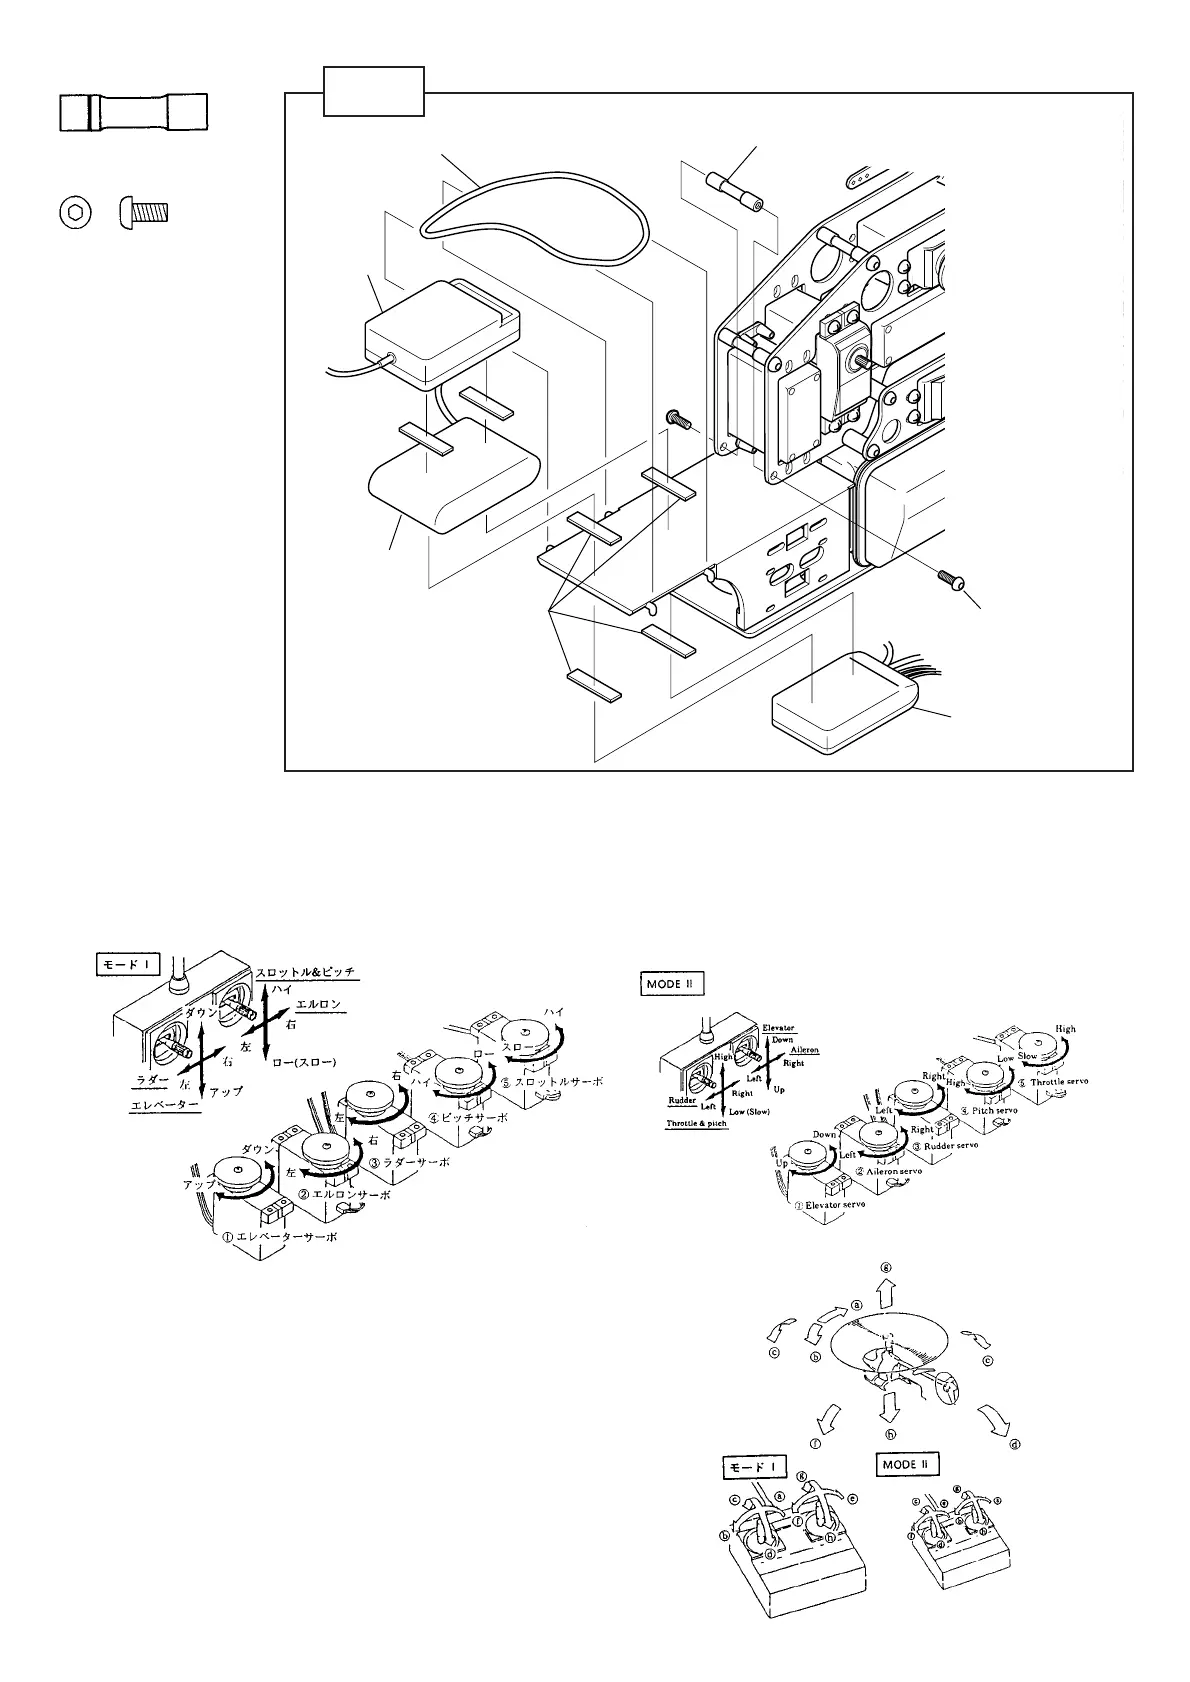
33
両面テープ
Doublesideadhesivetape
バッテリー
Battery
ジャイロアンプ
Gyroamplifier
受信機
Receiver
ゴムバンド
Rubberband
M3×6ボタンボルト
M3×6Buttonbolt
M3×26クロスメンバー
M3×26Crossmember
両面テープで取り
付ける面はヨゴレ、
油等をよく拭き取っ
てください。
Wipethedirtand
oilonthesurfaceto
whichthedouble
sideadhesivetape
isadhered.
STEP 7
M3×26クロスメンバー............... 1
M3×26crossmember
M3×6ボタンボルト..................... 2
M3×6buttonbolt
① サーボの動作確認(モードⅠ)
ここでは送信機、受信機、サーボを接続しスイッチを入れてス
ティックとサーボの回転方向を確認します。回転方向が逆の場
合は、送信機のリバーススイッチを切り替えて、指定の通り動
くようにセツトしてください。(リバーススイッチのないプロポ
セット使用の場合は逆転サーボを使用してください)
① Toconfirmthattheservo(modeⅡ)works,turnonswitchafter
connectingtransmitter,receiver,andservo.Thenconfirmthe
directionofrotationofthesticksandtheservo.
Whenthedirectionofrotationisincorrect,changethereverse
switchofthetransmitterandsetittomoveasdesignated.
(Inthecaseofusingthetransmittersetwithoutareverseswitch,
pleaseusethereversalservo.)
スティックの基本操作(モードⅠ)
スティックの基本操作は本機だけでなく、大型の RIC ヘリも全く同
じです。
しっかり覚えてください。
Basicoperationofsticks(MODE Ⅱ)
Basicoperationofsticksisthesameasthelarge-sizedR/C
helicopter.
a Rudder Right
b Rudder Left
c Elevator Down
d Elevator Up
e Aileron Right
f Aileron Left
g Engine-control High
h Engine-control Slow
a ラダー 右
b ラダー 左
c エレベーター ダウン
d エレベーター アップ
e エルロン 右
f エルロン 左
g エンコン ハイ
h エンコン スロー