3
ID button
INPUT PORTS button
Remote control
Using the REMOTE ID function
Utilize this function to control speci c projectors by the remote
control assigned the same ID number when you use multiple
projectors of the same type at the same time.
Assign an ID number to each projector before using the
REMOTE ID item in the SERVICE menu of the OPTION menu
(User's Manual (detailed)74). Press the ID button with the
same ID number as assigned to the projector you are going to
control. The ID button selected will light for several seconds.
• Each time you press any button (except ID buttons), the ID button of
current selected ID number will light.
• To con rm the projector's current ID, press any ID button for 3 seconds. Its
number will be shown on each screen regardless of set ID of projector.
NOTE
ID buttons
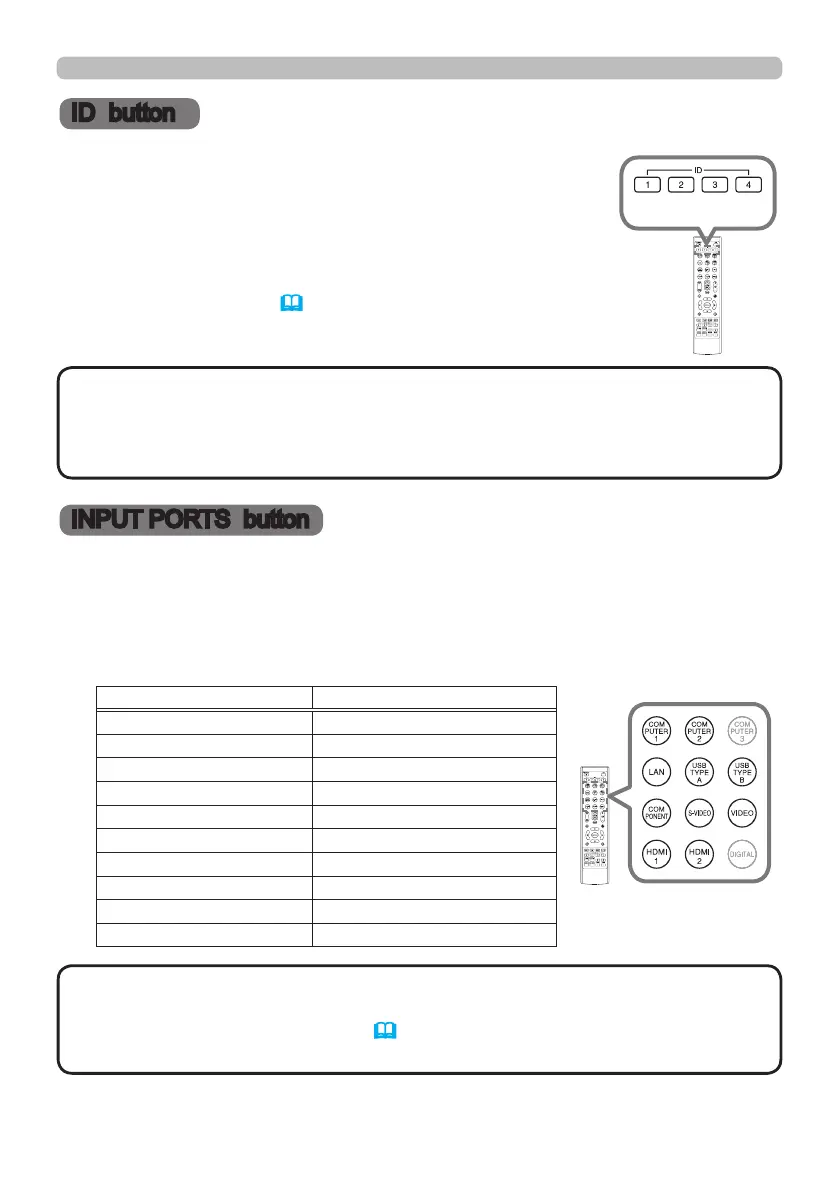
Selecting an input signal
1.
Press COMPUTER 1 / 2, LAN, USB TYPE A / B, HDMI 1 / 2, COMPONENT,
S-VIDEO or VIDEO button on the remote control.
The port corresponding to each button is selected as below.
Button Ports
COMPUTER 1 COMPUTER IN1
COMPUTER 2 COMPUTER IN2
LAN LAN
USB TYPE A USB TYPE A
USB TYPE B USB TYPE B
HDMI 1 HDMI 1
HDMI 2 HDMI 2
COMPONENT COMPONENT
S-VIDEO S-VIDEO
VIDEO VIDEO
Buttons for input
ports
• While ON is selected for AUTO SEARCH item in OPTION menu,
the projector will keep checking every port sequentially till an input signal is
detected (User's Manual (detailed)68).
• It may take several seconds to project the images from the USB TYPE B port.
NOTE
 Loading...