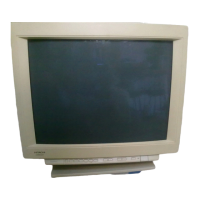
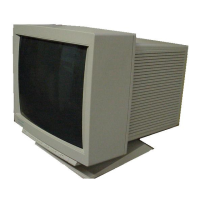
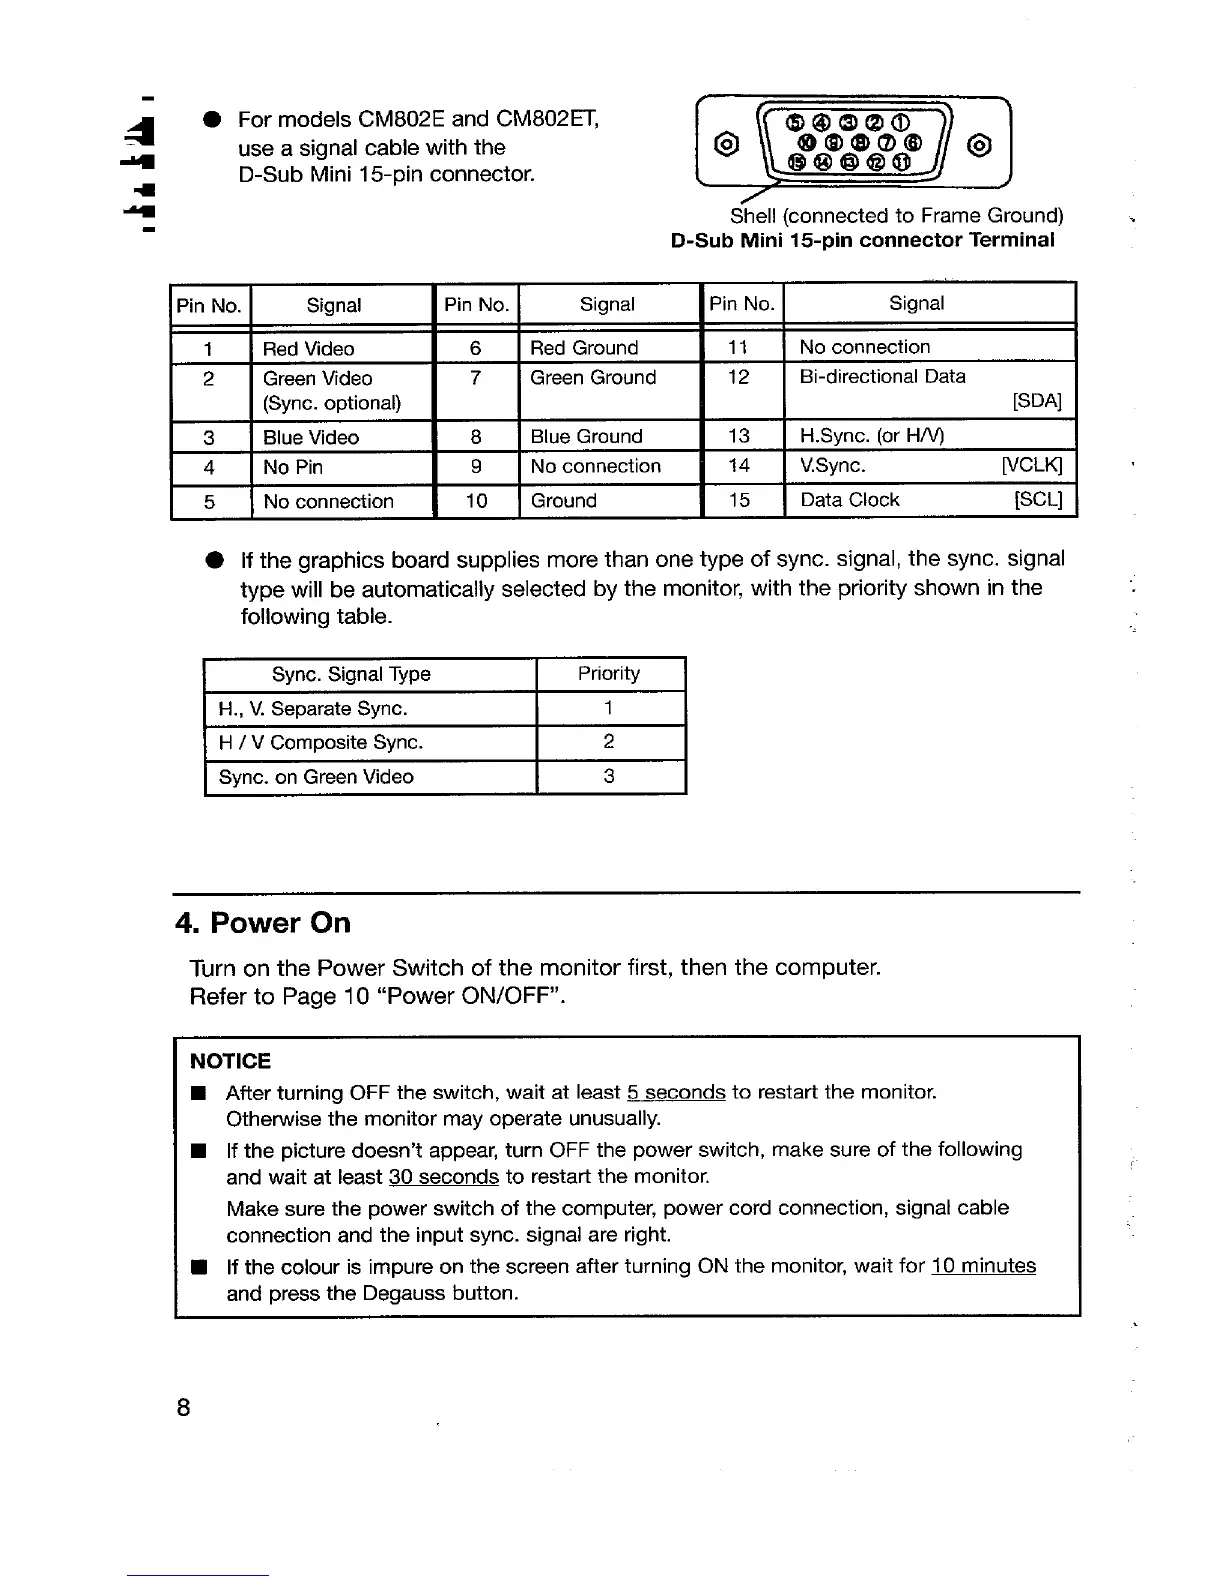
For models CM802E and CM802ET,
use a signal cable with the
D-Sub Mini 15-pin connector.
=
S~ell (connected to Frame Ground)
D-Sub Mini 15-pin connector Terminal
Pin No. Signal
Pin No.
Signal Pin No. Signal
1 Red Video 6 Red Ground
11 No connection
2
Green Video
7 Green Ground 12
Bi-directional Data
(Sync. optional)
[SDA]
3 Blue Video 8
Blue Ground 13 H.Sync. (or H/V)
4 No Pin 9 No connection
14 V.Sync.
~CLKJ
5 No connection
10 Ground 15
Data Clock
[SCL]
● If the graphics board supplies more than one type of sync. signal, the sync. signal
type will be automatically selected by the monitor, with the priority
shown in the
following table.
r
Sync. Signal Type
I Priority I
H., V. Separate Sync. 1
H / V Composite Sync.
2
Svnc. on Green Video 3
4. Power On
Turn on the Power Switch of the monitor first, then the computer.
Refer to Page 10 “Power ON/OFF”.
NOTICE
■
■
■
After turning OFF the switch, wait at least 5 seconds to restart the monitor.
Otherwise the monitor may operate unusually.
If the picture doesn’t appear, turn OFF the power switch, make sure of the following
and wait at least 30 seconds to restart the monitor.
Make sure the power switch of the computer, power cord connection, signal cable
connection and the input sync. signal are right.
If the colour is impure on
the screen after turning ON the monitor, wait for 10 minutes
and press the Degauss button.
8