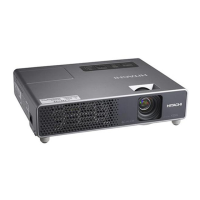
12
Installation
3. Adjust image size and position of Set B with ZOOM ring, VERTICAL adjuster,
HORIZONTAL adjuster and FOCUS ring to fully overlap the image of Set A.
NOTE • Fine adjustment of image size and position later by electrical
function, such as KEYSTONE and PERFECT FIT, cannot widen the
image size, so it is important to fully overlap the image of Set A by optical
adjustment.
• If you try to operate Set B with the remote control, Set A may react as well.
It is recommended to operate Set B with the control panel on Set B.
• If you install two projectors side by side, also adjust image size and position
of Set B to fully overlap the image of Set A.
• If you use Simple Stack, it is recommended to disable the remote control
on Set B by KEY LOCK and operate it by the control panel, or to operate
it by a wired remote control, since Set A will react to the remote control.
(
Operating Guide → OPTION menu)
• If you use Simple Stack, go to For Simple Stack users. (
16
)
NOTE • When you use PERFECT FIT, KEYSTONE cannot be operated. If it
is required to reset both functions, reset PERFECT FIT function rst.
2. Reset the adjustment by KEYSTONE and PERFECT FIT on Set B.
(Operating Guide → EASY MENU or SETUP menu)
1. Turn on Set B.
NOTE • After turning on Set B, make sure that the image of Set B is not
remarkably inclined compared with the image of Set A. If it is inclined too
much, rotate the elevator feet of Set B to adjust the angle roughly. Check
again that there is about 1 mm space between a protrusion at the bottom of
Set B and the top case of Set A.
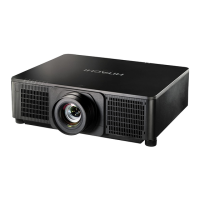
Setting up Set B
4. Display a menu with MENU button. (Operating Guide → Using the menu
function)
5. Using the ▲/▼/◄/► buttons, go down the menu tree as below.
ADVANCED MENU > OPTION
> SERVICE > COMMUNICATION
> STACK
STACK menu will appear on screen.
(
Operating Guide → OPTION menu).
(continued on next page)

 Loading...