44
Confidential to Customer
① Be sure to remove the Cap nut (313), O-ring (311),
Fitting (312) and Oil nozzle (320) from gear casing
(301) before removing the airends.; Fig. 4.17.2 (1).
Fig. 4.17.2 (3)
WARNING
Complete removal of the Oil nozzle (320) and
associated components is necessary to
prevent damage during the airends removal.
② Remove the knock pin (334) using the jig for knock
pin.; Fig 4.17.2 (2).
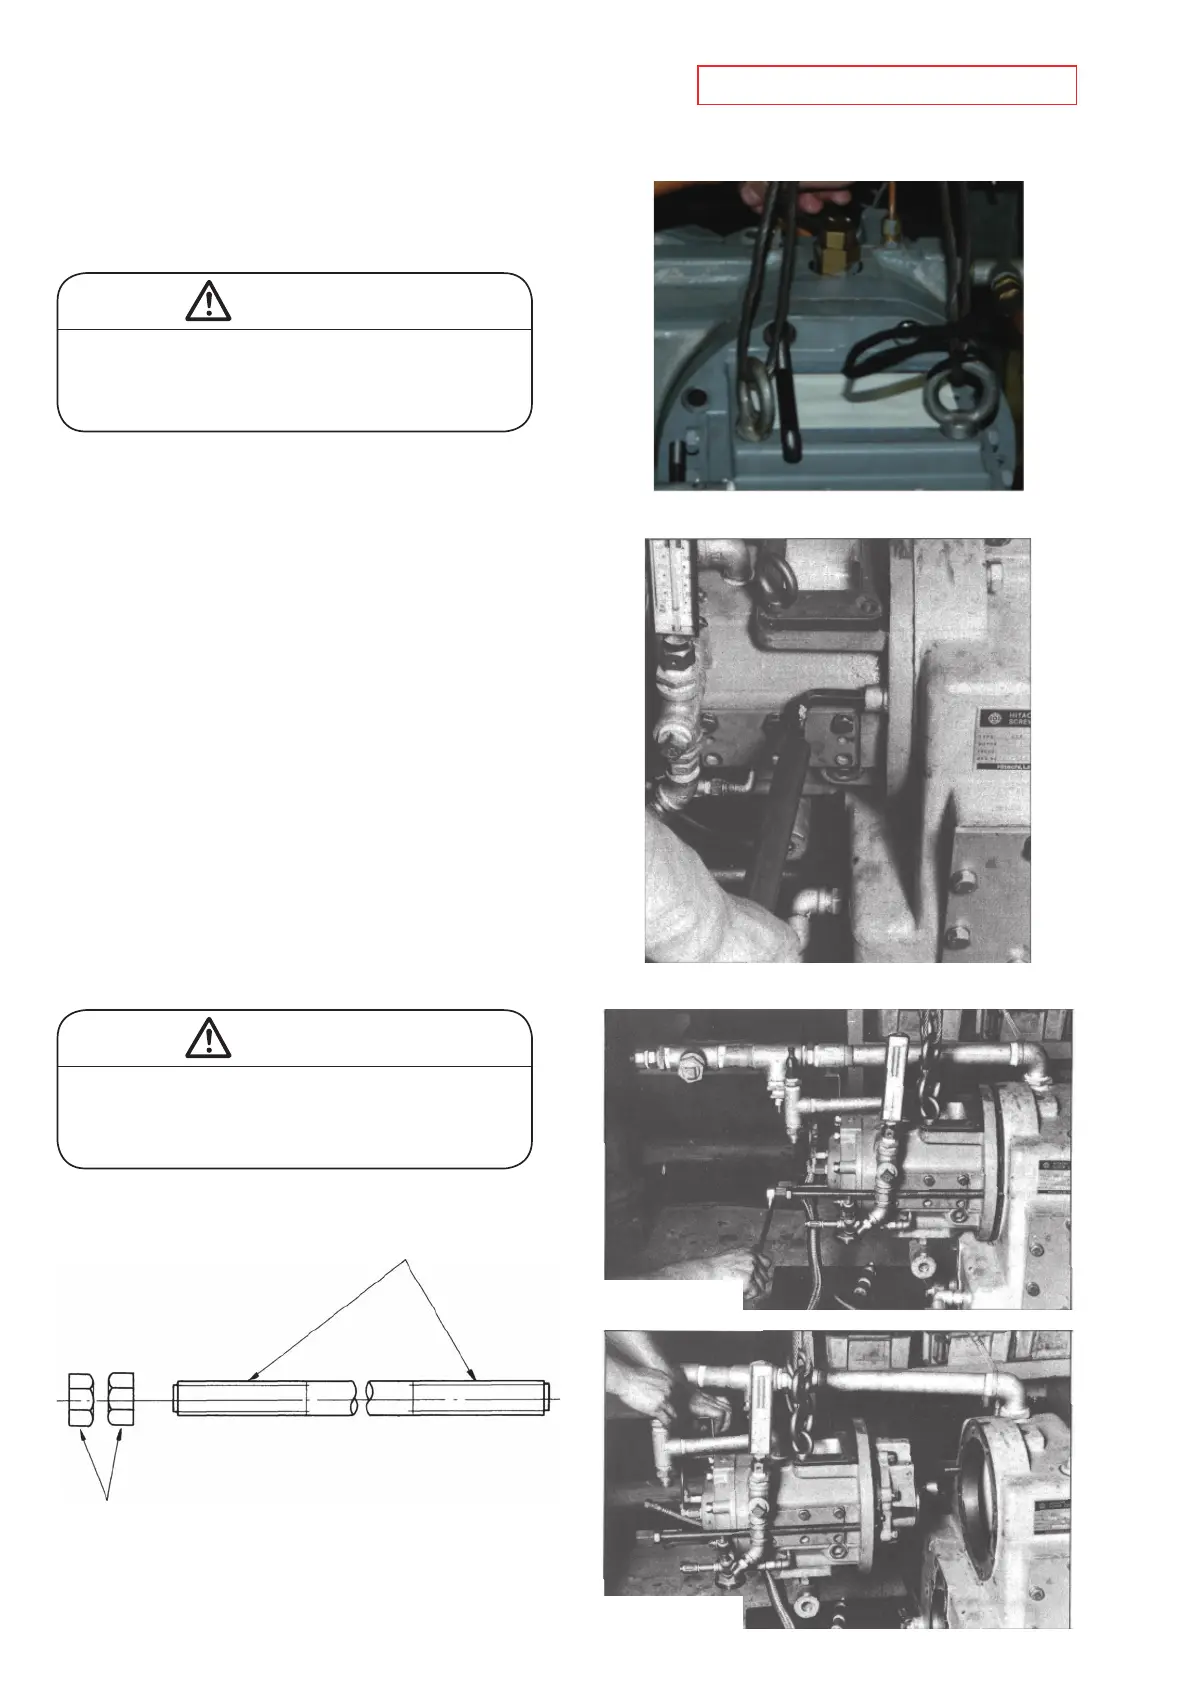
③ Screw eyebolts into 2 of the bolt holes on either side
of the upper flange.; Fig. 4.17.2 (3).
Eyebolt: M12 for 1st stage airend, M16 for 2nd stage
airend
④ Screw the jig (two guide bolts) into the bolt holes at
the top on the airend.; Fig. 4.17.2 (3). Remove bolts
on the airend flange.; Fig. 4.17.2 (4).
Guide bolt: M16 for 1st stage airend, M12 for 2nd
stage airend
⑤ Using the jig (two stud bolts), remove the airend as
follows. Put the stud bolts in the removal holes of
airend flange. Tighten the stud bolts slowly and
evenly.; Fig. 4.17.2 (5) and (6).
Stud bolt: M16 for 1st stage airend, M12 for 2nd
stage airend.; Fig. 4.17.2 (7).
WARNING
Remove the airends horizontally and as gently
as possible. Rough action may cause damage
to driving gears.
Fig. 4.17.2 (4)
Fig. 4.17.2 (5)
Fig. 4.17.2 (6)
Screw Thrend.
(Metric)
Nut
Fig. 4.17.2 (7)

 Loading...