2
INSTALLATION WORK
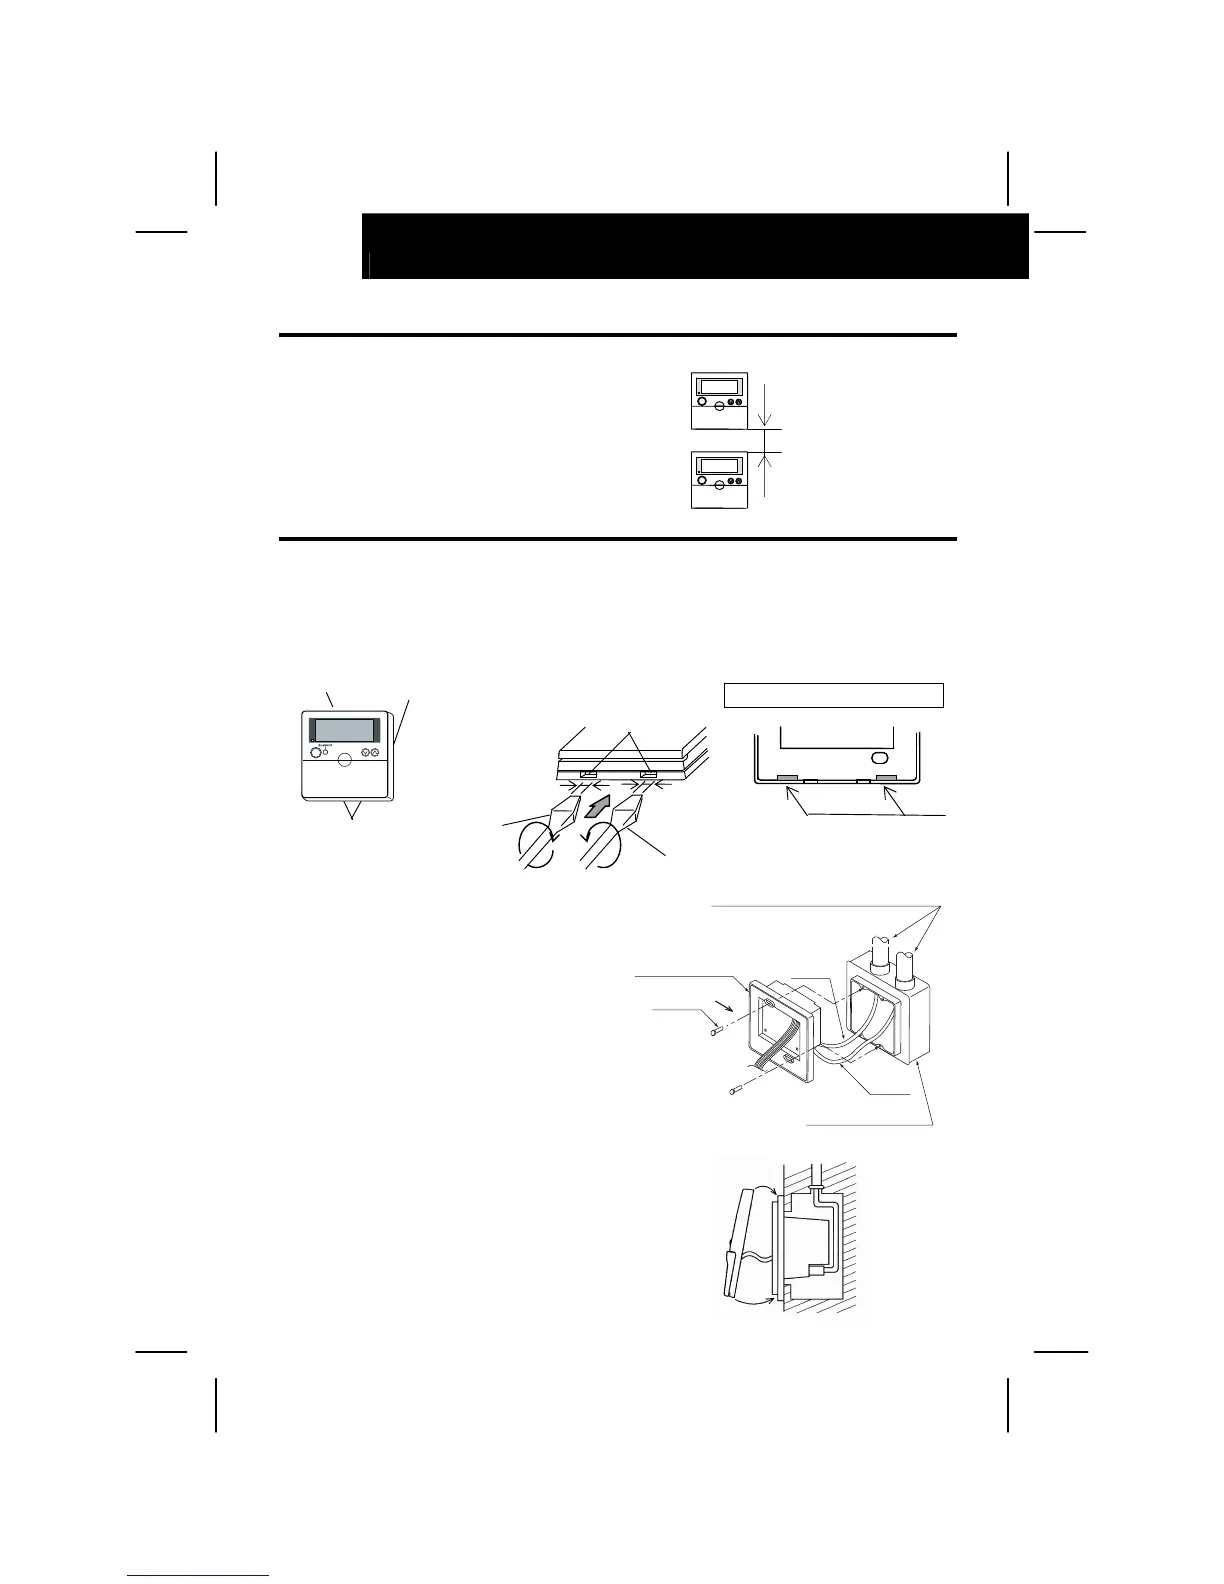
2.3. INSTALLATION SPACE
In case of installing the central stations in the
vertical direction, keep a distance more than
50mm between the central stations vertically.
If the distance is insufficient, the front cover of
the central station can not open wide enough.
2.4. INSTALLATION PROCEDURES
1. Insert the edge of the screwdriver into the slot parts at the bottom of the case, push and turn the
screwdriver and remove the control part from the power supply part. Do not insert the screwdriver
into the nail near the slot part, or the nail will be damaged.
2. Attach the power supply part to the
switch box.
3. Attach the control part onto the power supply
part. At first, attach the upper side, and then
the lower side.
More than 50 mm
Slot Part
Control Part
Power Supply Part
Nail
Figure Seen from Bottom Side
Slot Part
Screw
Drive