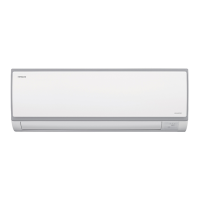
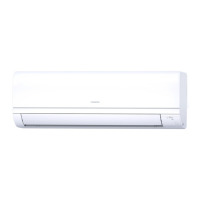
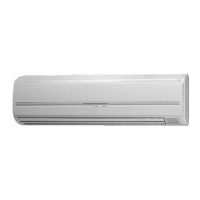
2.1. UNIT INSTALLATION
2.1.1. FACTORY-SUPPLIED ACCESSORIES
1
8
4
1
1
-
-
-
-
NOTE:
Be sure to purchase the optional expansion valve kit
(EV-1.5N) for models to mount the valve outside
RPK-(1.0-1.5)FSNH2M units.
2.1.2. INITIAL CHECK
Install the indoor unit with a proper clearance around it
for operation and maintenance working space as shown
below.
(mm)
-0.8/1.0/1.5
100
-
200
Consider the air distribution from the indoor unit to the
space of the room, and select a suitable location so that
uniform air temperature in the room can be obtained.
Expansion valve kit:
BE SURE to use this kit if the unit is the model to mount the
expansion valve outside unit.
2.1.3. INSTALLATION
1. Mounting Bracket onto Wall
When the mounting bracket is directly attached to a
wood wall or a concrete wall, check to ensure that the
wall is strong enough to support a weight of 200kg.
2. Mounting the Unit between Pillars
Do not install the mounting bracket on one pillar.
The location where the indoor unit is to be installed
should be so selected that an unbalanced weight
distribution is avoided.
The mounting bracket should be installed so that the
side of drain piping connected is slightly (about 3mm)
lower than the other side, in order to avoid the incorrect
position of the drain discharge. (Drain piping connection
can be performed both right side and left side of the
unit.)
RPK-0.8/1.0/1.5
RPK-2.0
RPK-2.5/3.0/4.0
Diameter of
65 mm
(Hole for
piping
)
(Operation and Installation Space)
(Hole for Piping on the wall)
Screws for
mounting bracket
screws
Screws for
Mounting Bracket
screws
Utilize at least
4 screws
Screws for
mounting
bracket
 Loading...