−10−
3.Mounting
Strip the cover 5mm.
Twist wires together.
Insulate with plastic
tape.
Stake the wires
using a splice.
One Side of Velcro Tape
Another Side of Velcro Tape
To interior To interior
(Mounting CAMP2)
・Follow the procedure 2. (1) - (6) in page 8 for wiring.
・Connect the meter harness #1 of I/F Unit to the I/F Unit Connector of CAMP2.
Advice
・Read the included manual for I/F Unit wiring instructions.
・If the meter harness #1 length is too short to reach CAMP2, use the longer meter harness #3
(1m) available separately.
・I/F Unit does not include sensors and sensor harnesses. Harnesses necessary for wiring
must be purchased separately. (See the optional parts list.)
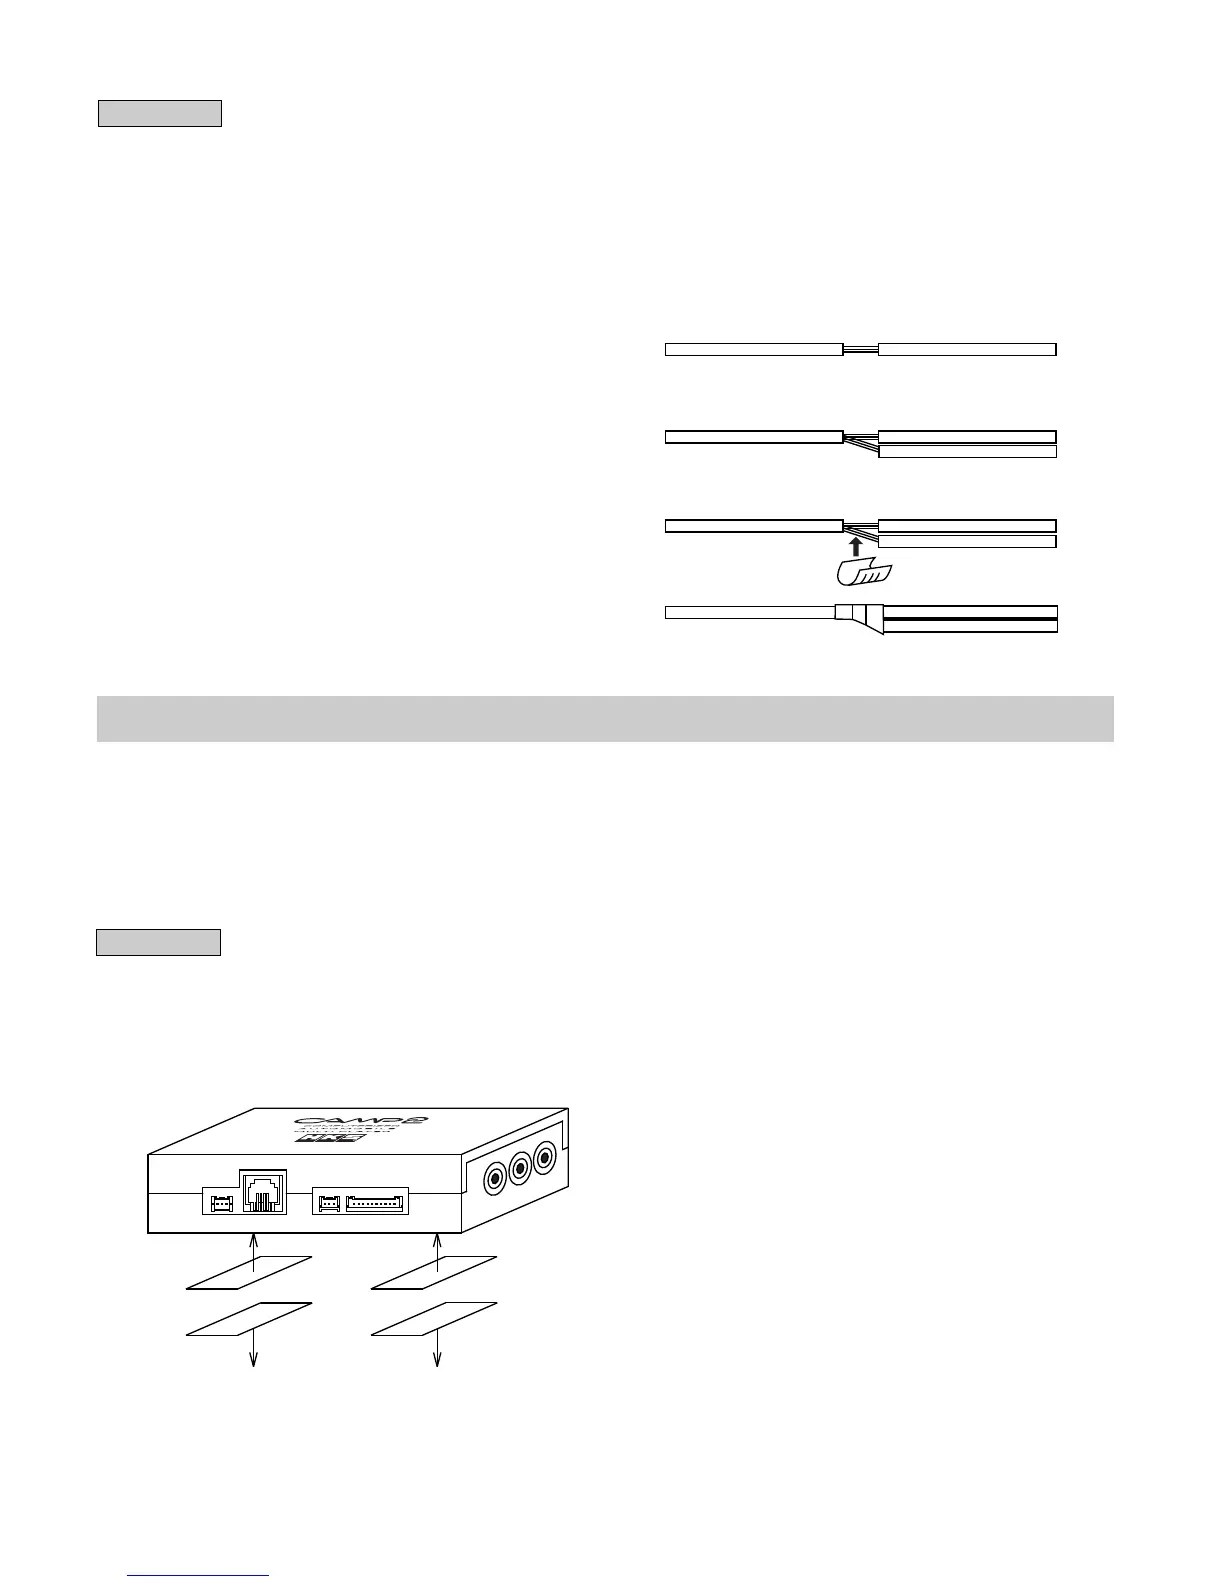
●Splicing
①Strip 5mm of the wire cover for wiring as shown
to the right.
②Connect another wire to the uncovered portion
twisting wires together.
③Crimp the twisted wires using a splice.
④Cover the splice and wires with electrical tape to
insulate.
(1) Mount the CAMP2 main unit using the Velcro tape on the area where the controller receiver
is reachable and away from exposure to the direct rays of the sun.
(2) Mount the controller receiver using the double-sided tape on the area away from exposure
to the direct rays of the sun.
(3) Mount the remote controller using the Velcro tape on the area away from exposure to the
direct rays of the sun.
Advice
・Install the unit away from excessive heat, water, moisture, and/or dust. Do not mount the
unit on or in front of the air bag.
・Remove any dirt, dust, and/or oil from the area the unit is going to be mounted.