– 5 –
CLEANING
The dishwasher MUST be thoroughly cleaned at the end of each working shift.
Drain the machine by lowering the drain levers to a horizontal position. Drain levers are located near
the floor at the front of each tank. Draining the tanks requires approximately 5 – 10 minutes.
Push POWER switch OFF. DISCONNECT ELECTRICAL POWER BEFORE CLEANING. Open all
front access doors.
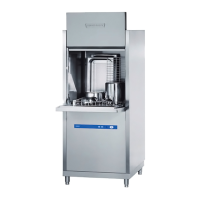
Remove the curtains. Clean the curtains. Using a good hose with spray nozzle, clean the load shelf
and unload shelf by spraying debris into the machine (Fig. 12). Thoroughly cleanse and flush the
dishwasher interior (Figs. 13 & 14).
Fig. 12 Fig. 13 Fig. 14
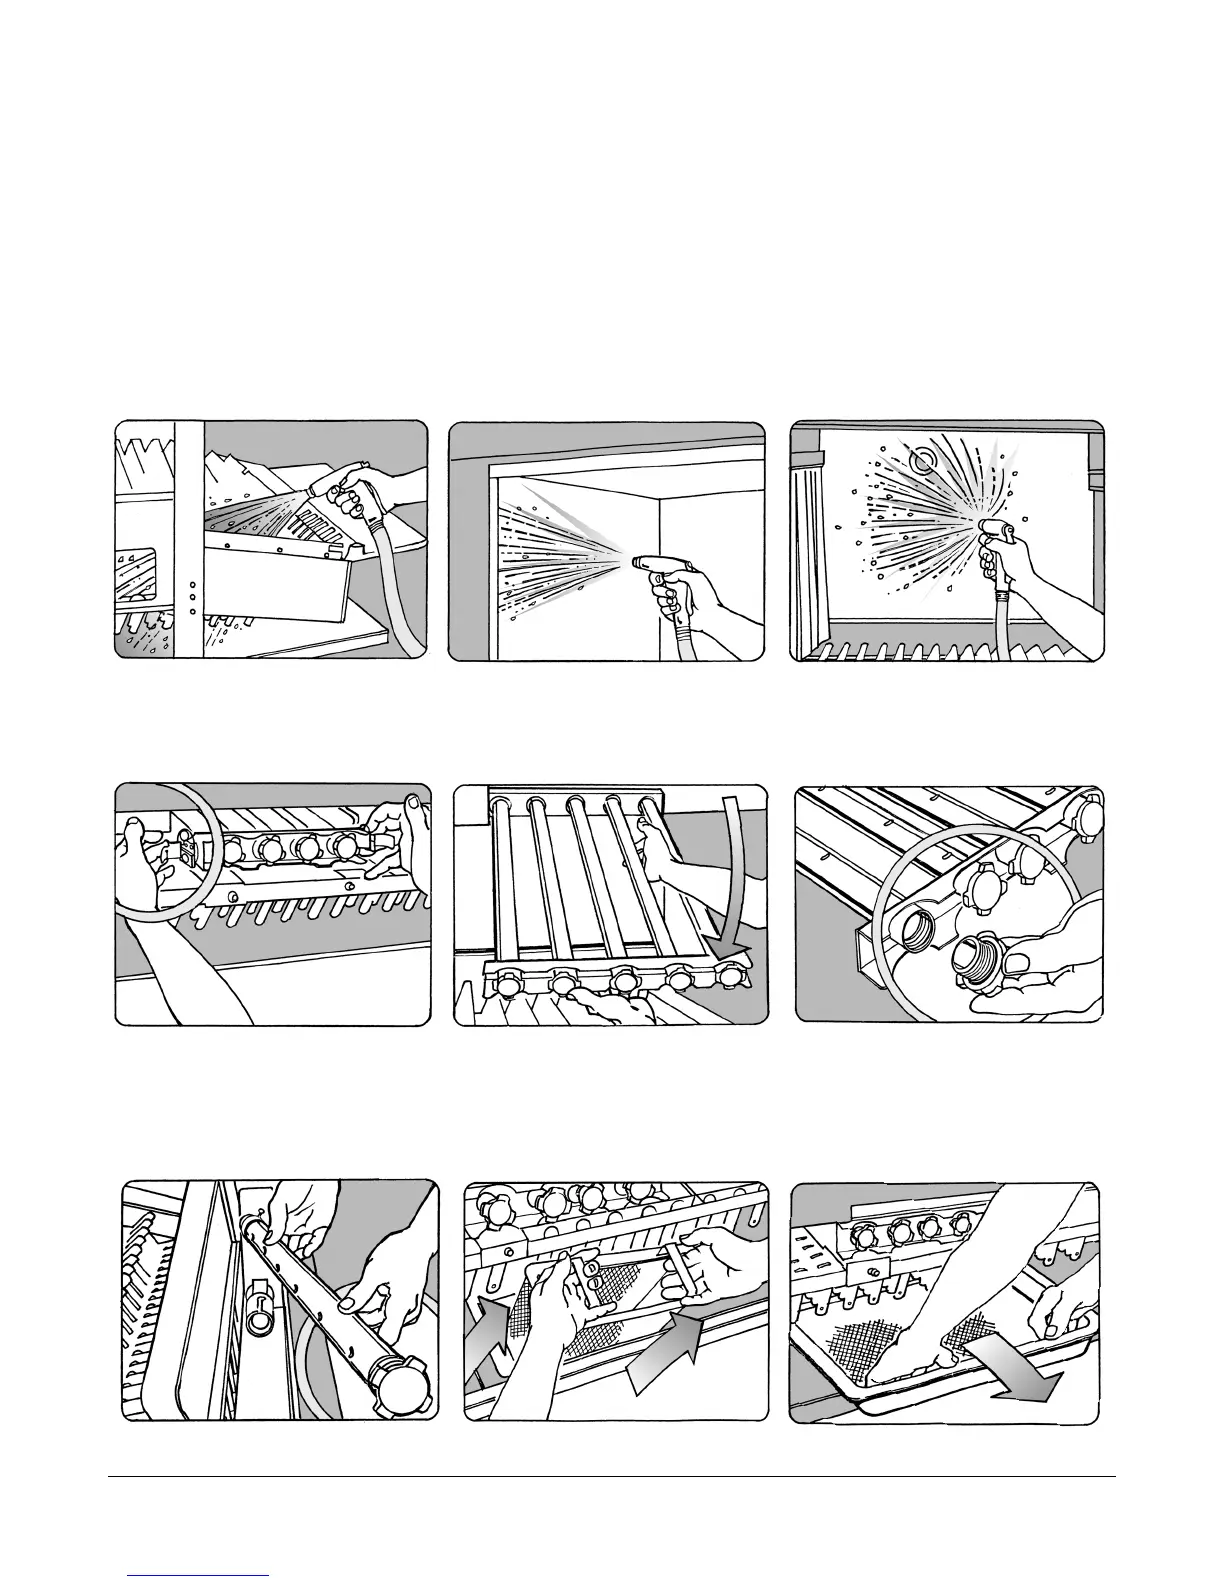
Remove the wash arms by first releasing the latches (Fig. 15). Slide upper arms forward, swinging front
of arm down (Fig. 16). Remove the end caps (Fig. 17). Clean wash arms in a sink.
Fig. 15 Fig. 16 Fig. 17
Remove the flush arm at the load end of the machine (Fig. 18). Clean flush arm and nozzles in sink.
Remove the strainer baskets (Fig. 19) and strainer pans (Fig. 20). Empty strainers in trash receptacle
or food waste disposer.
DO NOT STRIKE STRAINER PANS OR STRAINER BASKETS ON SOLID OBJECT
TO DISLODGE DEBRIS. Scrub strainer pans and strainer baskets in a sink.
Fig. 18 Fig. 19 Fig. 20
 Loading...