HOLMS 300
© HOLMS INDUSTRI AB, ALL RIGHTS RESERVED 141204. 13
3. Tilt the sweeper until the tilt indicator’s yellow
markings line up, see figure 4.
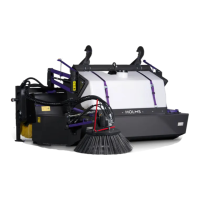
4. Slowly lower the sweeper until the height indicator’s
yellow markings line up, see figure 5. This applies for
a new brush. As the brush wears, the height indicator
must be adjusted, see “Adjustment of height
indicator” on page 13.
5. Readjust the tilt where appropriate as per item 3.
Adjustment of height indicator
Checks and adjustments are best performed before each
long working period and are done as follows:
1. Lower the machine to the ground until there is a gap
of 10-15cm between the refuse container and the
ground.
2. Loosen the set screw on the height indicator, see
figure 5 on page 13, and move the indicator so the
yellow markings line up.
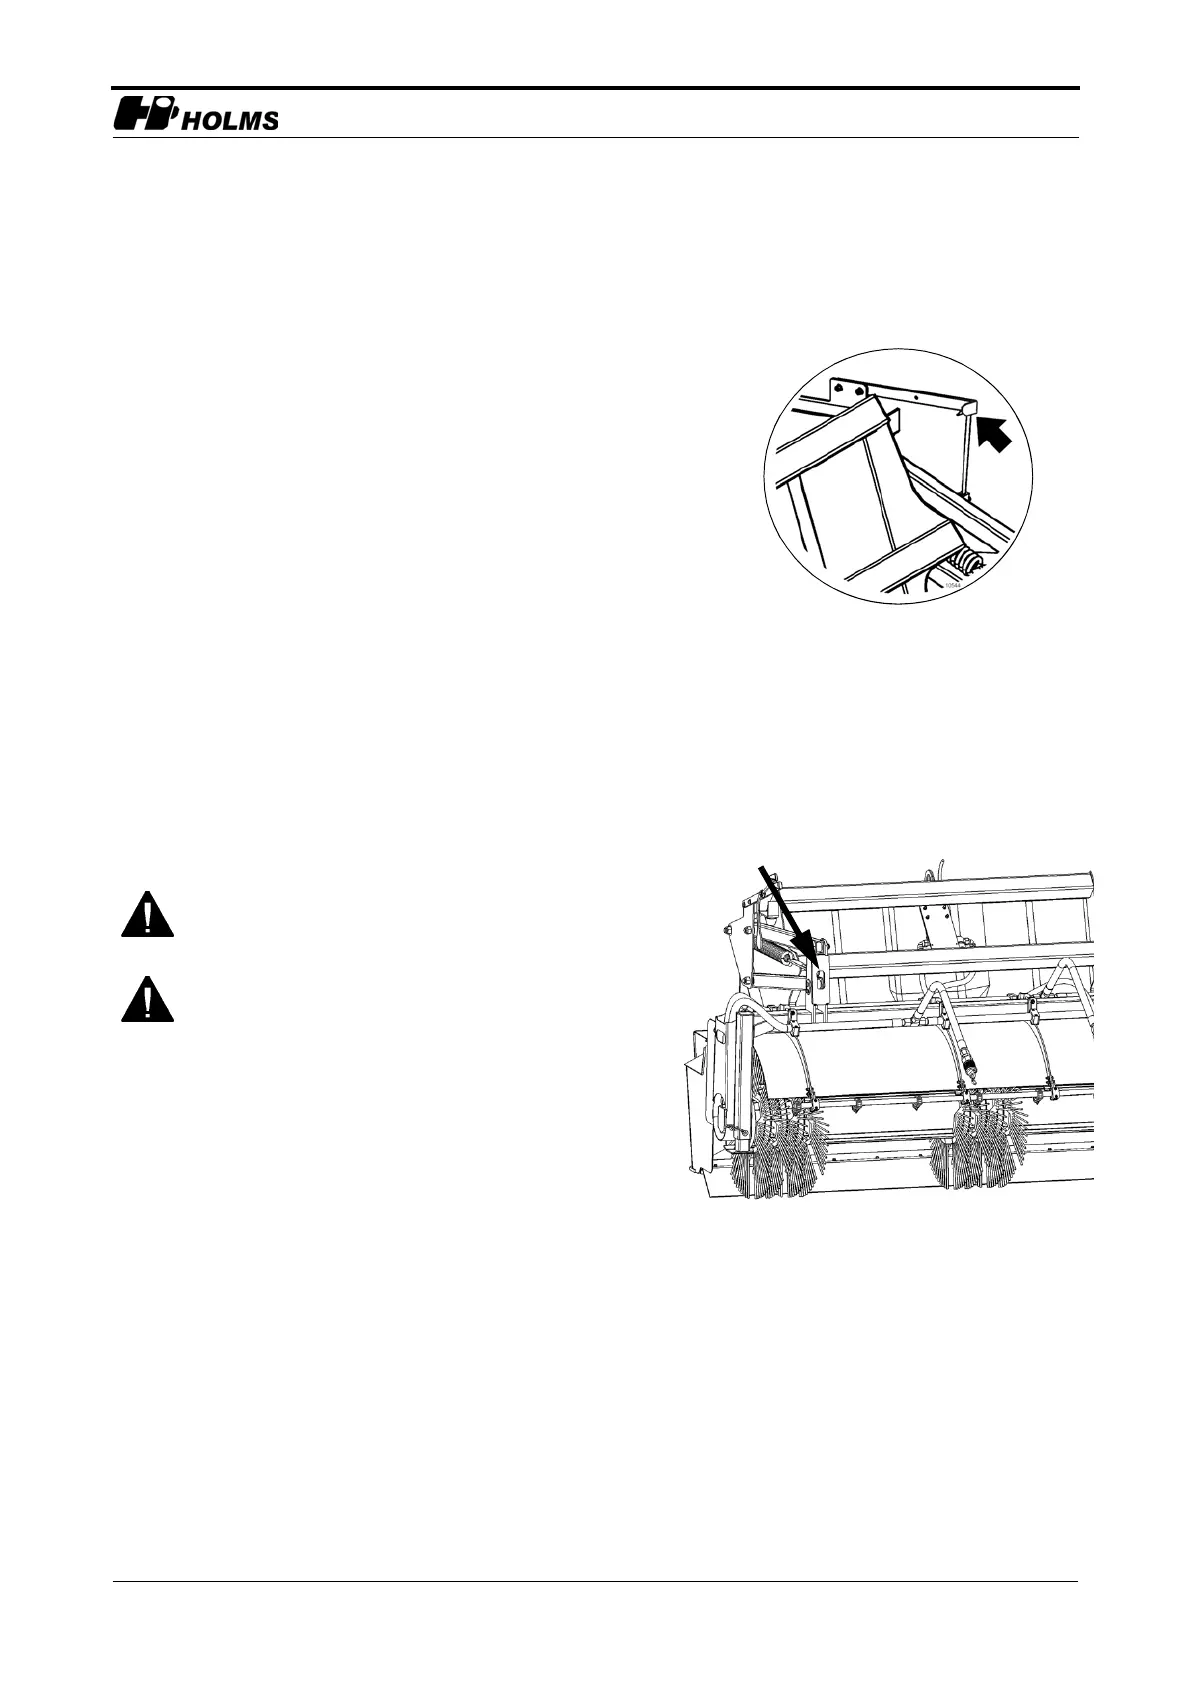
Setting the ground pressure
The ground pressure can be adjusted to suit different
conditions. This is done using the two adjusting screws.
See figure 6.
1. Adjust the height and tilt of the sweeper roller.
2. Allow the sweeper roller to rotate for a while against
the ground.
3. Then measure the width of the strip that has been
swept clean. This should normally be approx. 10cm.
4. Set the ground pressure:
a. Reduce the ground pressure by tightening the
spring, screw in the adjusting screws.
b. Increase the ground pressure by releasing the
spring, unscrew the adjusting screws.
A good way to check that an even ground pressure has
been achieved is to place a set of scales (e.g. so-called
bathroom scales) under each support and with the
container approx. 15cm above the ground. A weight of
approx. 30-50kg per side is a good starting position.
Do not use the carrier’s lifting or tilt function to
adjust the ground pressure.
Always turn the sweeper roller off properly before
making any adjustments.
5.Height indicator with set screw