6. Installation
6.1. Wall Mounting
For wall mounting, please use the two screws and dowels supplied.
When selecting a mounting location, make sure that you will not have to drill
in the vicinity of existing switches or sockets, and ensure that you have room
enough to extend all cables along the wall.
Do not mount the control panel in the vicinity of other radio sources (eg
WLAN or DSL router). For Troubleshooting, refer to Section 10.
• Hold the drilling template (from
the box, or download from our
website) to the designated
location while aligning it
vertically or horizontally.
• Pin through the template to
mark holes A and B on the wall.
• Use a 6mm drill for drilling the
two marked holes in the wall.
Insert the dowel s provided into
the holes. Screw in the anchors
until the stand out approx 1.5
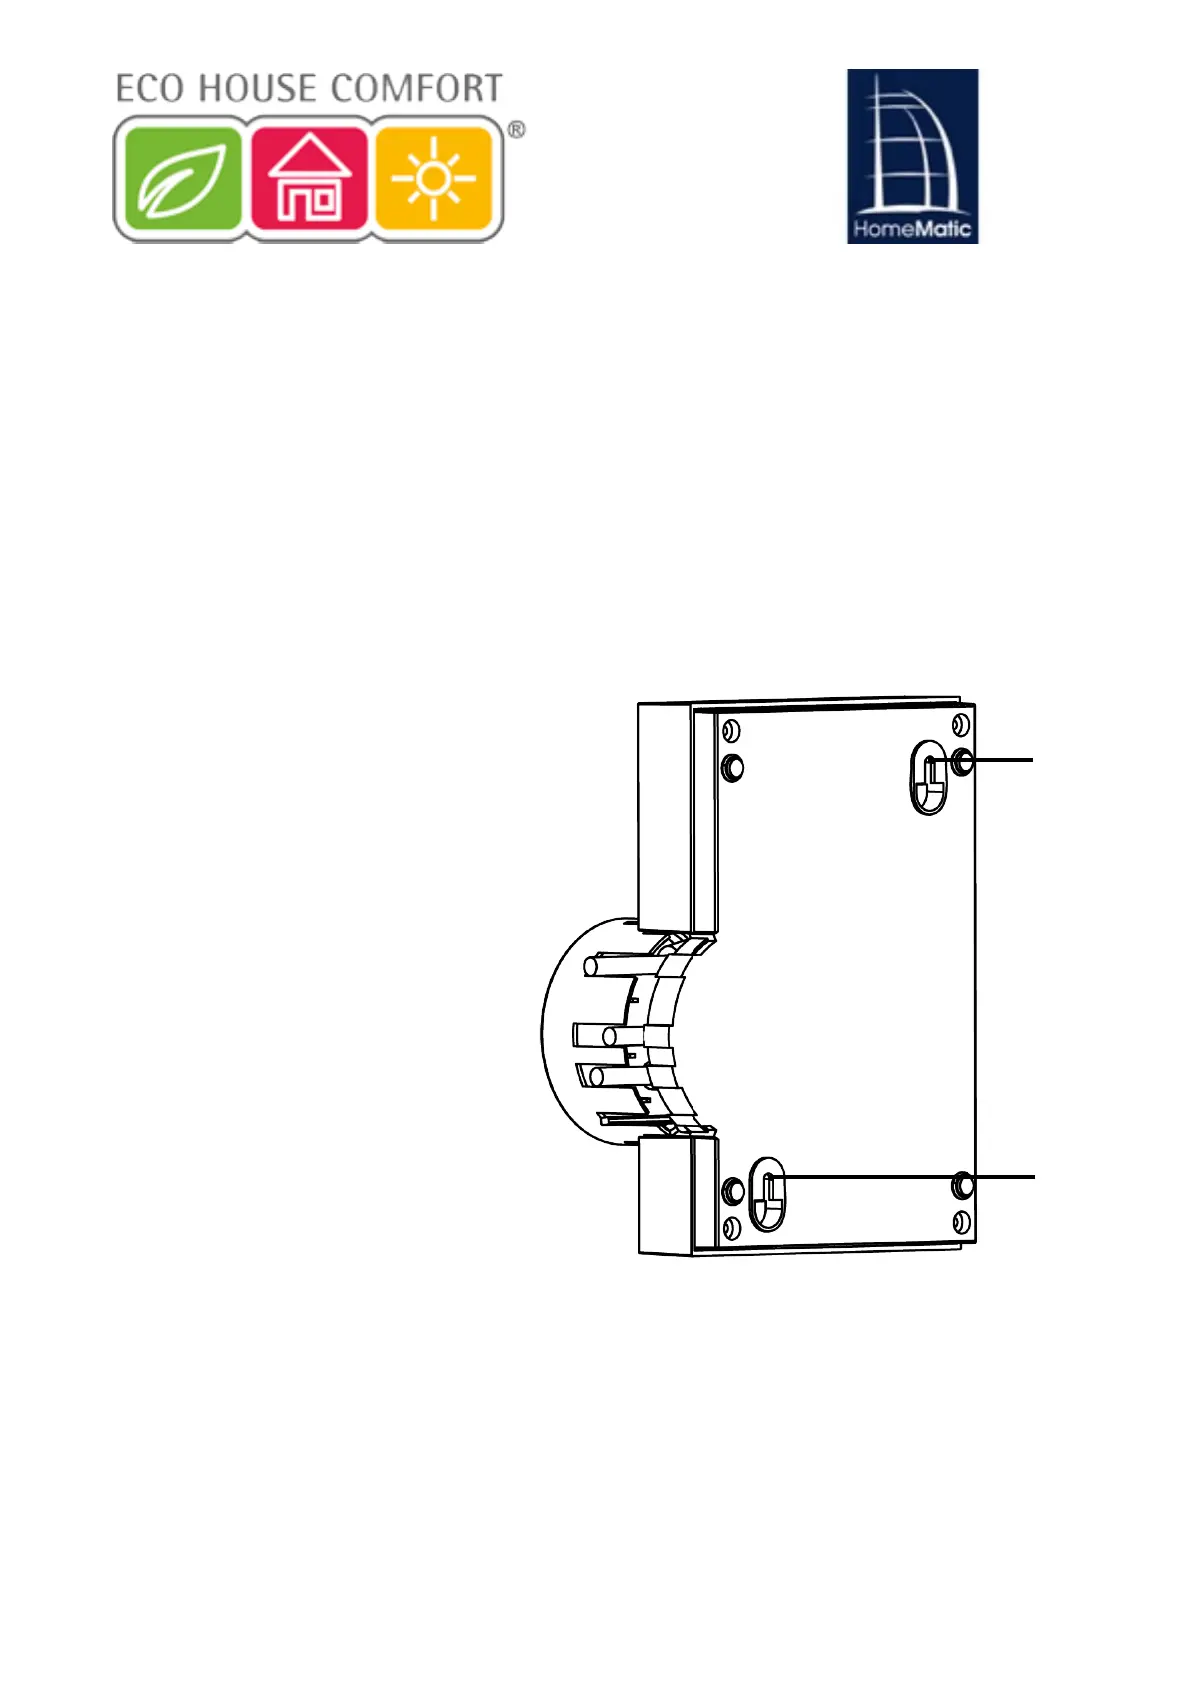
mm from the wall. Hang the
device using the rear brackets
(J) from above.
6.2. Connection to the Central Control Unit
• First, pull the cap off the top of the head piece.
• Connect the unit with the supplied network cable (I) to your DSL router or to
your cable modem.
9
J
J
6.2 Zentrale mit dem Netzwerk verbinden
Ziehen Sie zunächst die Abdeckkappe nach oben von der Zen-
trale ab.
Schließen Sie die Zentrale mit dem mitgelieferten Netzwerkkabel
(I) an Ihren DSL-Router bzw. an Ihr Kabelmodem an.