40
4. ENGINE
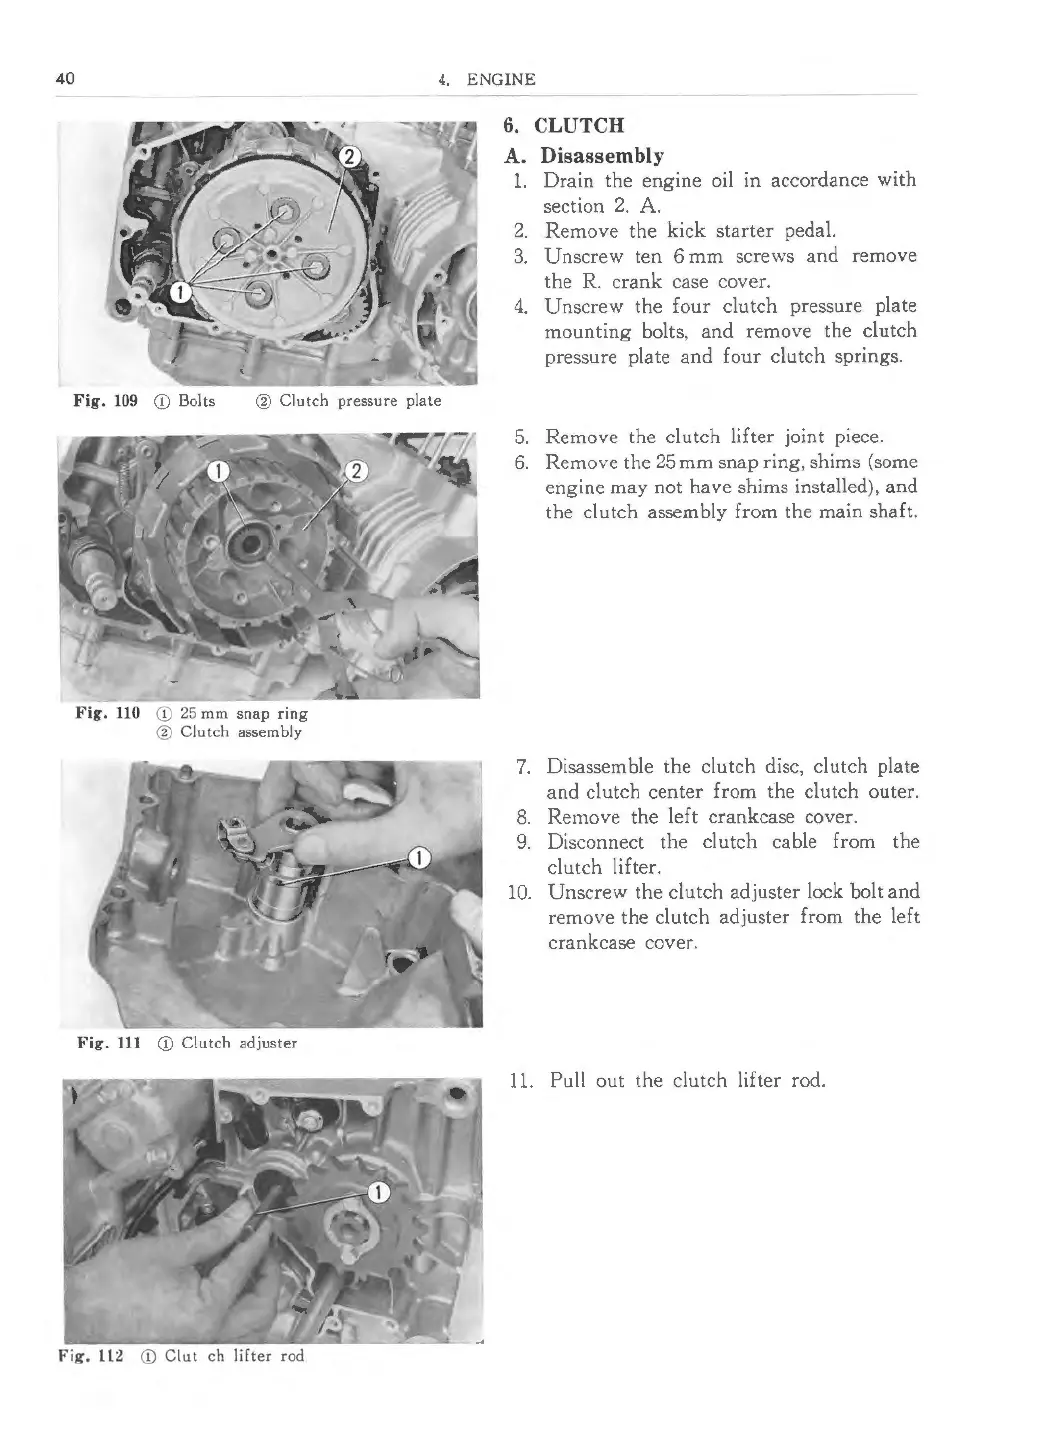
Fig. 109 Q) Bolts ® Clutch pressure plate
Fig. 110 Q) 25 mm snap ring
® Clutch assembly
Fig. 111 Q) Clutch adjuster
Fig, ll2 Q) Clut ch lifter rod
6. CLUTCH
A. Disasse mbly
1. Drain the engine oil in accordance with
section 2. A.
2. Remove the kick starter pedal.
3. Unscrew ten 6 mm screws and remove
the R. crank case cover.
4. Unscrew the four clutch pressure plate
mounting bolts, and remove the clutch
pressure plate and four clutch springs .
5. Remove the clutch lifter joint piece.
6. Remove the 25 mm snap ring, shims (some
engine may not have shims installed), and
the clutch assembly from the main shaft.
7. Disassemble the clutch disc, clutch plate
and clutch center from the clutch outer .
8. Remove the left crankcase cover.
9. Disconnect the clutch cable from the
clutch lifter.
10. Unscrew the clutch adjuster lock bolt and
remove the clutch adjuster from the left
crankcase cover.
11. Pull out the clutch lifter rod.
 Loading...