Installation
1.
To install the rear wheel, reverse the
removal procedure.
2.
Tighten the rear axle nut.
Torque: 59 N·m (6.0 kgf·m, 44 lbf·ft)
3.
Tighten the brake stopper arm nut.
Torque: 22 N·m (2.2 kgf·m, 16 lbf·ft)
4.
Adjust the drive chain slack. 2 P. 69
5.
Adjust the rear brake pedal freeplay.
2 P. 60
6.
After installing the wheel, apply the brake
pedal several times, then check if the
wheel rotates freely. Recheck the wheel if
the brake drags or if the wheel does not
rotate freely.
7.
Install the chain covers. 2 P. 68
If a torque wrench was not used for
installation, see your dealer as soon as
possible to verify proper assembly.
Improper assembly may lead to loss of
braking capacity.
A used cotter pin may not effectively secure a
fastener. Always replace a used cotter pin
with a new one.
20181207113539_32KVMC000_eng_BOOK Page 84 Friday, December 07 2018 11:40:26 JST
Tyre Puncture u Removing Wheels
Troubleshooting
81
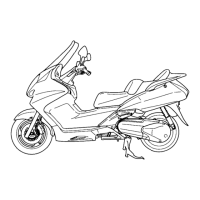
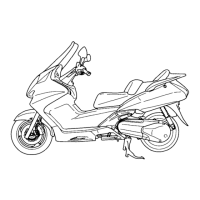
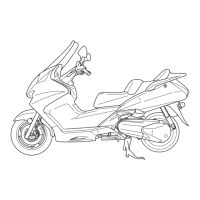
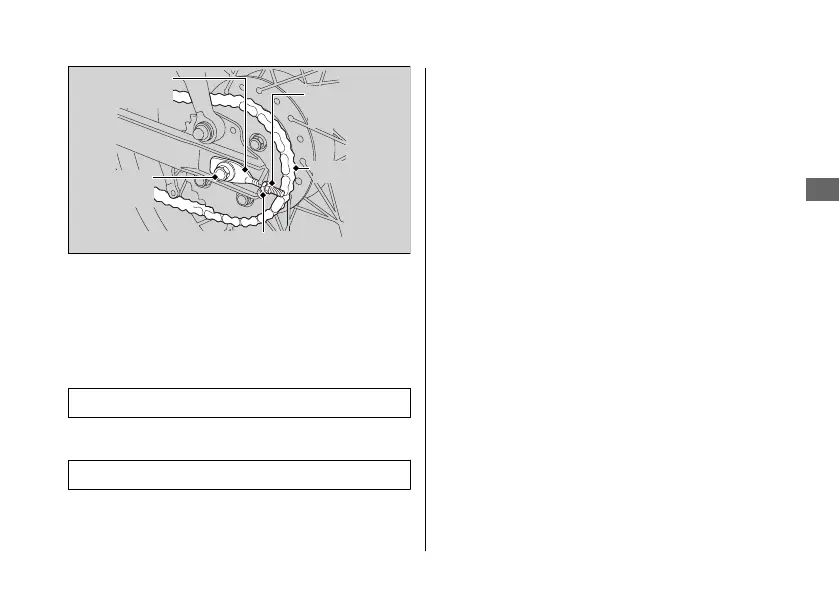
Drive chain
Rear axle
shaft
Drive chain
lock nut
Drive chain adjusting nut
Drive chain
adjuster