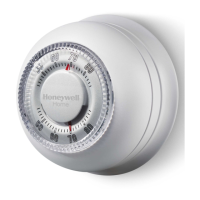
CT30 Series • Owner's Manual
69-2338EFS—04 4
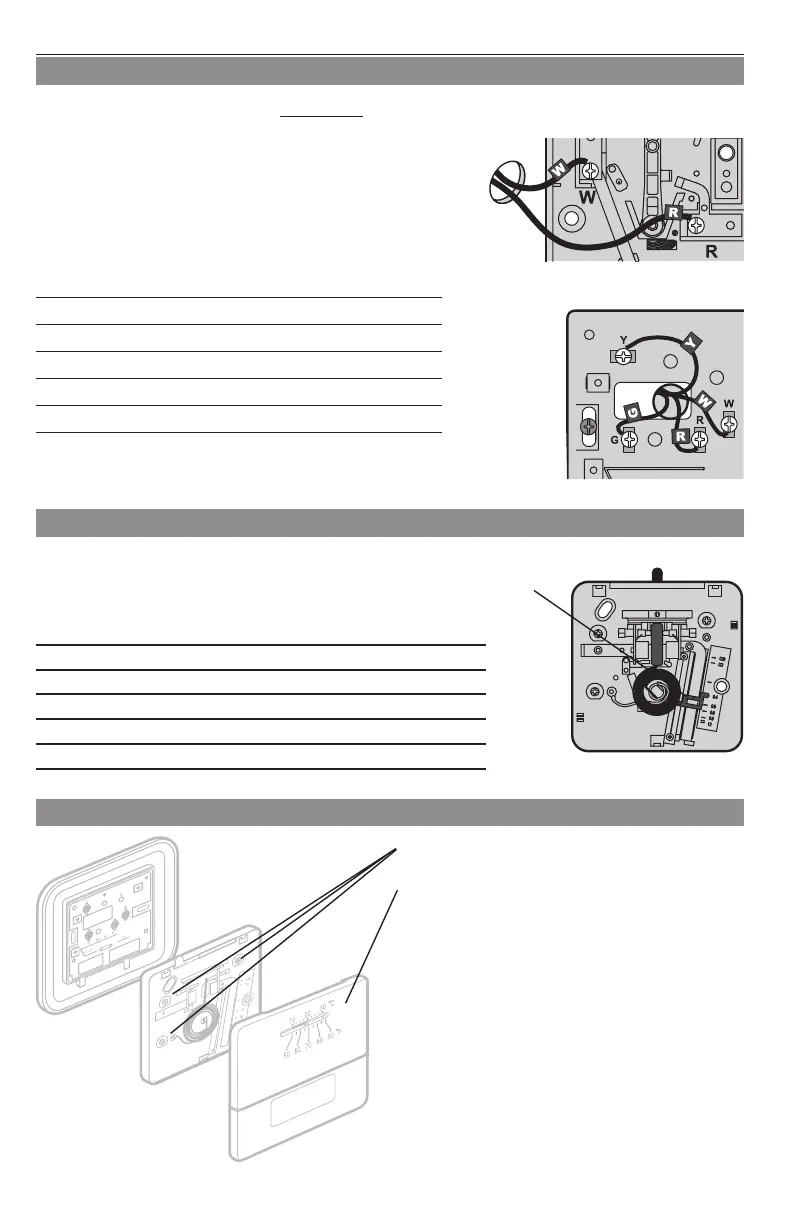
1. Mount thermostat on base and tighten
three mounting screws (CT31 only).
2. Align the 3 tabs on the cover with slots on
the thermostat, then push gently until the
cover snaps into place.
3. Restore power at the heating/cooling
system, or at the fuse/circuit-breaker
panel.
Set adjustment lever (CT30/CT31 only)
Finish installation
1. Separate cover from thermostat, and remove the insert.
2. Use a pencil to move the adjustment lever to the proper setting
for your system (see table below).
1. Match each labeled wire with same letter on terminal.
2. Use a screwdriver to loosen screw terminals, insert
bare wires beneath screws, then tighten screws.
3. Push any excess wire back into the wall opening.
CT31
CT30/CT33
Connect wires
Labels don't match?
If labels do not match letters on thermostat, see table below.
Connect to
Existing wires CT30/CT33 CT31
R • RH • 5 • V Terminal “R” Terminal “R”
W • W1 • H Terminal “W” Terminal “W”
Y • Y1 • M [1] Terminal “Y"
G • F [1] Terminal “G”
Rc [1] [1]
Your system Setting
Gas or oil furnace (less than 90% efficiency) 0.4
Electric furnace (any type) 0.3
High efficiency furnace (more than 90% efficiency) 0.8
Hot water system 0.8
Gas/oil steam or gravity system 1.2
[1] If this wire is present, you may have purchased the
wrong thermostat. Call 18004681502 for help.
CT33 model is for 750 MV heat only
 Loading...