B KRA 405
Rev 6, June 2003 IM 006-00104-0006.dwd Page 2-3
2.3.2.B.9 To adjust Altitude Trip #3, follow the procedures in steps 4 through 7 above
using TP 613 and R653 in step 7.
2.3.2.B.10 Verify the trip adjustments by the following:
2.3.2.B.10.a Adjust the signal generator until the voltage at TP 506 is at least 1.50 volts
above the highest trip point.
2.3.2.B.10.b Connect the DVM to TP 605. Slowly decrease the frequency until the DVM
switches to +28 +/- 1.5 Vdc. The voltage at TP 506 should indicate the de-
sired trip voltage +/- 10%.
2.3.2.B.10.c Repeat steps 10.a and 10.b with the DVM connected to TP 607.
2.3.2.B.10.d Repeat steps 10.a and 10.b with the DVM connected to TP 613.
2.4 KRA 405 SYSTEM INSTALLATION
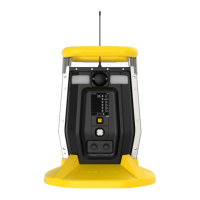
NOTE: Figure 2-13 shows an external sonalert installation.
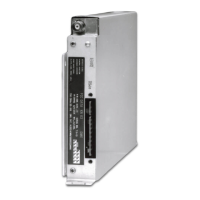
2.4.1 KRA 405 R/T
2.4.1.A Select the KRA 405 R/T location in the equipment bay. The unit may be
mounted rigid, but if shock mounting is desired, allow adequate sway space.
In either case allow one inch of free air space around the top and rear of the
unit. Avoid mounting the unit near a high heat source.
2.4.1.B Refer to Figure 2-2 for the KRA 405 R/T mounting dimensions. Mark, punch,
then drill mounting holes, being careful not to damage adjacent equipment or
cables.
2.4.1.C Using four (4) #6-32 screws, secure the mounting tray in the position selected.
The fluted knob should face in a direction to provide easy access.
2.4.1.D Slide the KRA 405 R/T into the rack. Secure the unit in place by hooking the
triangular keeper over the front lip of the unit and tightening the fluted knob.
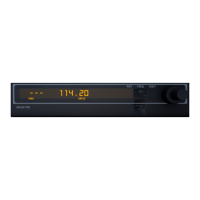
2.4.2 KNI 415, KNI 416 INDICATOR
2.4.2.A Plan a location on the aircraft panel that is clearly visible to the pilot with the
least deviation from his normal scan pattern while in an approach.
2.4.2.B Avoid mounting the unit close to heater vents or other high heat sources.
2.4.2.C Make certain that clearance is available between units so that normal vibration
does not cause the unit to strike adjacent equipment cases.
2.4.2.D Allow clearance behind the unit for installation of the cables and connectors.
2.4.2.E If an instrument hole that meets the installation requirements is not available,
cut a 3 inch ATI hole per Figure 2-1. The unit may be mounted in front of or
behind the panel. Secure the unit with mounting ring provided and four (4) 1/
2 inch long 5-32 instrument screws.
RELEASED FOR THE EXCLUSIVE USE BY: AIRCRAFT ELECTRONICS ASSOCIATION
UP536434
 Loading...