2
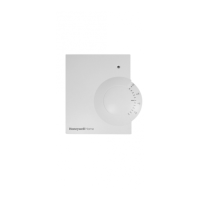
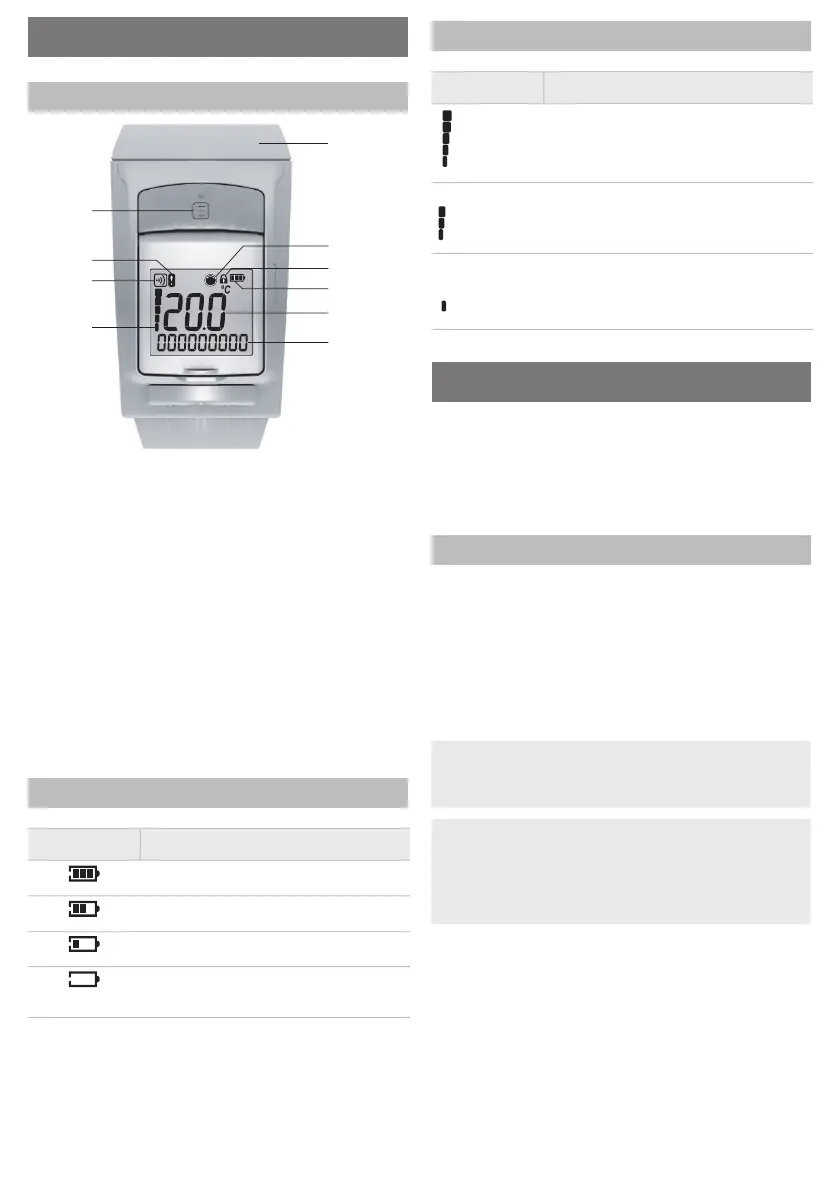
3. Device overview
Operating elements and display
10
1
6
5
2
9
8
7
3
4
1 Adjustment dial
2 Displays that the room setpoint was changed
manually
3 Operation lock
4 Battery status
5 Temperature display/parameter information
6 Text display, 9 characters
7 Radio signal (field strength)
8 Radio communication display
9 Radio communication error
10 Info button, for displaying the room (zone)
information;
Function button, for binding and configuring
Battery display
Battery status Meaning
Batteries fully charged
Batteries half charged
Batteries have to be replaced soon
Flashing display: Batteries are dead and
have to be replaced
Radio signal display
Display Meaning
0
Field strength excellent
03
Field strength good
Field strength weak
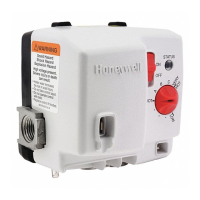
4. Mounting
Ready to operate in three steps:
• Insert batteries and set language
• Establish radio connection
• Mount on radiator controller – FINISHED
Inserting/changing batteries
The radiator controller is set for the following battery
type:
• 2 alkaline cells 1.5 V; type LR6, AA, AM3
You can instead use the following batteries or
accumulator cells:
• Lithium 1.5 V; type LR6, AA, AM3
• NiMH 1.2 V; type LR6, AA, AM3
i
• If lithium or NiMH batteries are used, Parameter 9
has to be adapted, see Section 5.
• Always change batteries in pairs.
i
• If the batteries are too weak, the radiator controller
opens the radiator valve completely.
• After the batteries have been replaced, the radio
connection to the central operating device is
restored automatically.
 Loading...