3
5.
4.
–
+
7.
6.
1.
3.
2.
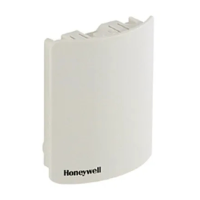
1. Pull off the adjustment dial. To do so, start at the notch
on the bottom of the device.
2. If used, unscrew any fastening screws from the
battery compartment.
3. Release the lock and fold out battery spring.
The battery compartment is now accessible.
4. Insert the batteries.
Ensure that the polarity "+" and "–" is correct.
5. Fold down the battery spring and latch it in.
6. Option: Secure the battery spring with the fastening
screws to secure the batteries against theft.
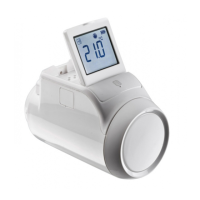
7. Place the adjustment dial back on.
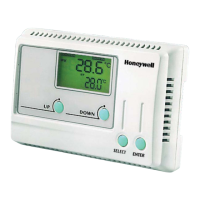
First the software version number and then the
language
english
is displayed.
8. If desired, use the adjustment dial to select a different
language.
9. Confirm the selected language with the button.
i
The language selection is only displayed during initial
commissioning.
i
The battery life of new alkaline cells amounts to
approx. 2 years. The batteries need changing when
the symbol flashes. All the settings are retained
when the batteries are changed.
WARNING
Explosion hazard!
f Never charge non rechargeable batteries.
f Never short-circuit batteries or throw them
into fire.
f Dispose of used batteries ecologically.
Establishing radio connection
The radiator controller HR92 communicates with the
central operating device by radio using the frequency
of 868 MHz. To this purpose the connection between
the HR92 and the central operating device has to be
established first. This process is called BINDING. In the
case of preconfigured devices binding has already been
carried out in the factory.
i
If binding has not yet been carried out,
unbound
is
displayed after has been pressed.
Binding must first be activated at the HR92 so that the
radio signal can be received. Subsequently binding has
to be activated at the central operating device.
i
Please read the operating instructions of your central
operating device for further information about binding.
Activating binding at the HR92
i
Carry out binding of the radiator controller near the
final mounting location.
1. Press the button briefly.
unbound
is displayed.
2. Hold the button pressed for 5 seconds.
bind
is displayed.
3. Press the button briefly.
binding
is displayed and the radio symbol
appears.
Activating binding at the central control device
fTo activate binding at the central control device: see
the associated instructions.
 Loading...