EasyManua.ls Logo

Honeywell HR92 User Manual

Honeywell HR92
12 pages
To Next Page IconTo Next Page
Page #1 background imageLoading...
Page #1 background image
1
2. Brief description
HR92 is an electronic radiator controller with a modern
design. Because of the wireless communication with
a frequency of 868 MHz the controller can be easily
integrated in heating systems such as evohome to
control the room temperature.
User-friendly
• Large adjustable display with backlight.
• Display of information in the display using symbols
and text.
• Parameters can be set individually.
• Manual temperature modification (effective until the
next switching point) possible at any time.
Mounting
• The radiator controller fits on the most common
radiator valves of the type M30x1.5.
• Further adapters are available as accessories.
• An external window contact can be connected
optionally.
Energy saving features
• With the window function, the radiator valve is closed
when ventilating the room.
• If an external window contact is used, the radiator
valve is closed when a window is open.
CAUTION
f Use the radiator controller only in
accordance with these operating
instructions.
f Do not let children play with the radiator
controller.
1. Scope of delivery
The radiator controller packaging contains:
3
1 2
4
1 Radiator controller with valve baseplate M30 x 1.5;
batteries included
2 Display support
3 Valve adapter type Danfoss RA
4 Screws for securing radiator controller and battery
compartment
WARNING
Danger of suffocation!
f Keep packaging materials away from
children.
Wireless
Radiator Controller
HR92
UK
Question and Answer IconNeed help?

Do you have a question about the Honeywell HR92 and is the answer not in the manual?

Honeywell HR92 Specifications

General IconGeneral
DisplayLCD with backlight
Power Supply2 x AA batteries
CommunicationWireless
Frequency868 MHz
Temperature Control Accuracy±0.5°C
Battery LifeApproximately 2 years
RangeUp to 30 meters
ConnectionM30 x 1.5
CompatibilityEvohome systems

Summary

Scope of delivery

Brief description

Device overview

Operating elements and display

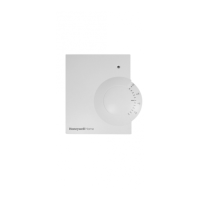
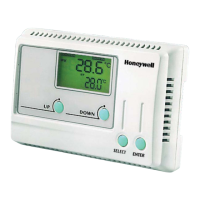
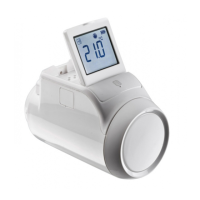
Details on the physical controls and screen elements of the radiator controller.

Radio signal display

Explanation of the icons and meanings for radio signal strength indication.

Battery display

Interpretation of battery status icons and their meaning.

Mounting

Inserting/changing batteries

Instructions for installing and replacing batteries in the radiator controller.

Establishing radio connection

Process for connecting the radiator controller to the central operating device wirelessly.

Activating binding at the HR92

Step-by-step guide to initiating the binding process on the radiator controller.

Binding at the HR92

Details on successful binding, synchronization, and troubleshooting.

Failed binding/insufficient data transfer

Explains common issues during binding and potential causes.

Clearing binding at the HR92

Instructions on how to deactivate the binding between devices.

Radio test

Procedure for testing the radio signal strength and connection.

Radio test at operating devices with 2-way communication

Specific steps for performing a radio test on devices with two-way communication.

Mounting the radiator controller

General guidance on attaching the controller to the radiator valve.

Selecting the adapter

Information on choosing the correct adapter for different radiator valve types.

Removing the old thermostat head

Steps to uninstall the existing thermostat head before installation.

Mounting the valve baseplate

Instructions on how to attach the valve baseplate to the radiator.

Mounting the radiator controller

Steps for attaching the main radiator controller unit to the mounted baseplate.

Securing the radiator controller

Method to secure the controller and batteries using screws.

Setting the position of the display

How to adjust the display angle for better readability.

Connecting an external window contact

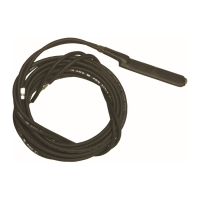
Guide for connecting an optional external window contact.

Basic settings

Changing parameters

Step-by-step instructions for adjusting the device's parameters.

Description of the parameters

Detailed explanations of various configurable parameters for the controller.

Further functions

Overview of additional functionalities beyond basic settings.

Manual changing of the room setpoint temperature

How to manually adjust the desired room temperature.

Display of the room name

Information on how the room name is displayed on the controller.

Automatic monitoring functions

Window function

How the controller reacts to open windows for energy saving.

Valve protection

Explanation of the automatic self-test to prevent valve seizing.

Frost protection

How the controller prevents freezing by opening the valve below 5°C.

Help with problems

Emergency operation when batteries are flat

Restoring the factory setting

Technical data

Disposal

Declaration of Conformity

Binding and radio test – Overview

Related product manuals