8
5. Basic settings
Overview
If required, the 12 basic settings (parameters) can be
adjusted.
Factory settings have a grey background.
Parameters marked with an * are described in more
detail below.
Par.
Set-
ting
Meaning
1
1
2
3
4
5
6
Language setting
English
German
Italian
French
Dutch
Spanish
2
0
1
Backlight *
Deactivated
Activated
3
0
30
...
90
Duration of the window function *
Window function not active
Valve opens at the latest after 30 minutes
...
Valve opens at the latest after 90 minutes
4
0.2
...
2.0
Sensitivity of the window function during
dropping room temperature *
0.2 (sensitive)
...
2.0 (less sensitive)
Factory setting: 0.4
5
0.1
...
2.0
Sensitivity of the window function during
rising room temperature *
0.1 (sensitive)
...
2.0 (less sensitive)
Factory setting: 0.2
6
0
1
Setting the valve stroke *
Standard valve stroke
Full-stroke mode
7
0
1
Temperature representation in the
display *
Set/programmed temperature (setpoint
temperature)
Measured room temperature
8
3
...
-3
Temperature offset *
To adjust the temperatures measured by the
radiator controller and in the room
Factory setting: 0
Par.
Set-
ting
Meaning
9
0
1
2
Battery type
Alkaline
Lithium
NiMH (accumulator chargeable)
10
0
1
Display of the valve position *
No display of the valve position
Momentary display of the valve position
11
0
1
2
Window open function *
Off (no window function)
Auto (corresponding to Parameters 3-5)
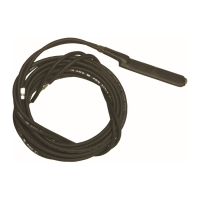
Cabled (with floating window contact)
12
0
1
Restore to factory setting
No reset
Reset
The binding is retained.
Exit
Changing parameters
1. Keep the button pressed for approximately
5 seconds until Parameter 1 flashes (left-hand digit).
language
The right-hand digit shows the current setting.
The parameter is displayed additionally in plain text.
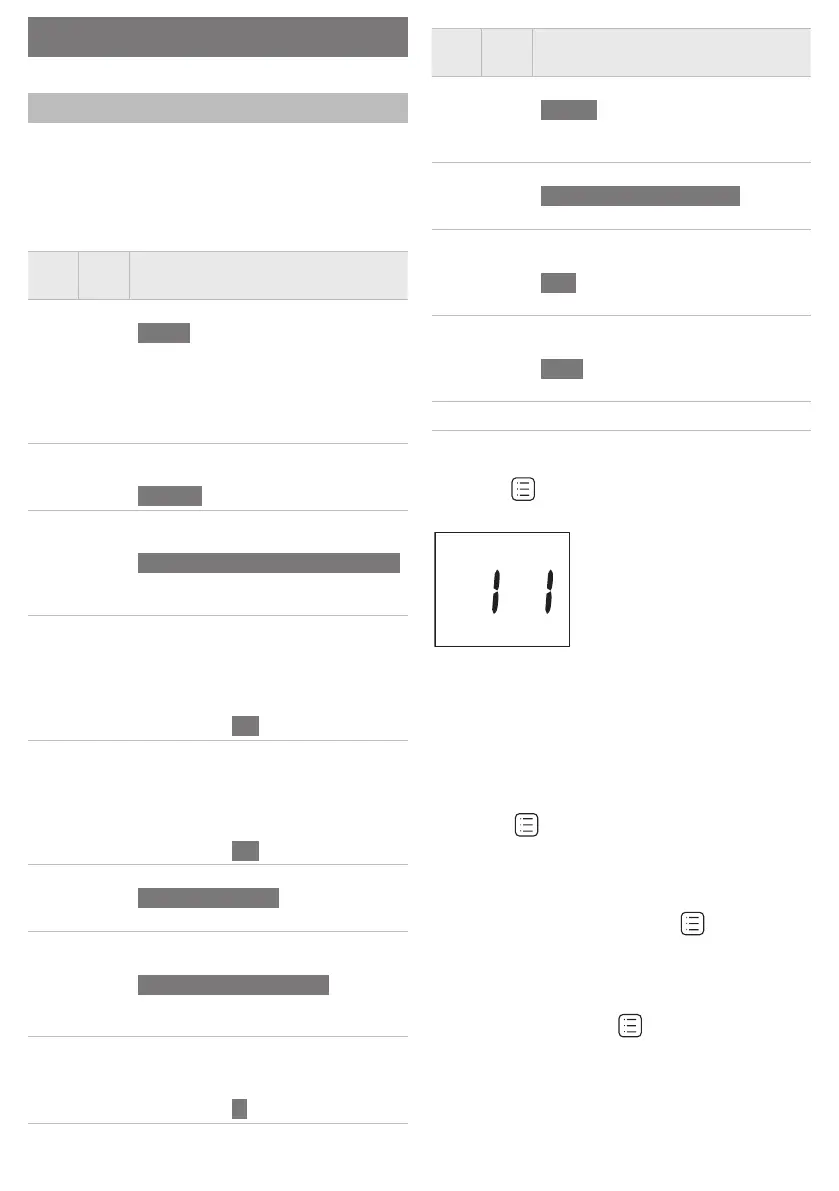
For example, the display
1 1
stands for Parameter 1
(language) with Setting 1 (German).
2. Use the adjustment dial to select the desired
parameter (left-hand digit).
3. Press the button to edit the parameter.
The current setting of the parameter flashes (right
hand digit).
4. Use the adjustment dial to set the desired setting
(right-hand digit) and confirm with .
The parameter being edited flashes (left-hand digit).
5. For the further parameters repeat Steps 2 to 4.
6. To exit the menu, select
exit
using the adjustment
dial and confirm with the button.
 Loading...