Rev 3.01 11 Document 900.0399
08/08
3
DVR Configuration
This chapter explains:
• Front panel LEDs and controls
•Initial DVR setup
• Configuring live and recording modes
• Setting motion zones
• Setting recording schedules
• Setting system parameters
• Configuring remote network control
• Setting storage parameters
Note Ensure that your DVR is completely installed and all components are
connected before proceeding.
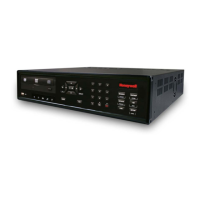
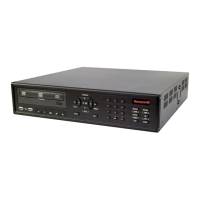
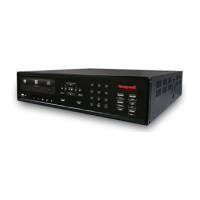
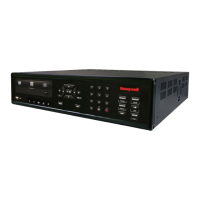
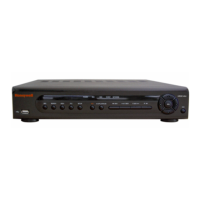
Front Panel LEDs and Controls
Figure 3-1 shows the DVR front panel. Table 3-1 describes the operational LEDs. Table 3-2
describes the control buttons.
Figure 3-1 Front Panel
Table 3-1 Front Panel LEDs
LED Function
POWER ON indicates power is applied to the unit.
REC ON indicates recording is enabled.
HDD ON indicates the system is accessing the hard drive.
EVENT ON indicates the sensor(s) has/have been triggered or motion is detected.
NETWORK ON indicates a user is connected to the system through the RAS software.
 Loading...