Lyric Controller Installation and Reference Guide
- 9 -
Installing
InstallingInstalling
Installing
the Control
the Control the Control
the Control (Continued)
Desktop Mounting
Desktop MountingDesktop Mounting
Desktop Mounting
NOTE:
NOTE: NOTE:
NOTE:
When selecting a location for the Lyric Controller, be sure to provide a separation of at least 10 feet
between 2.4GHz devices such as Wi-Fi Routers/Access Points.
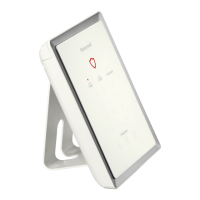
For desktop mounting the Lyric Desk Stand (LCP500-DK) is installed in place of the wall mount. The desk Stand
can be installed in two positions that provide a viewing angle of 30 degrees or 60 degrees. Follow the steps and
refer to the figures below.
Replace the Back Plate
Replace the Back Plate Replace the Back Plate
Replace the Back Plate
1. Remove the screw securing the rear cover to the controller.
2. Remove the rear cover.
NOTE
NOTENOTE
NOTE: If using the high-capacity (24-hour) backup battery (Kit LCP500-24B, battery p/n 300-03866-AIO),
remove the battery retainer clip. The clip is not required when the desk mount is installed.
3. Feed the field wiring through the appropriate openings in the rear cover included with the Lyric Desk Stand
(LCP500-DK).
4. Install the new rear cover.
5. Install the screw to secure the rear cover to the Lyric Controller.
lyric-050-V0
SCREW
REMOVE
INSTALL
Install Desk Stand
Install Desk StandInstall Desk Stand
Install Desk Stand
1. Align the slots on the back of the controller with the hooks on the desk stand as shown below.
2. Insert the stand into the slots on the rear case to provide the desired viewing angle and slide up to lock in
place.
lyric-052-V0
STAND LOCATION 60
STAND LOCATION 30
 Loading...