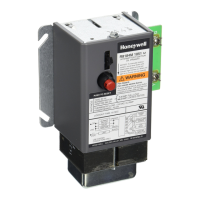
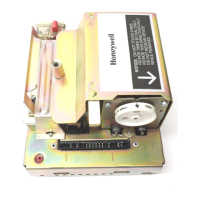
ERM5220R EQUIPMENT REMOTE MODULE
7 33-00205—01
INSTALLATION
IMPORTANT
• The ERM is not compatible with forced air zone boards (see the FAQ on page 27 for details).
• To ensure that the ERM will receive a wireless signal at the desired installation location:
(a) Do not mount the ERM in a metal box. This would impede the RedLINK wireless signal.
(b) If your location has metal siding, the ERM’s signal may be affected. If there is no communication or poor sig-
nal strength, consider a different location.
(c) If there is a lot of concrete materials between the ERM and host (thermostat or EIM), the ERM’s signal may
be affected. If there is no communication or poor signal strength, consider a different location.
• A Prestige (with EIM) or VisionPRO (with or without EIM) will only allow one of the following configurations:
1) Enrolled with a single boiler configured ERM;
2) Enrolled with a single compressor configured ERM;
3) Enrolled with a single boiler configured ERM and enrolled with a single compressor configured ERM.
Wiring
1. Make sure power to compressor/boiler is off.
2. Remove the front cover by loosening the cover screw and lifting up from the bottom of the ERM.
3. Remove 3 to 4 inches of the cable’s outer sheathing, then remove 3/8 to 1/2 inch of insulation from each wire.
4. See Figures 10–15 for R to J jumper setting and wiring.
Fig. 9. Cable prepared for wiring.
M35674
 Loading...