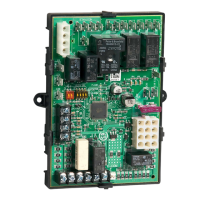
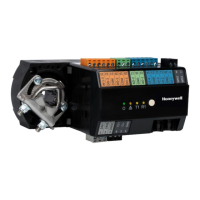
COMPACT VAV CONTROLLER WEB-VA423B24N – INSTALLATION INSTRUCTIONS
31-00362-01 6
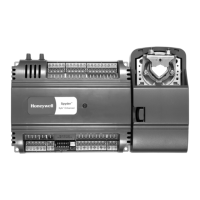
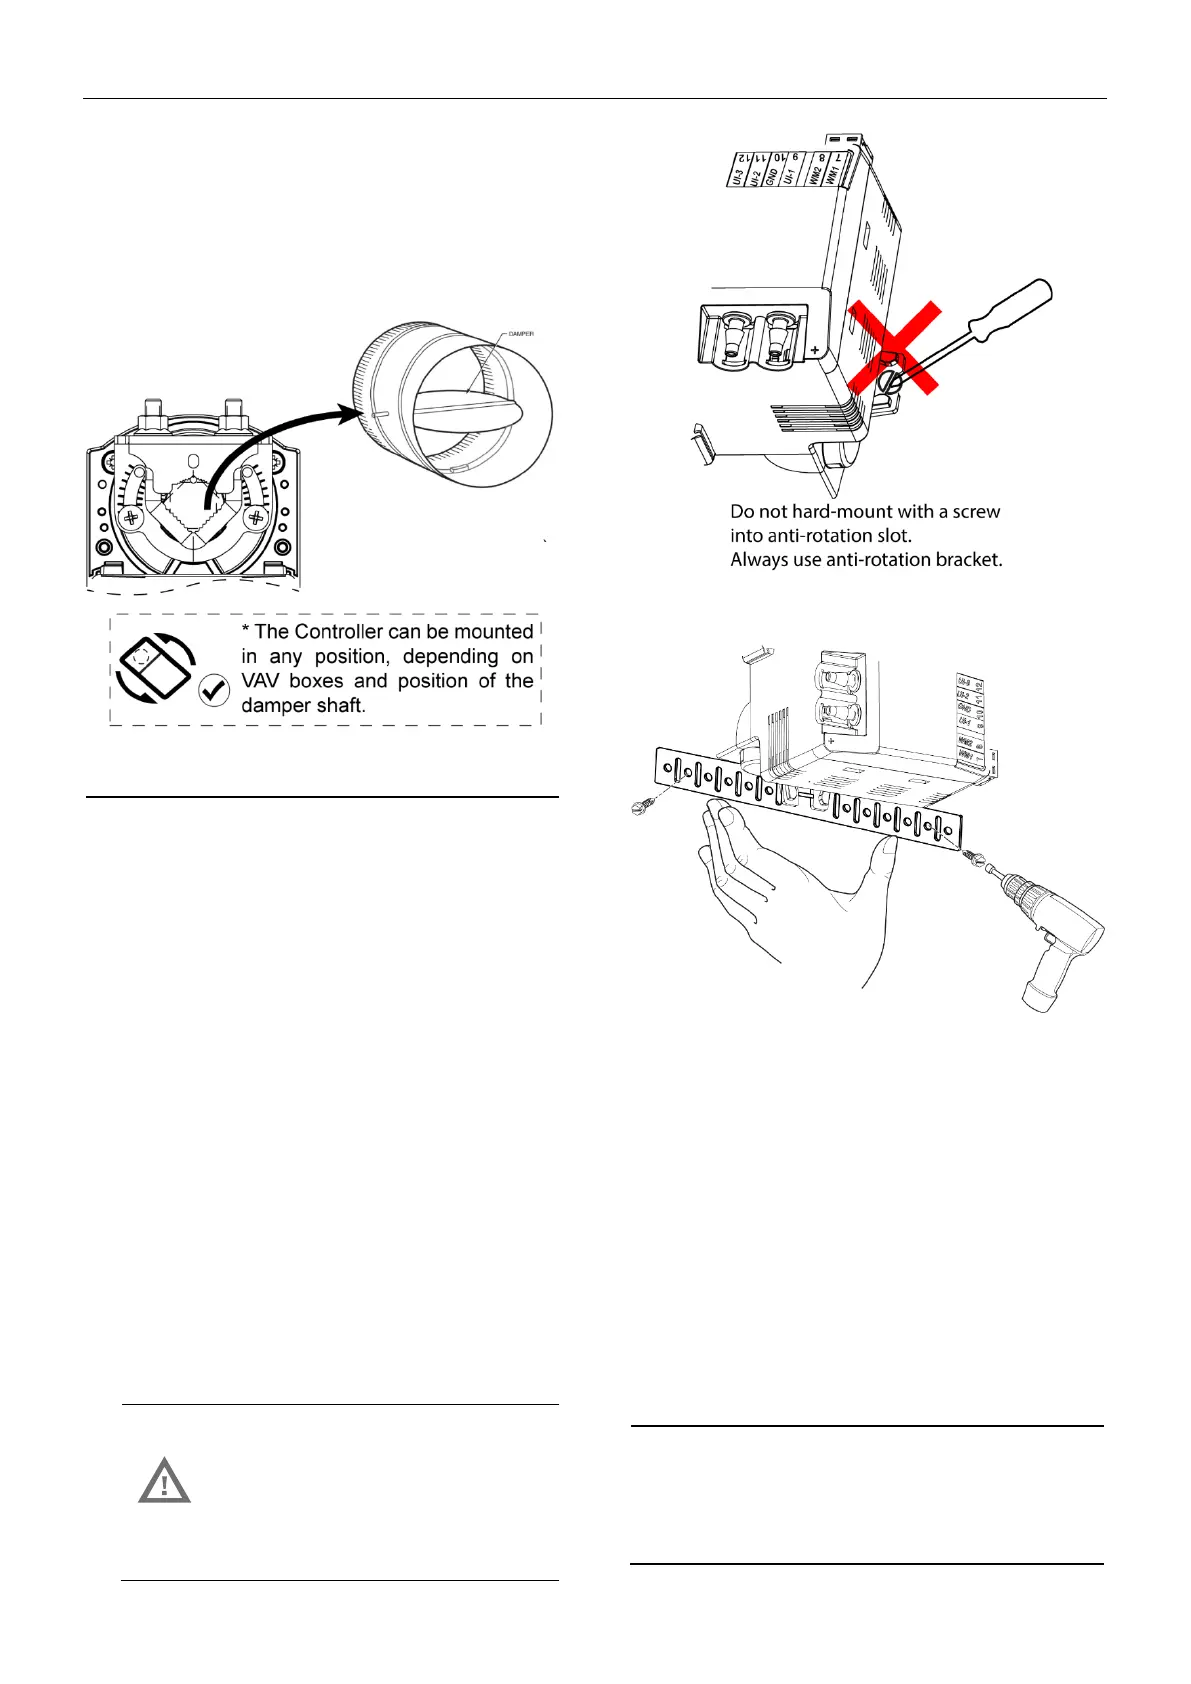
Mounting Actuator onto Damper Shaft
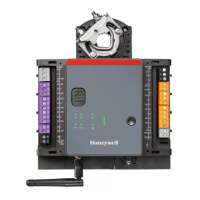
WEB-VA423B24N compact VAV controller can be
mounted in any orientation but should be mounted
in a position that allows clearance for wiring,
servicing, removal, connection of the BACnet
connector and access to the service button.
Fig. 7. Mounting an actuator
• The controller is not position sensitive and
can be mounted sideways or upside down
also.
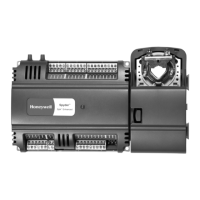
• The Spyder Model 5 compact VAV controller's
integral actuator does not float inside the
housing therefore it should be installed with a
floating mount to allow for non-concentric
travel, which can occur with damper shaft that
are out-of-round and/or have asymmetrical
damper shaft mounts.
• If the actuator does not allow any wobble,
then it is likely to bind. To prevent this, when
installing the Spyder Model 5 VAV controller,
install it over the damper shaft and then slide
the anti-rotation bracket underneath and into
the mounting slot but not at the very end of
the slot (leave a little wiggle room).
• Screw the anti-rotation bracket using two
screws on the sides of the controller.
• The anti-rotation bracket is designed to be
bent as needed (it has built-in bend-it-easy
slots) to accommodate difficult installation
locations.
CAUTION
Do not hard-mount the Spyder
Model 5 compact VAV controller
with a screw directly into the anti-
rotation slot.
Fig. 8. Do not hard-mount the controller
Fig. 9. Always use Anti-rotate bracket
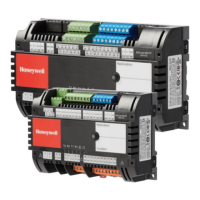
Tools required:
• Phillips #2 screwdriver for end-limit set
screw adjustment
• 8 mm wrench for centering clamp
The actuator mounts directly onto the VAV box
damper shaft and has up to 44 in-lb. (5 Nm)
torque, 90-degree stroke, and 108 second timing
at 50 Hz and 90 second timing at 60 Hz.
The actuator is shipped with two mechanical end-
limit set screws to control the amount of rotation
from 12° to 95°. These set screws must be securely
fastened in place. To ensure tight closing of the
damper, the shaft adapter has a total rotation
stroke of 95°.
• The actuator is shipped with the
mechanical end-limit set screws set to 95
degrees of rotation. Adjust the two set
screws closer together to reduce the
 Loading...