2
S
S
Y
U
U
G
C
Y
A
Rc
W
K
W2
R
L/A
O/B
AUX
E
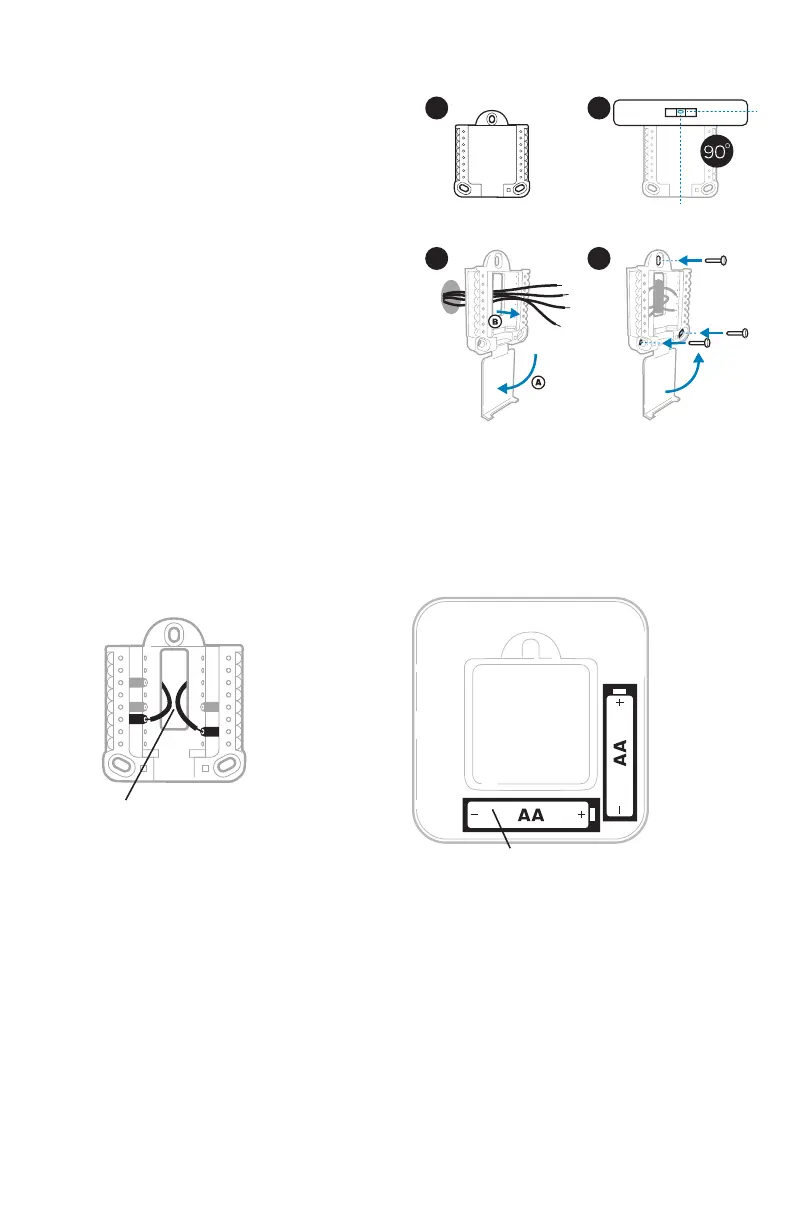
Power options
Insert R and C wires into
designated terminals for primary
AC power (C terminal is optional
if batteries are installed, but it is
recommended). Remove wires by
depressing the terminal tabs.
Insert AA batteries for primary or backup
power.
UWP Mounting System installation
Use 3x supplied
screws #8 11/2”
1. Before starting, turn the power off
at the breaker box or switch. Open
package to find the UWP. See Figure 5.
2. Position the UWP on wall. Level and
mark hole positions. See Figure 6.
Drill holes at marked positions, and
then lightly tap supplied wall anchors
into the wall using a hammer.
‒ Drill 7/32” holes for drywall.
3. Pull the door open and insert the wires
through wiring hole of the UWP. See
Figure 7.
4. Place the UWP over the wall anchors.
Insert and tighten mounting screws
supplied with the UWP. Do not
overtighten. Tighten until the UWP
no longer moves. Close the door. See
Figure 8.
8
5
7
 Loading...