5
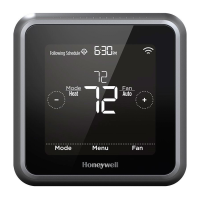
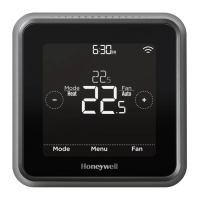
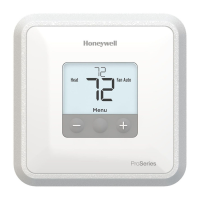
Fan operation settings
1 Press Menu to cause the Mode and Fan
menus to appear.
2 Press Fan ( ) to cycle through Fan modes.
NOTE: Available Fan modes vary with system
settings.
Fan modes:
‒ Auto: Fan runs only when the heating or
cooling system is on.
‒ On: Fan is always on.
Thermostat mounting
1. Push excess wire back into the wall
opening.
2. Close the UWP door. It should remain
closed without bulging.
3. Align the UWP with the thermostat, and
push gently until the thermostat snaps in
place.
4. Turn the power on at the breaker box or
switch.
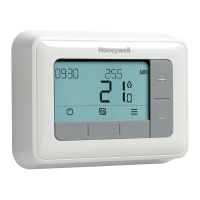
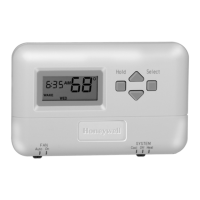
System operation settings
1 Press the Menu to cause the Mode and Fan
menus to appear.
2 Press Mode ( ) to cycle through the
available modes.
NOTE: Available System modes vary by model
and system settings.
System modes:
‒ Heat: Thermostat controls only the heating
system.
‒ Cool: Thermostat controls only the cooling
system.
‒ Off: Heating and cooling system is off. Fan will
still operate if fan is set to On.
+
+
+
 Loading...