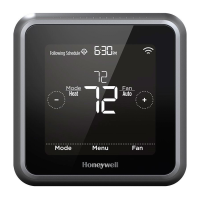
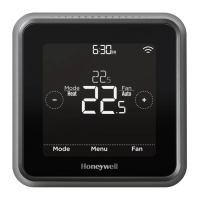
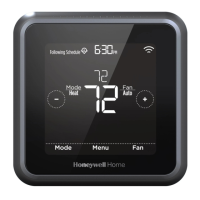
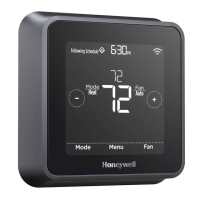
Please follow the below guide for the basic wiring walkthrough:
To protect your equipment, turn off the power at the breaker box or switch that controls your heating and cooling
equipment. To make sure that your system is off, change the temperature on your existing thermostat so that your
system starts heating or cooling. If you don’t hear or feel the system turn on within 5 minutes, the power is off. If you
have a digital thermostat that has a blank display, you can skip this step.
Next, remove your existing thermostat from the wall plate. Most thermostats pull directly off the wall. However, some
lift from the bottom and lever off, and others have a locking tab.
The next step is to take a picture of your wiring. When taking the picture, please make sure that the terminal
markings are clearly visible.
Review your pictures.
If you see terminals labeled A B C, or 1 2 3 then your new thermostat may not be directly compatible, as your system
requires a communicating thermostat.
If you see thick, black or red wires then you have a line voltage system. This type of wiring requires a line voltage
thermostat and is not compatible with low voltage thermostats
If you see wires connected to terminals labeled G1,G2,G3, you will need a thermostat capable of controlling multiple
fan speeds, none of our retail thermostats are compatible with this system type. G is compatible, but not
G1,G2,and/or G3.
What you should typically see is 18 – gauge solid core wire. The most common configuration is five wires, however
you could see as few as two, and as many as ten.
Any wire that is present, but not connected to a terminal you will want to make a note of, but you will not label these
wires.
Using the photos that you took, remove each wire one at time and label it. If a terminal has multiple designations like
W and O/B, it will be labeled as W and O/B and not just one or the other.
After you have removed and labeled all wires you can unscrew, remove the old thermostat wall plate and mount the
new thermostat’s wall plate.
After mounting the new thermostat’s wall plate, we can re-connect the wiring. If we recommend placing a wire in a
terminal, do not move it to another terminal if we address it later in the guide. (Ex. – You have a single wire labeled
W-O/B and we advise placing it in the O/B terminal. If later in the guide we recommend putting the W wire in the W
terminal, you will not move this wire, as we’ve already instructed you to place it in O/B.)
Now, let’s cover wiring configurations.
Identify any wires label R, RH, or RC. You will typically have one or two out of those three. If you just have one wire,
regardless if it’s labeled RC, it will go into the R terminal, and the jumper connecting terminals R and RC will be in
place. Some thermostats have a jumper switch, some have a metal staple, others may have a plug, and the jumper
may also just be a wire connecting the two terminals. If you have two wires, R or RH will go into the R terminal, and
RC will go into the RC terminal. If you have more than one wire (you have a wire labeled R, and another wire labeled
Rc for example) you can remove any jumpers between the R and Rc terminals, or push the switch to open the RC
terminal so you can insert a wire.
Next, let’s talk about the C, or common wire. If you have a Trane model thermostat, and have a wire labeled X or B
refer to your thermostat manual. In some cases, one of those wires may be your common. If you have a C wire,
place it into the C terminal on your wall plate.
Let’s take a look at the G wire. This wire will go to the G terminal on your new thermostat.
For the Y, Y1, and Y2 wires, Y or Y1 will go to the Y terminal, and Y2 will go to the Y2 terminal.
The O/B wire can have many configurations. It can be W-O/B, O/B, W-O, W-B, or you may even have separate O
and B wires. If you have separate wires for O and B, you will want to tape off the B wire so it can’t make contact, and
the O wire will be connected to the O/B terminal on your thermostat.
 Loading...