6
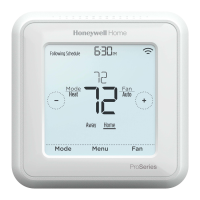
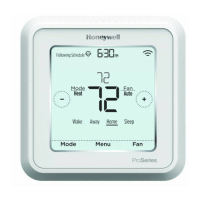
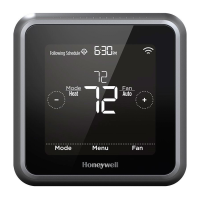
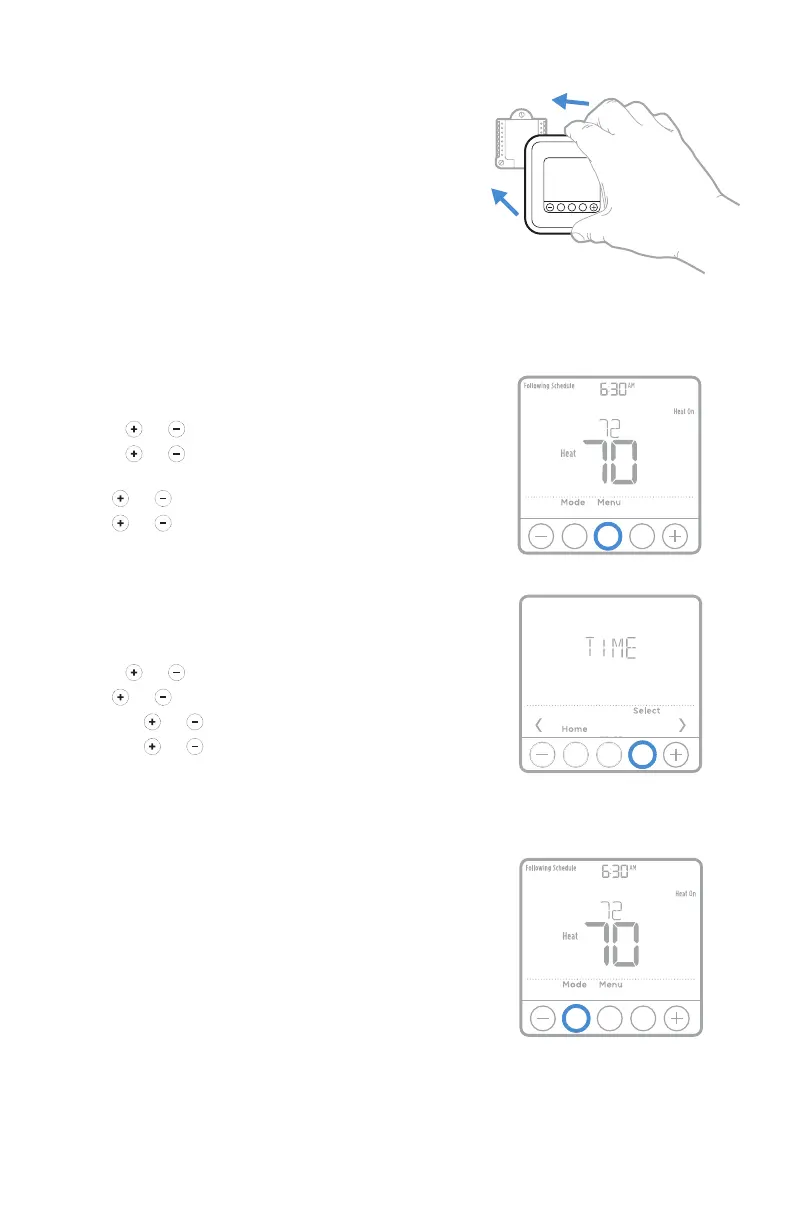
Thermostat mounting
1. Push excess wire back into the wall
opening.
2. Close the UWP door. It should remain
closed without bulging.
3. Align the UWP with the thermostat, and
push gently until the thermostat snaps in
place.
4. Turn the power on at the breaker box or
switch.
Set the time and date
Time
1 Press Menu on your thermostat.
2 Press or to go to TIME. Press Select.
3 Press or to choose between 12 or 24 hour.
Press Select.
4 Use or to adjust the hour. Press Select.
5 Use or to adjust the minutes. Press Select
to exit Time menu.
Date
1 If previously setting time, continue to Step
2. If at the Home screen, press Menu on your
thermostat.
2 Press or to go to DATE. Press Select.
3 Use or to adjust year. Press Select.
4 Use the or to adjust month. Press Select.
5 Use the or to adjust day. Press Select to
save and exit Date menu.
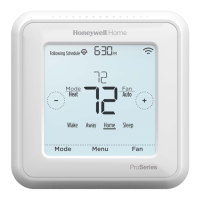
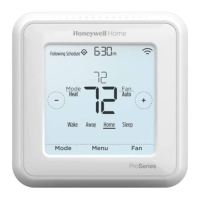
System operation settings
1 Press the Mode button to cycle to the next
available System mode.
2 Cycle through the modes until the required
System mode is displayed and leave it to
activate.
Available System modes:
‒ Heat
‒ Off
 Loading...