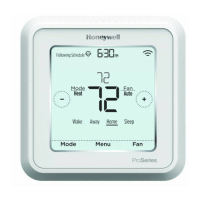
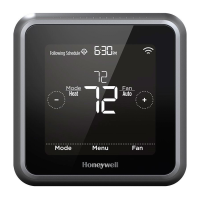
3
S
S
Y
2
U
U
G
C
Y
A
Rc
W
K
W2
R
L/A
O/B
AUX
E
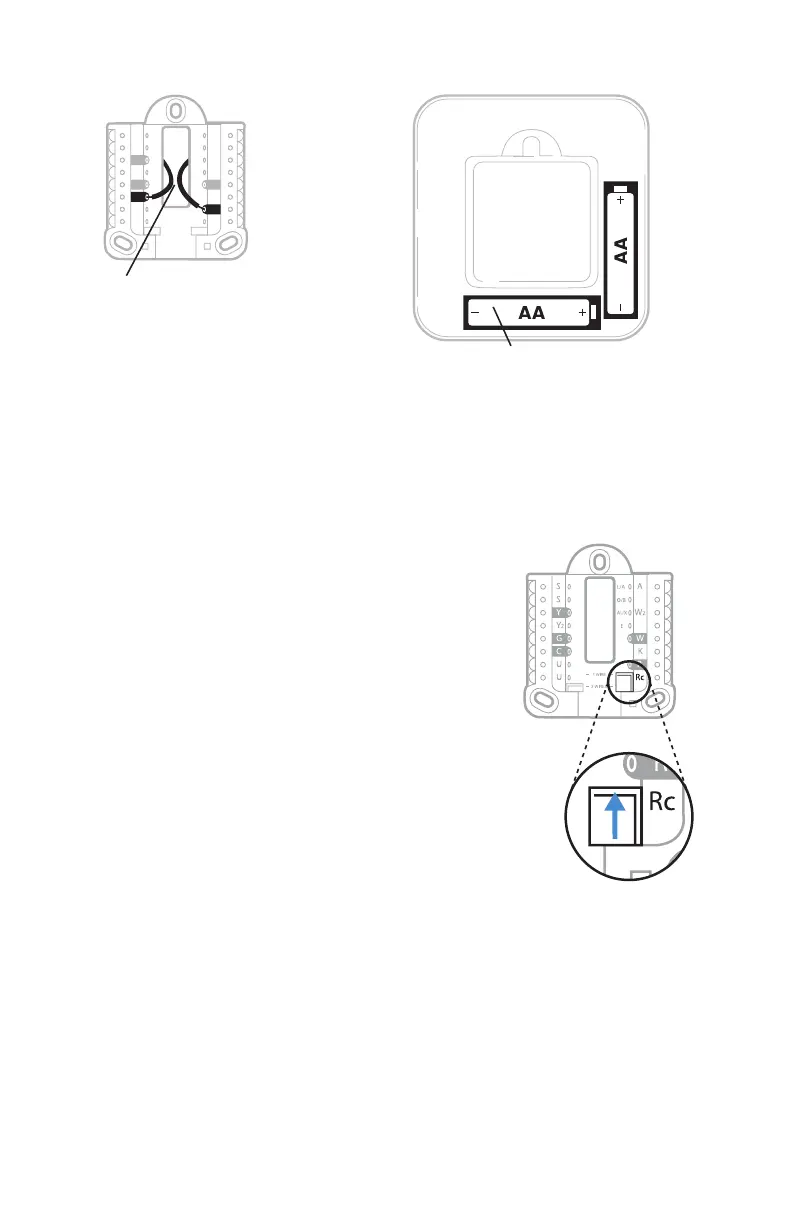
Power options
Insert R and C wires into
designated terminals for primary
AC power (C terminal is optional
if batteries are installed, but it is
recommended). Remove wires by
depressing the terminal tabs.
Insert AA batteries for primary or backup
power. Match the polarity of the batteries
with the + / – marks inside the battery
compartment.
Set R Slider Tab.
• Boiler, hot water valve circuit, or hot water
relay panel wires to R and W. If the same
transformer is providing common to power
the thermostat, wire the transformer
common to C and leave the R slider tab in
the up position (1 wire). If a transformer
that is not powering the heating equipment
is used to power the thermostat display,
set the R slider tab to the down position
(2 wires). Wire the heat circuit to R and W,
then wire the separate transformer to Rc
and C.
NOTE: Slider Tabs for U terminals should be
left in place for this thermostat model.
Setting Slider Tabs
R/Rc slider tab
UWP Mounting System
 Loading...