Contents [ hide
1 Getting started
2 Installing the thermostat
3 Performing installer setup
4 Wiring
4.1 Wiring guide–conventional systems
4.2 Wiring guide–heat pump systems
5 Connecting to Wi-Fi
6 Checking signal strength
7 Connecting to Wi-Fi later
8 Unsuccessful connection
9 Connecting to a hidden Wi-Fi network
10 Specifications and replacement parts
11 Electrical ratings
12 Accessories and replacement parts
13 Regulatory information
14 File Downloads
15 References
16 Related Manuals
Getting started
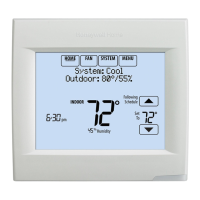
Follow these basic steps to install this thermostat, set installer options, and connect to the Wi-Fi network.
Installing the thermostat
1. Separate wallplate from thermostat.
If your thermostat has a button along the top of the wallplate, press the button on top and pull to remove the wallplate as shown. Some models made in 2019 didn’t have this
button. On those models, pull evenly along the sides and bottom of the thermostat to separate it from the wallplate.
2. Mount wallplate as shown.
Mount new wallplate using screws and anchors included with the thermostat. Drill 3/16-in holes for drywall. Drill 7/32-in holes for plaster.
3. Wire the thermostat.
Refer to the table and wiring diagrams on the next page.
a) Turn on 24VAC NOW. 24VAC (C wire) is required.
4. Mount thermostat on wallplate.
If your thermostat has hinges along the bottom and a button on the top, align the thermostat at the bottom and snap into place as shown. If you have the version without hinges,
line the thermostat up evenly with the wallplate and push the thermostat evenly along the sides and bottom to snap it into place.
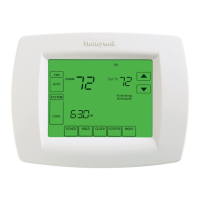
Performing installer setup
Setup options define the type of system you are installing and preferences for the display.
 Loading...


