8
EN
Consult your local laws and ordinances before choosing a
location to fly your aircraft.
If this is your rst helicopter, we suggest getting assistance
from an experienced helicopter pilot or ying club until you are
comfortable ying alone.
We recommend ying your aircraft outside in calm winds or inside
a large gymnasium. Always avoid ying near houses, trees, wires
and buildings. You should also be careful to avoid ying in areas
where there are many people, such as busy parks, schoolyards or
soccer elds.
It is best to y from a smooth at surface as this will allow
the model to slide without tipping over. Keep the helicopter
approximately 2ft(600mm) above the ground. Keep the tail
pointed toward you during initial ights to keep the control
orientation consistent. If you become disoriented while ying,
slowly lower the throttle stick to land softly.
During initial ights, only attempt takeoff, landing and hovering
in one spot.
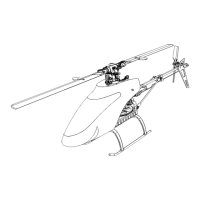
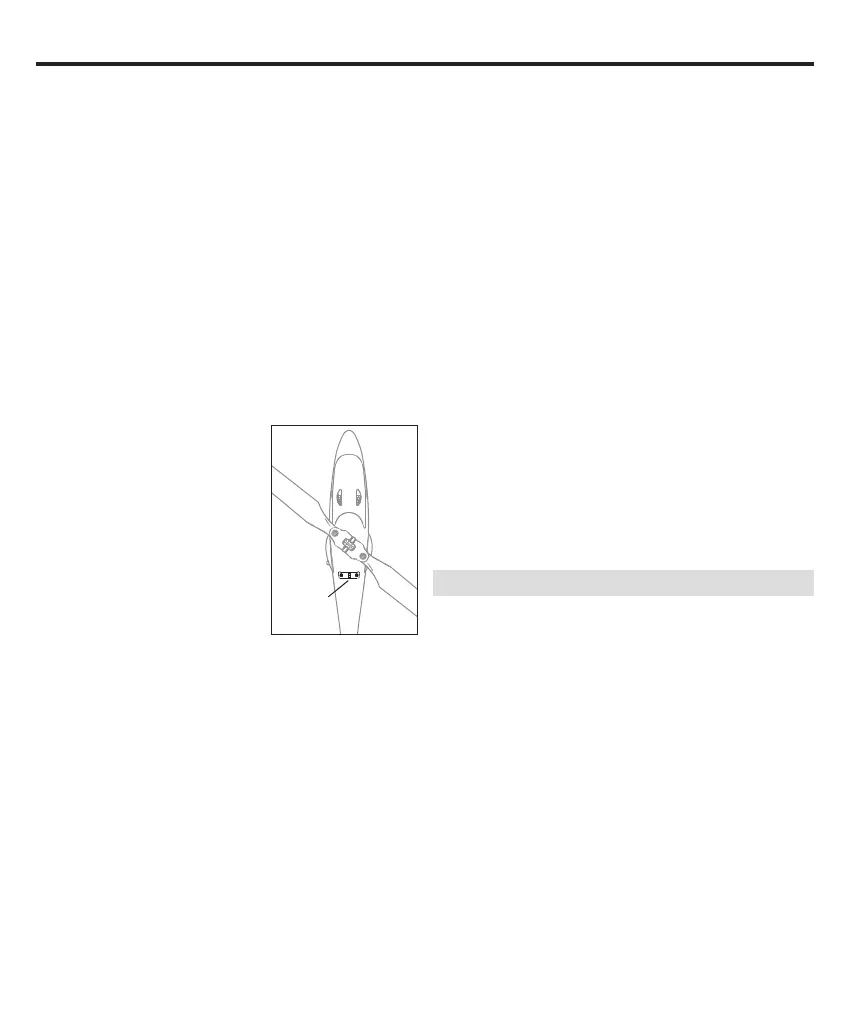
Calibration
After connecting a fully charged
battery and closing the battery
tray, place the 150 FX onto a at,
level, obstacle free surface and
move the calibrate switch to the
green dot position. Calibration takes
approximately 10 seconds and is
complete when the blue LED stops
ashing and remains lit. Walk back
30 feet (10 meters).
Takeo
When you are ready to y, lower the throttle stick to the lowest
position and move the throttle cut switch to the green dot
position. The motor will spin at low idle speed and respond to
throttle commands.
IMPORTANT: If the main motor or tail motor do not startup
properly when throttle is rst applied after the throttle is
unlocked, immediately return the throttle to idle and try again.
If the problem persists, disconnect the ight battery, check for
binding in the gear train and ensure no wires or debris have
become entangled within the gears.
Slowly increase the throttle until the model is approximately
2ft.(600mm) off the ground and check the trim so the model ies
as desired. Once the trim is adjusted, begin ying the model.
Hovering
Making small corrections on the transmitter, try to hold the
helicopter in one spot. If ying in calm winds, the model should
require almost no corrective inputs. After moving the cyclic
stick and returning it to center, the model should level itself.
The model may continue to move due to inertia. Move the
cycle stick in the opposite direction to stop the movement.
After you become comfortable hovering, you can progress into
ying the model to different locations, keeping the tail pointed
towards you at all times. You can also ascend and descend
using the throttle stick. Once you’re comfortable with these
maneuvers, you can attempt ying with the tail in different ori-
entations. It is important to keep in mind that the ight control
inputs will rotate with the helicopter, so always try to picture
the control inputs relative to the nose of the helicopter. For
example, forward will always drop the nose of the helicopter.
The average ight time of the aircraft using the recommended
battery is approximately 4 minutes, depending on how aggres-
sively the aircraft is own.
Low Voltage Cuto (LVC)
LVC decreases the power to the motors and the green LED
ashes slowly when the ight battery voltage gets low. When
the green LED ashes or the motor power decreases land the
aircraft immediately and recharge the ight battery.
LVC does not prevent the battery from over-discharge during
storage.
NOTICE: Repeated ying to LVC may damage the battery.
Landing
To land, slowly decrease the throttle while in a low-level hover
until the aircraft touches down. After landing, set the transmitter
throttle cut to the red dot position and then move the calibrate
switch on the helicopter to the red dot positon. Disconnect and
remove the battery from the aircraft to prevent trickle discharge.
Fully charge your battery before storing it. During storage, make
sure the battery charge does not fall below 3V per cell.
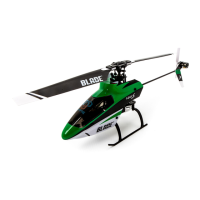
Flying the 150 FX
Calibrate
Switch
 Loading...