35
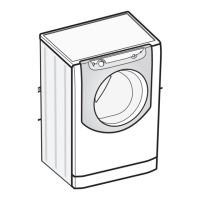
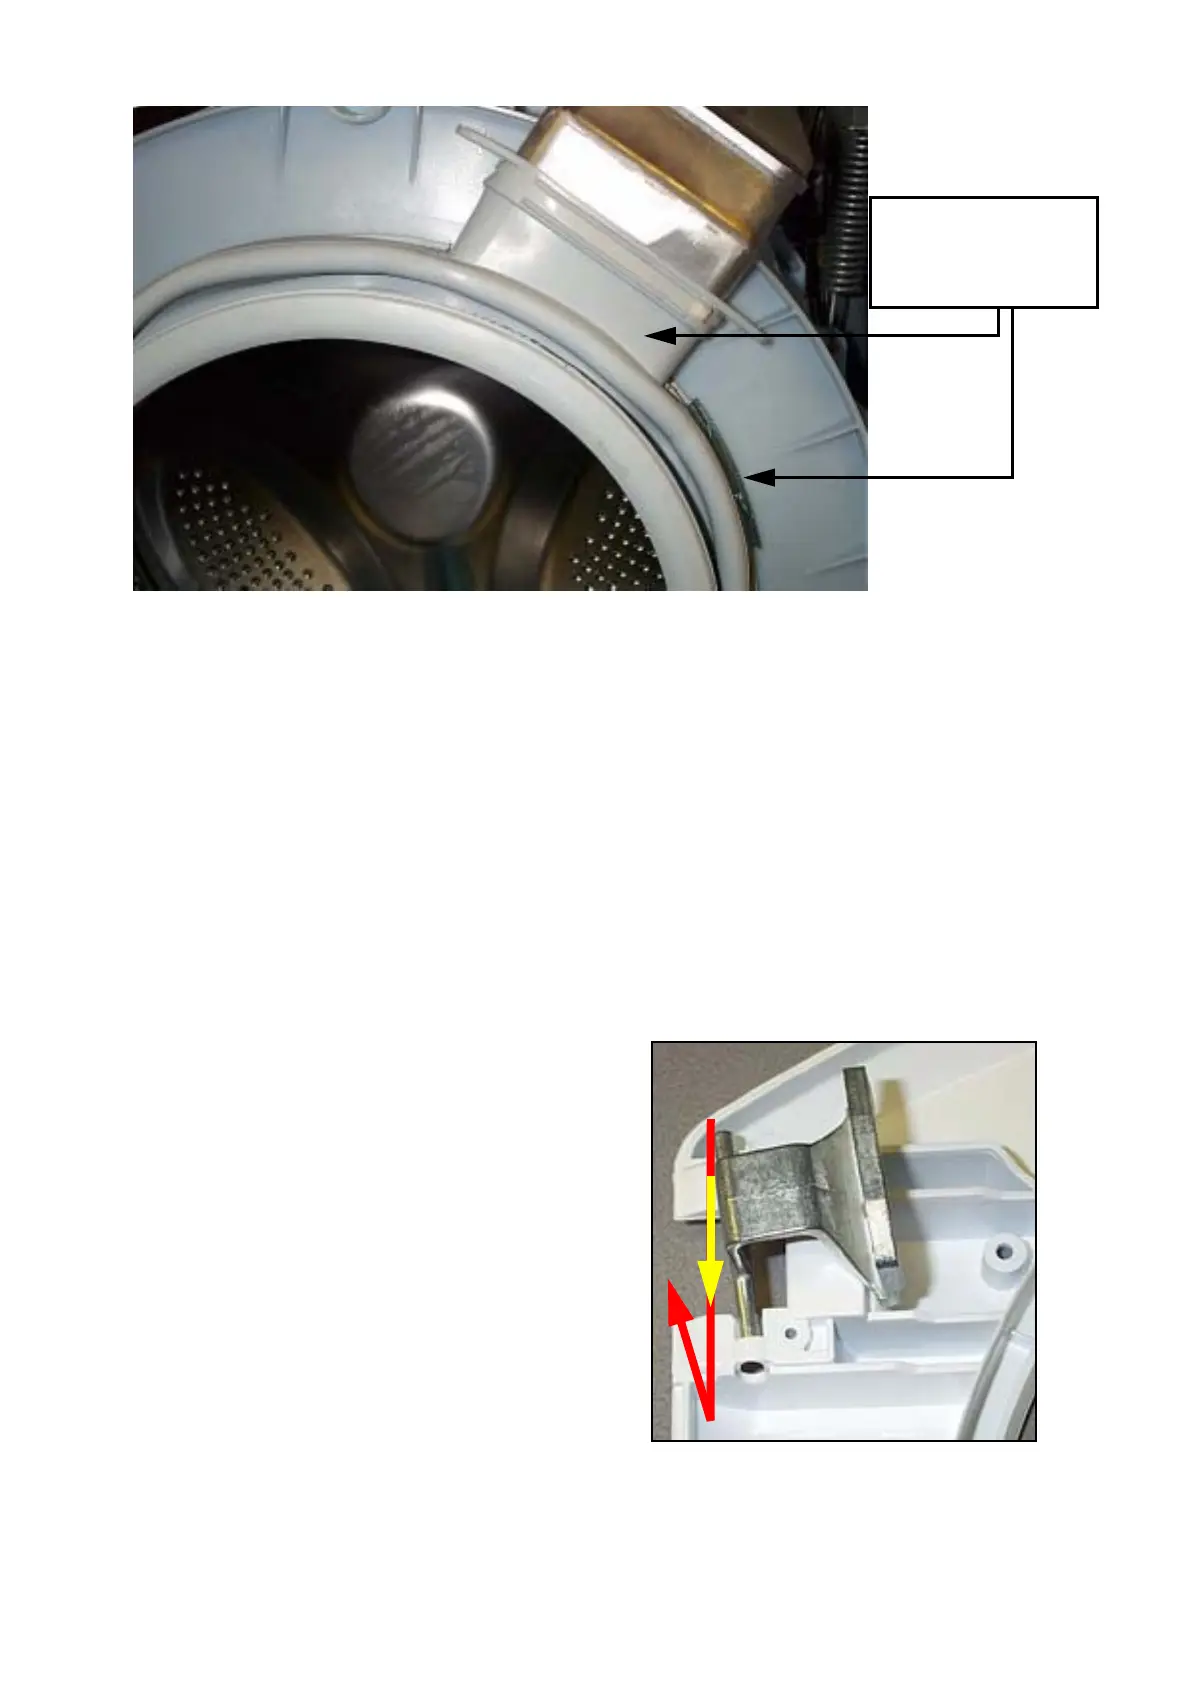
Seal to Drum fixing position
H Door Interlock
1. Remove the door seal restraint (G).
2. Peel the door seal off the front panel, and fold it back into the inner drum.
3. Remove two screws from the interlock.
4. The interlock can now be eased out, allowing access to the wiring connection block.
5. Care must be taken to ensure the correct orientation of the wiring connection plug to prevent
seriously damaging the interlock and / or control board.
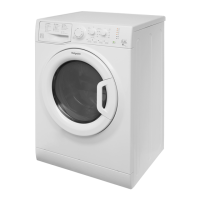
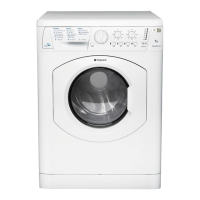
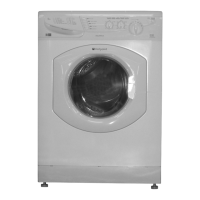
I Door Assembly
1. Open the door through 180° and remove four
screws securing the hinges to the front panel.
Ease the hinges from the panel.
2. The door trims can now be split. Lay the door
assembly face down on a suitably protected
surface and remove 6 screws securing the two
halves of the door.
3. Unclip the two halves at the hinge end and
separate a sufficient distance to slide out the
door glass.
4. When removing the hinges, note the orientation.
To remove, fold hinges inward, slide towards
each other to release other end. See photo.
Reassemble in reverse order.
5. To fully separate the halves, slide the front away
from the handle.
6. To remove the handle or latch, slide securing pin
out noting the position of the spring and latch.
Top Hinge removal (shown below) -
Slide towards lower hinge, twist to the left and
slide up to release.
Lower Hinge removal - Slide upwards, twist to
the right and slide down to release.
Correct seal and
Zipper fixing
position
Fig. 5
 Loading...