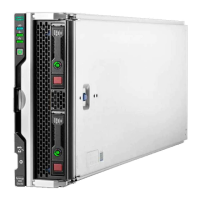
Installing the pass-thru module 12
• The system/info command displays image version, board revision, or chip revisions.
• The effect from any CLI command is immediate. For example, configuring auto-negotiation on a port
takes effect when the command is completed.
• Flow control is not configurable because the pass-thru module cannot handle or generate pause
packets. When using the 10GbE Pass-Thru Module, you must ensure that your pause configuration is
correct for both link partners.
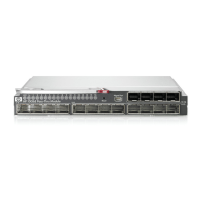
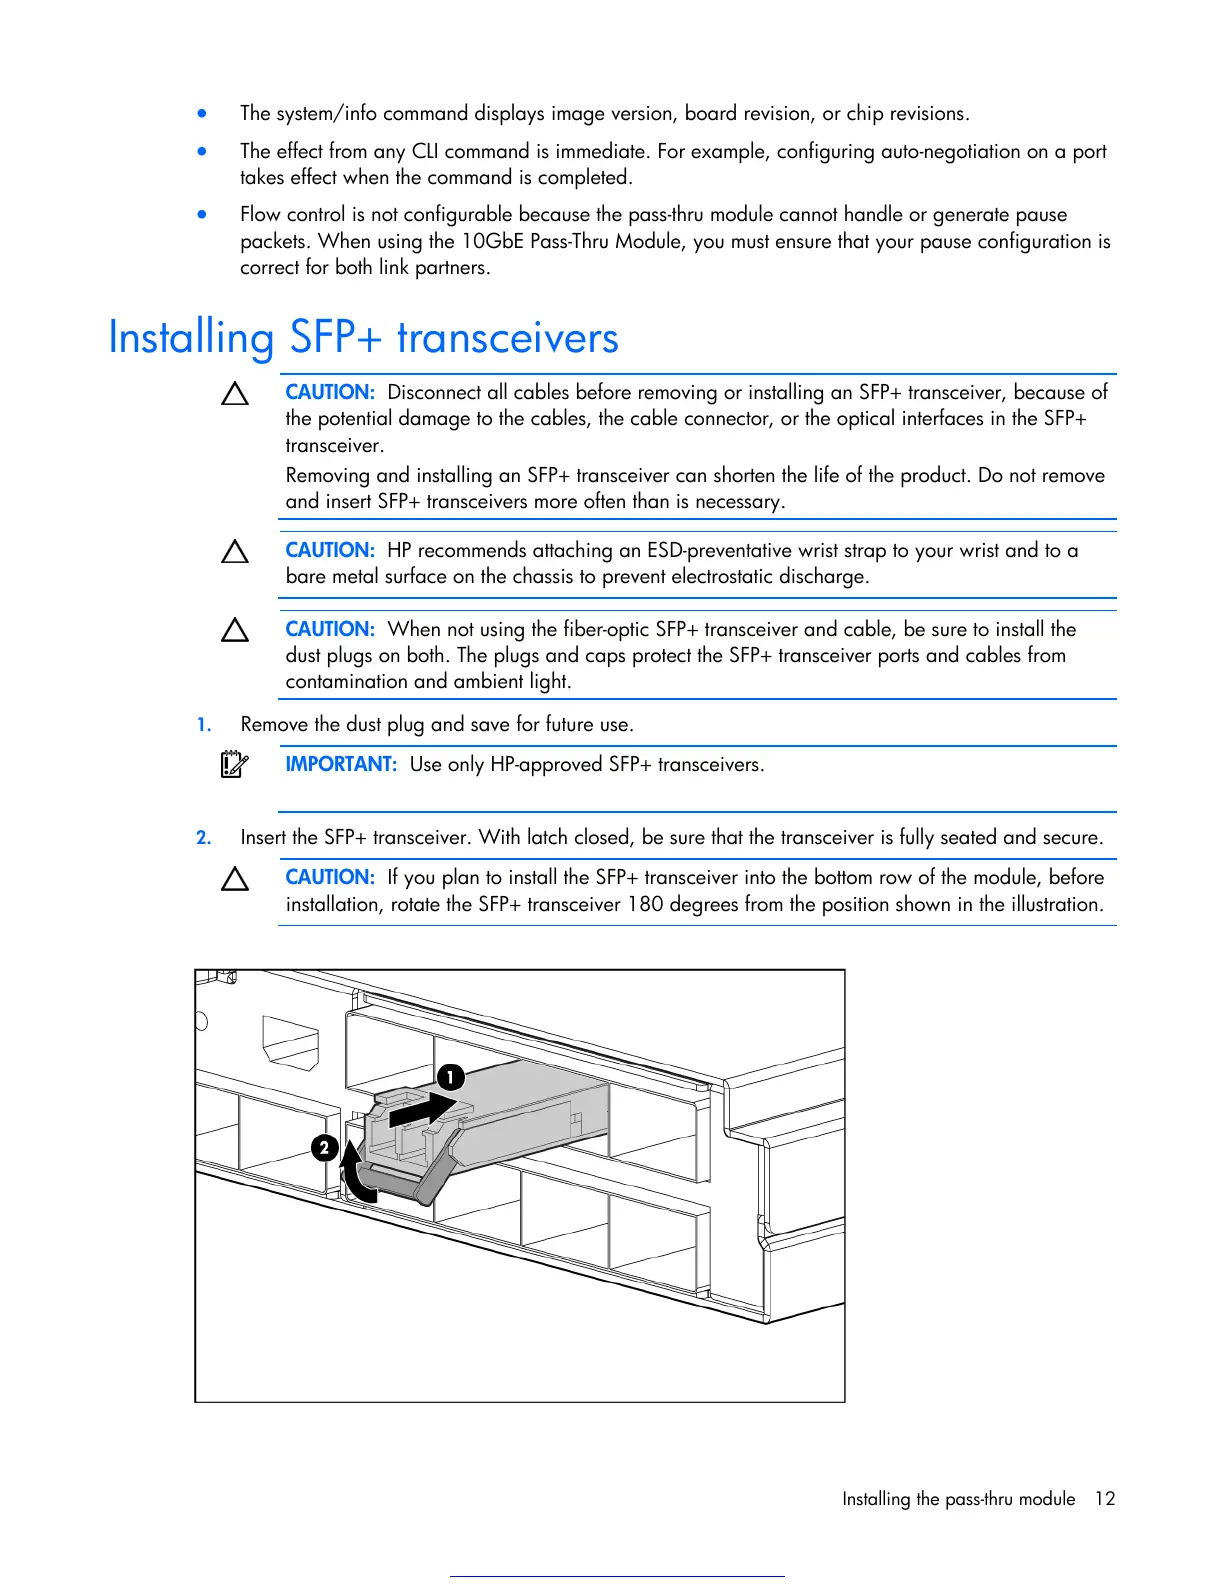
Installing SFP+ transceivers
CAUTION: Disconnect all cables before removing or installing an SFP+ transceiver, because of
the potential damage to the cables, the cable connector, or the optical interfaces in the SFP+
transceiver.
Removing and installing an SFP+ transceiver can shorten the life of the product. Do not remove
and insert SFP+ transceivers more often than is necessary.
CAUTION: HP recommends attaching an ESD-preventative wrist strap to your wrist and to a
bare metal surface on the chassis to prevent electrostatic discharge.
CAUTION: When not using the fiber-optic SFP+ transceiver and cable, be sure to install the
dust plugs on both. The plugs and caps protect the SFP+ transceiver ports and cables from
contamination and ambient light.
1. Remove the dust plug and save for future use.
IMPORTANT: Use only HP-approved SFP+ transceivers.
2. Insert the SFP+ transceiver. With latch closed, be sure that the transceiver is fully seated and secure.
CAUTION: If you plan to install the SFP+ transceiver into the bottom row of the module, before
installation, rotate the SFP+ transceiver 180 degrees from the position shown in the illustration.
Get other manuals https://www.bkmanuals.com