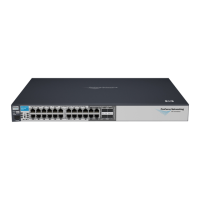
3. From the front of the switch, loosen the captive thumbscrews until the thumbscrews are free of
the rack.
4. Remove the switch from the rack.
5. Install the new switch into the rack.
6. Reconnect all cables to the new switch exactly as they were connected to the failed switch.
7. Power on the new switch.
164 Component Replacement
 Loading...