1-10
Introducing the Switch
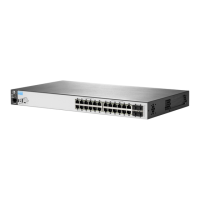
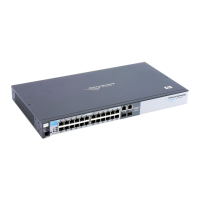
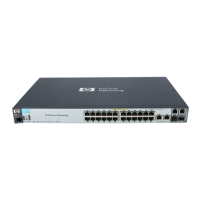
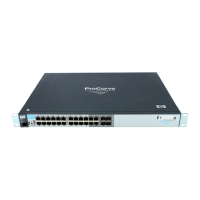
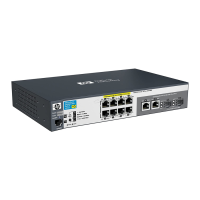
Front of the Switch
Reset Button
This button is for:
■ Resetting the switch - When the switch is powered on. This action clears
any temporary error conditions that may have occurred and executes the
switch self test.
■ Restoring Factory Default Configuration - When pressed with the
Clear button in a specific pattern, any configuration changes you may have
made through the switch console, the Web browser interface, and SNMP
management are removed, and the factory default configuration is
restored to the switch. For the specific method to restore the factory
default configuration, see “Restoring the Factory Default Configuration”
on page 4-12 of this manual.
Clear Button
This button is used for:
■ Deleting Passwords - When pressed by itself for at least one second, the
button deletes any switch console access passwords that you may have
configured. Use this feature if you have misplaced the password and need
console access. This button is provided as a convenience, however if you
are concerned with the security of the switch configuration and operation,
you should make sure the switch is installed in a secure location. This
button can be disabled by a CLI command.
■ Restoring Factory Default Configuration - See Reset Button above.
Console Port
This port is used to connect a console to the switch by using the RJ-45 to DB9
cable, supplied with the switch. This connection is described under “7.
(Optional) Connect a Console to the Switch” on page 2-18 in chapter 2,
“Installing the Switch.” The console can be a PC or workstation running a VT-
100 terminal emulator, or a VT-100 terminal.
You can also connect a console to the switch using the Micro USB console
port (cable not provided). Use a USB 2.0 high-speed cable with male type A
(4-pin) to male micro-B (5-pin) connectors. The maximum allowable length is
5 meters.
 Loading...