hp digital copier printer 410
chapter 3
16
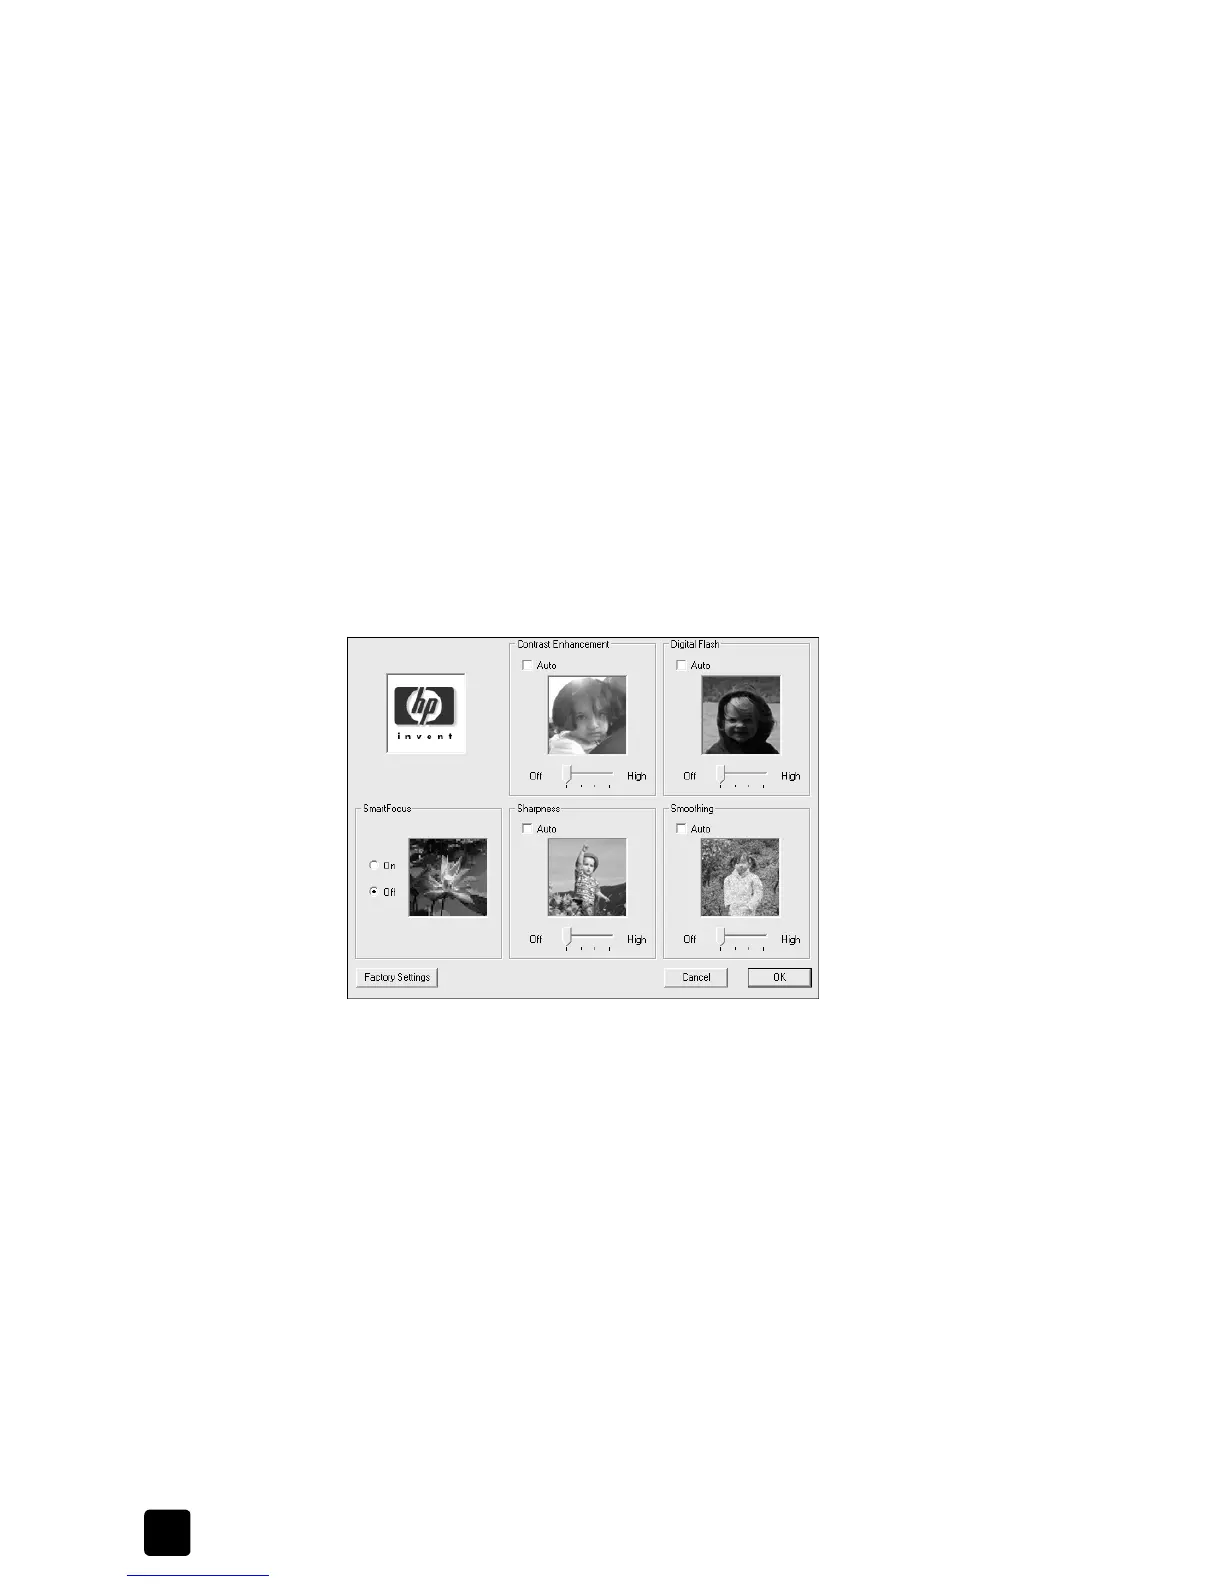
print using hp digital photography
Use the HP Digital Photography options to improve the quality of your printed
photographs. These features should be used for high resolution images (600 dpi
or higher) printed on photo quality paper and are not recommended for text.
• Contrast enhancement: adjusts the amount of contrast in the photograph
• Digital Flash: lightens the photograph, similar to a flash
• SmartFocus: automatically focuses the photograph if it is out of focus
• Sharpness: sharpens the photograph
• Smoothing: smoothes, or reduces, the graininess in the image
Follow these steps to improve the quality of your printed photographs:
1 In the Printer Properties dialog box, click the Quality tab.
2 Set the print quality to Best or Normal.
The HP Digital Photography button is only available in Best or Normal
mode. It is not available when the quality is set to Everyday or FastDraft.
3 In the Print Quality area, click hp Digital Photography.
The HP Digital Photography dialog box appears.
4 Adjust the settings you want by moving the slider left or right, or select Auto
to have the software automatically adjust the photograph.
Tip: Whenever you make a change to the print settings in this
dialog box, the preview images change to reflect your adjustment.
5 Click OK.
select paper type
The HP Digital Copier Printer’s automatic media sensor automatically selects the
paper type and size for your print job, but you can also choose your own
paper-type settings.
1 In the Printer Properties dialog box, click the Quality tab.
2 Select the Paper Type setting that matches the paper or transparency film
you are using. For best print quality, use only the types listed in the
following chart.
 Loading...
