Chapter 1 25
Remove/Replace System Components
Removing/Replacing System Components
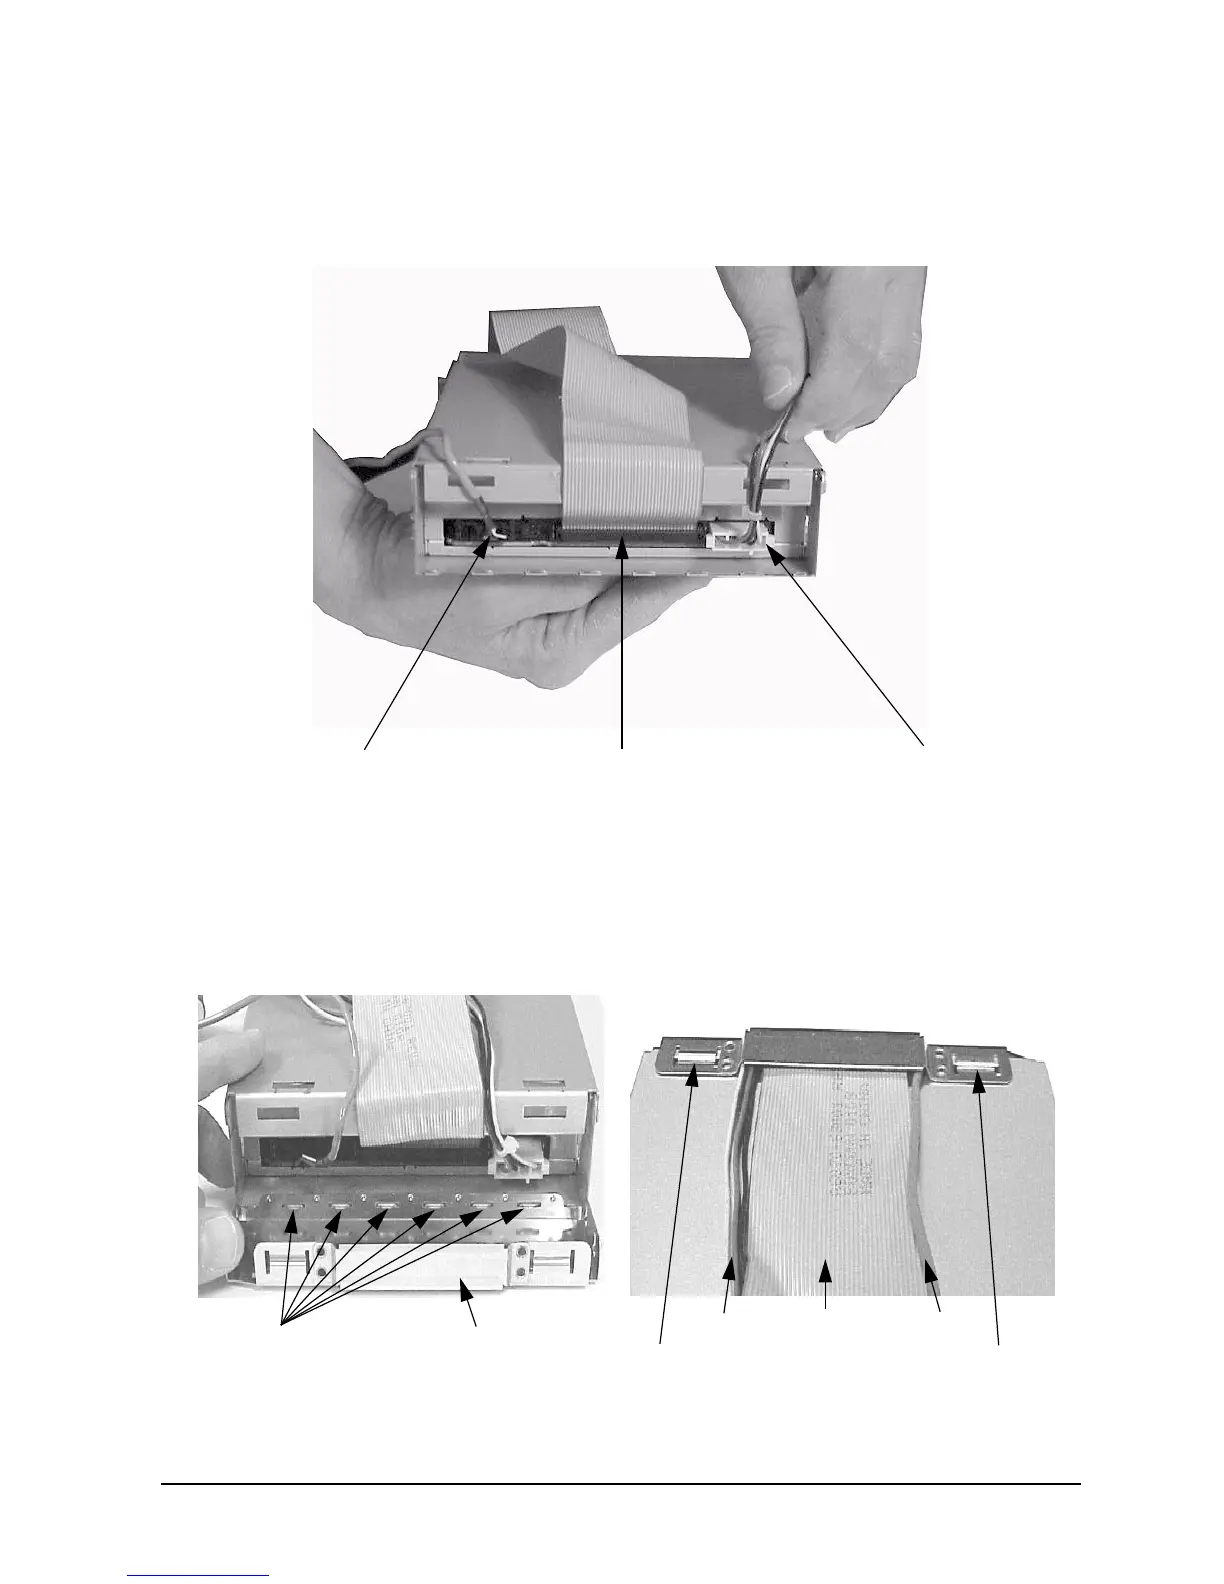
4. Connect the CD drive power cable, control cable, and audio cable (if an audio card is
present). See Figure 1-17. Note that these cables are keyed for easy replacement.
Figure 1-17. Connecting the CD Drive’s Cables
5. Replace the back cover on the CD drive bay by inserting the hinge tabs located on the
CD drive bay into their slots on the CD drive bay’s back cover. Next, rotate the back
cover toward the CD drive bay until the retainer snaps are in place. See Figure 1-18.
Also, note the manner in which the audio, power and control cables were neatly fed
through the raised opening in the CD drive bay’s back cover.
Figure 1-18. Replacing the CD Drive Bay’s Back Cover
Audio Cable
Control Cable
Power Cable
Hinge Tabs
Back Cover
Retainer
Snap
Retainer
Snap
Audio
Cable
Control
Cable
Power
Cable
and their
Slots
 Loading...