26 Chapter1
Remove/Replace System Components
Removing/Replacing System Components
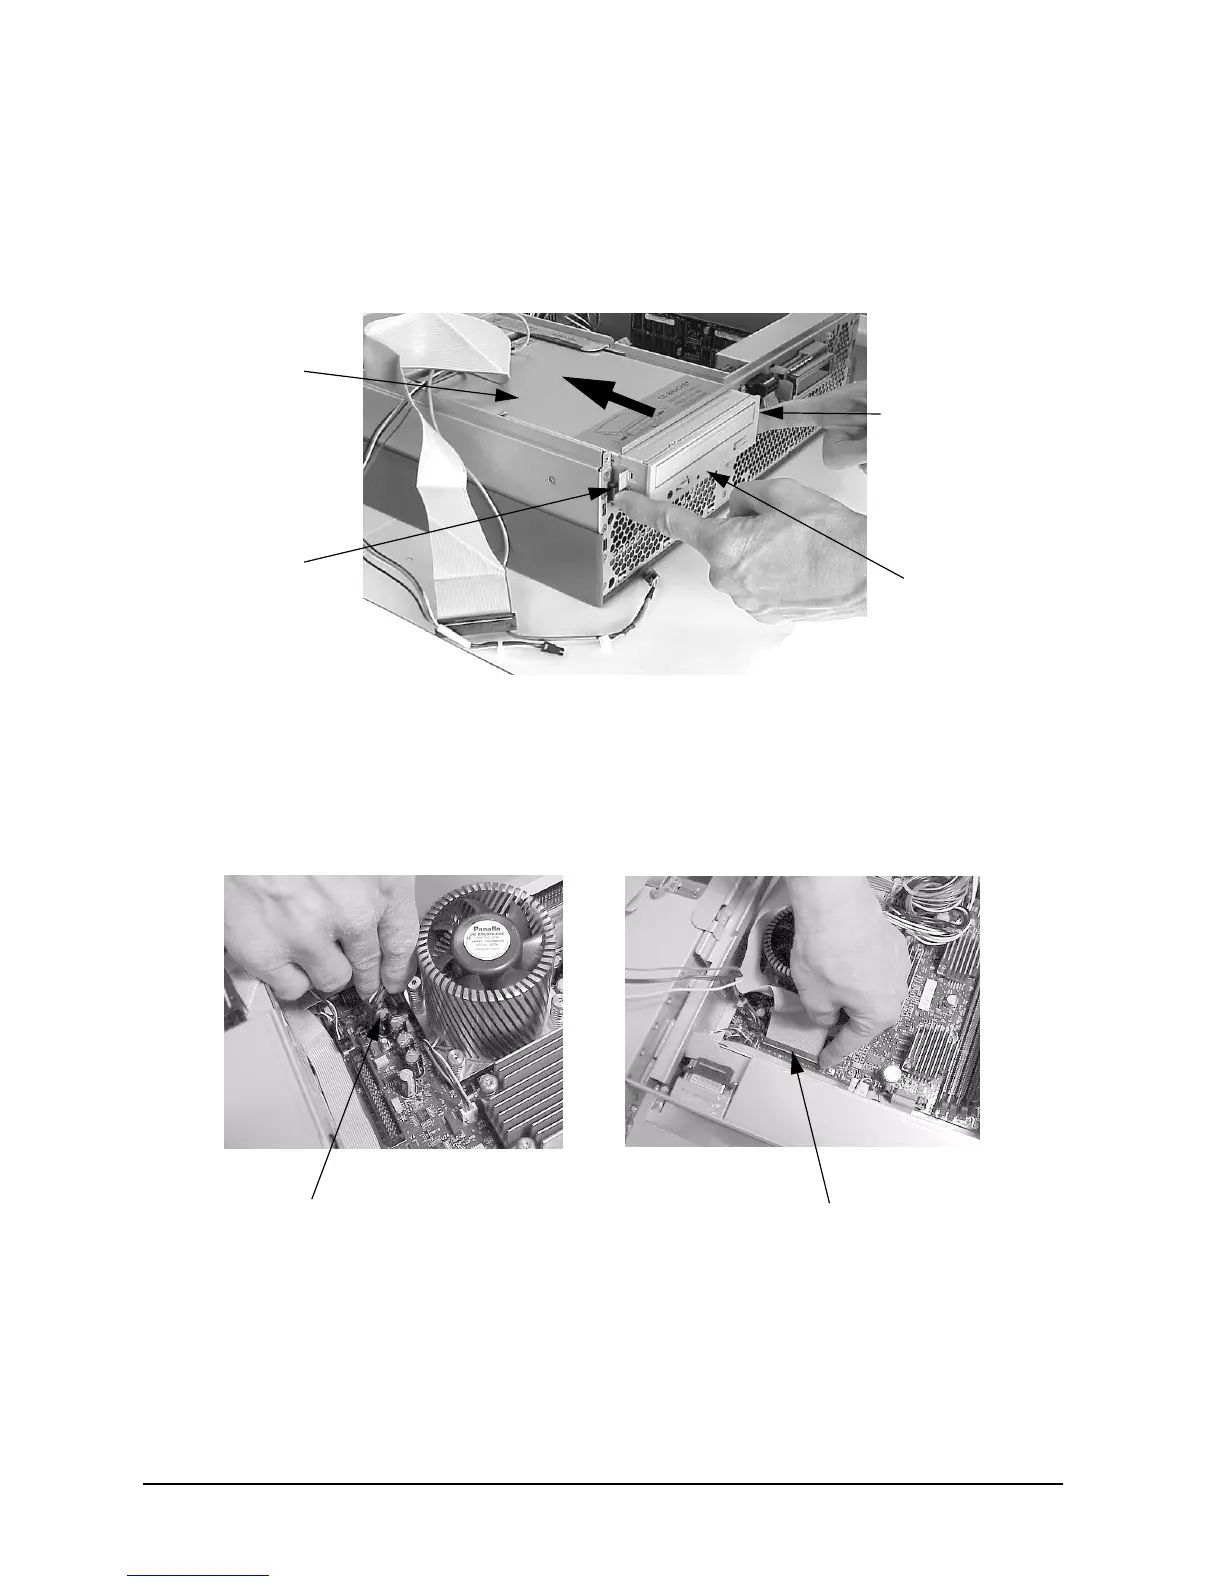
6. Slide the CD drive bay and CD drive back into the workstation. You will hear the
retainer clips snap in place when the CD drive bay and CD drive are properly installed.
See Figure 1-19.
Figure 1-19. Replacing the CD Drive Bay and CD Drive
7. Connect the CD drive power cable by pushing it into its connector on the system board
and connect the control cable by pushing it into its connector on the system board. See
Figure 1-20. Note that the connectors are keyed.
Figure 1-20. Connecting the CD Drive Power and Control Cables
CD Drive
CD Drive
Retainer Clip
CD Drive
Retainer Clip
CD Drive
Bay
Power Cable Connector
Control Cable Connector
 Loading...