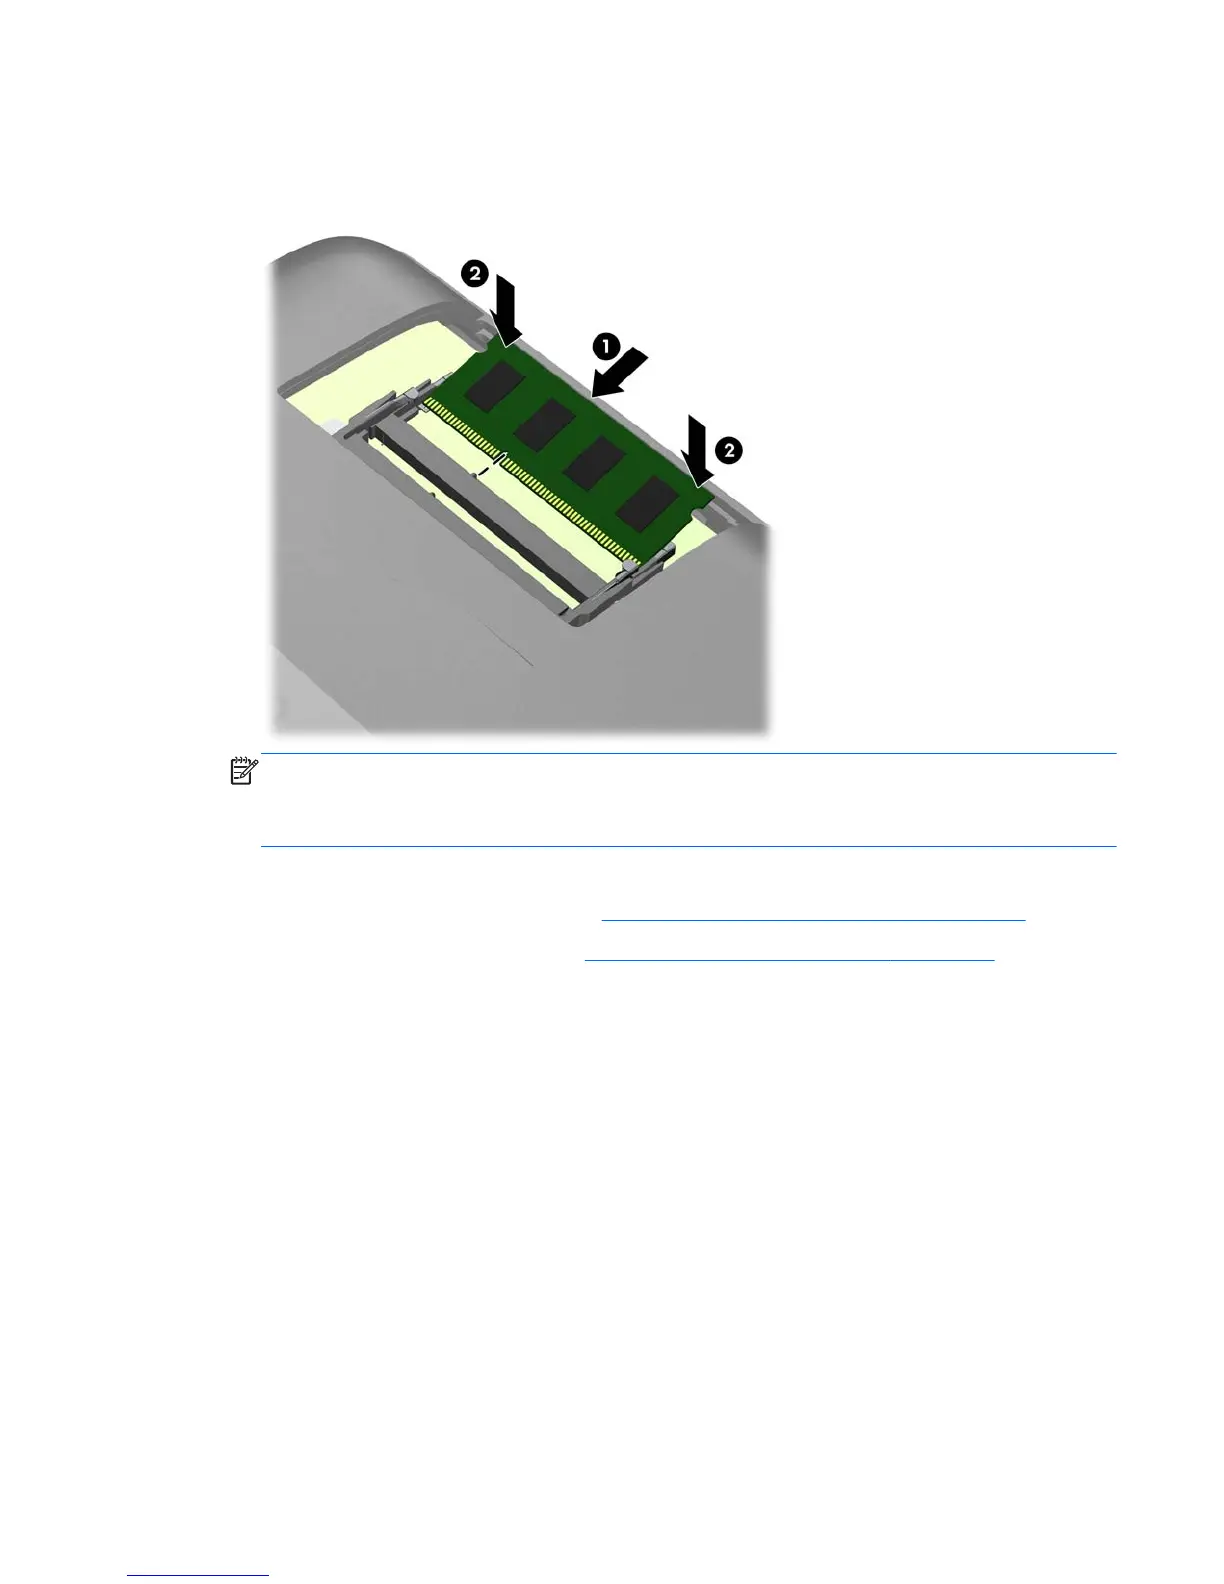
9. Slide the new SODIMM into the socket at approximately a 30° angle (1) then press the SODIMM
down (2) so that the latches lock it in place.
Figure 2-12 Installing a Memory Module
NOTE: A memory module can be installed in only one way. Match the notch on the module with
the tab on the memory socket.
A SODIMM must occupy the top (black) socket.
10. Replace the memory module in the top (black) socket if it was removed.
11. Replace the memory access panel (see
Replacing the Memory Access Panel on page 19).
12. Replace the center access panel (see
Replacing the Center Access Panel on page 13).
13. Lock any security devices that were disengaged when the center access panel was removed.
14. Reconnect the power cord and turn on the computer. The computer automatically recognizes the
additional memory when you turn on the computer.
Removing and Installing an Optical Drive
The computer uses a slimline Serial ATA (SATA) optical drive. The optical drive is located under the
drive access panel on the left side of the computer (when viewed from behind). It is secured with one
screw.
Removing an Existing Optical Drive
1. Remove/disengage any security devices that prohibit opening the computer.
2. Remove all removable media, such as compact discs or USB flash drives, from the computer.
3. Turn off the computer properly through the operating system, then turn off any external devices.
ENWW
Removing and Installing an Optical Drive
23