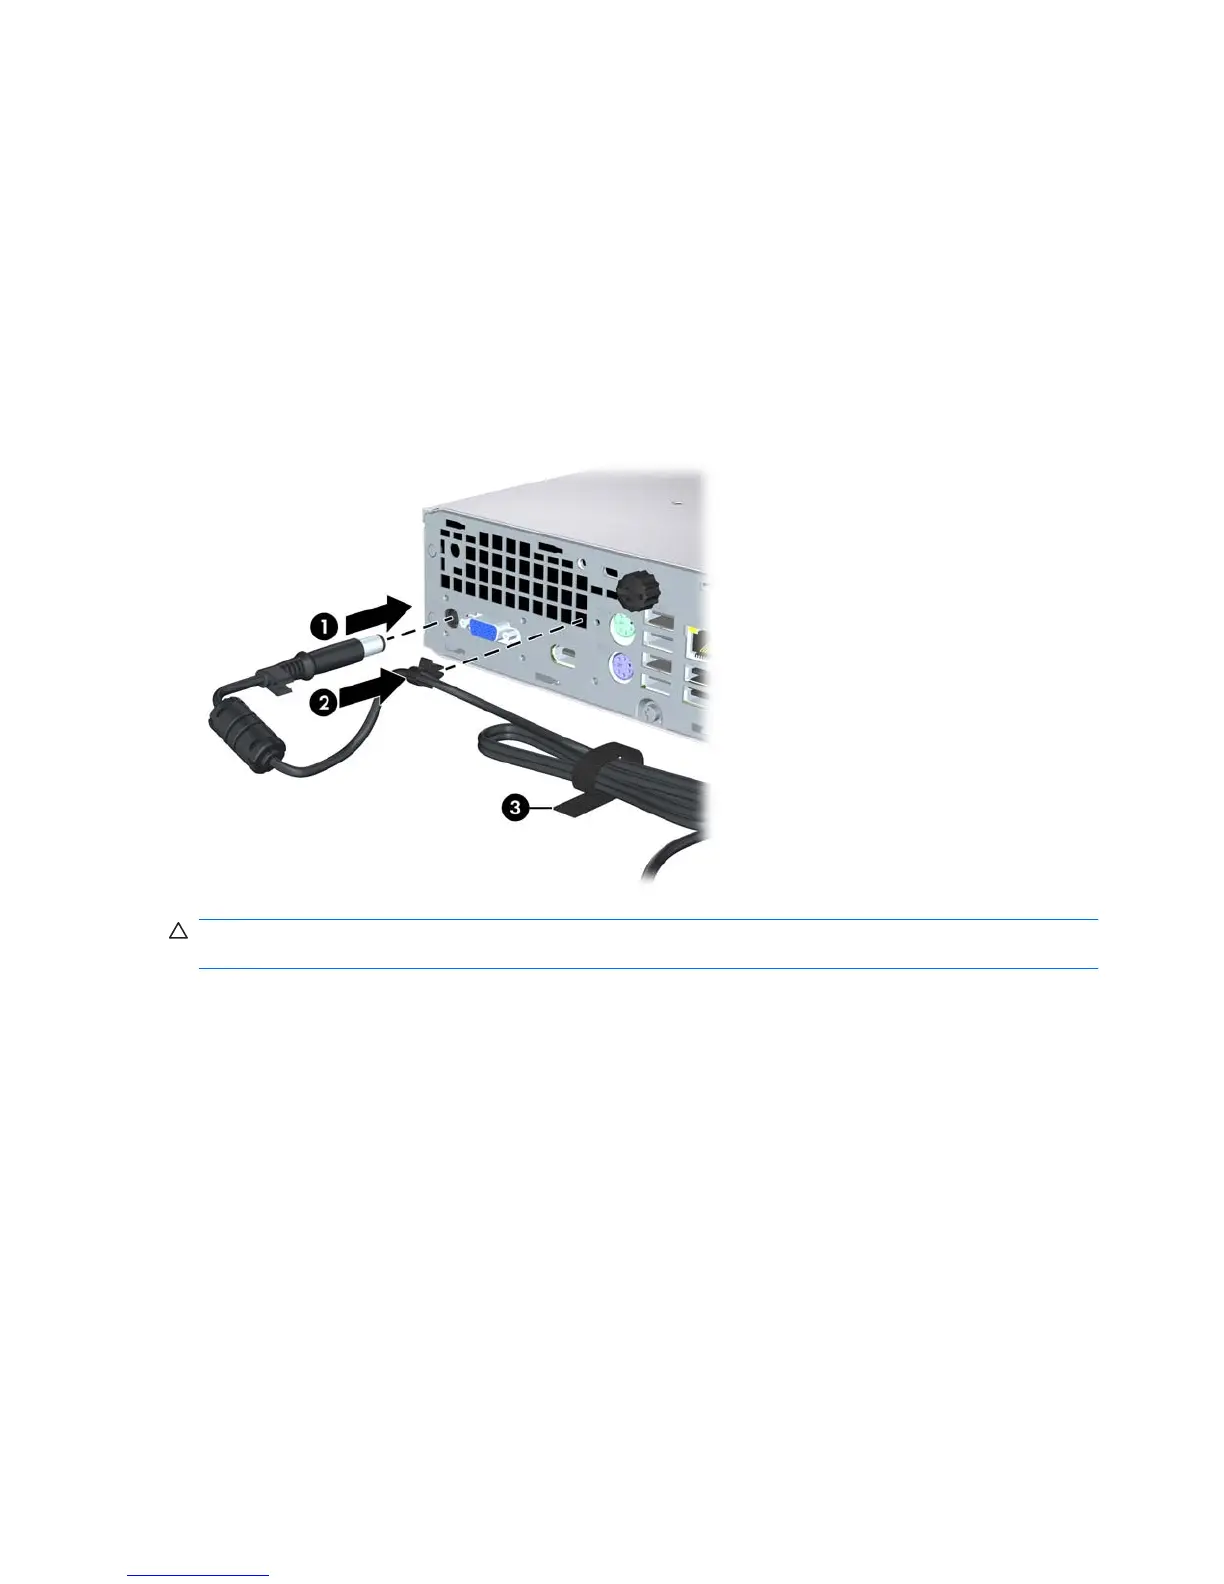
Connecting the Power Cord
When connecting the power supply, it is important to follow the steps below to ensure the power cord
does not pull free from the computer.
1. Connect the power cord to the power supply connector on the rear of the computer (1).
2. Insert the power cord retainer clip into a slot on the air vent to prevent the cord from becoming
disconnected from the computer (2).
3. Bundle any excess power cord with the supplied strap (3).
4. Connect the other end of the power cord to an electrical outlet.
Figure 2-1 Connecting the Power Cord
CAUTION: Failure to secure the power cable with the retainer clip may result in the power cord
becoming disconnected and loss of data.
8 Chapter 2 Hardware Upgrades ENWW

 Loading...