Touch Start Scan to start the process. Your default browser will open on your computer with a
PDF viewer with the scanned image. Save it and store on your computer.
NOTE: To be able to Webscan, this option has to be enabled on the Embedded Web Server.
For more information go to Scan to computer setup > Webscan. See Webscan on page 67.
b. From server and from printer (WSD).
NOTE: This option is available for Windows only.
NOTE: To be able to Scan to computer from server/from printer, this option has to be
congured on your computer. For more information on Scan to computer from server/ from
printer setup see From server/from printer on page 67.
●
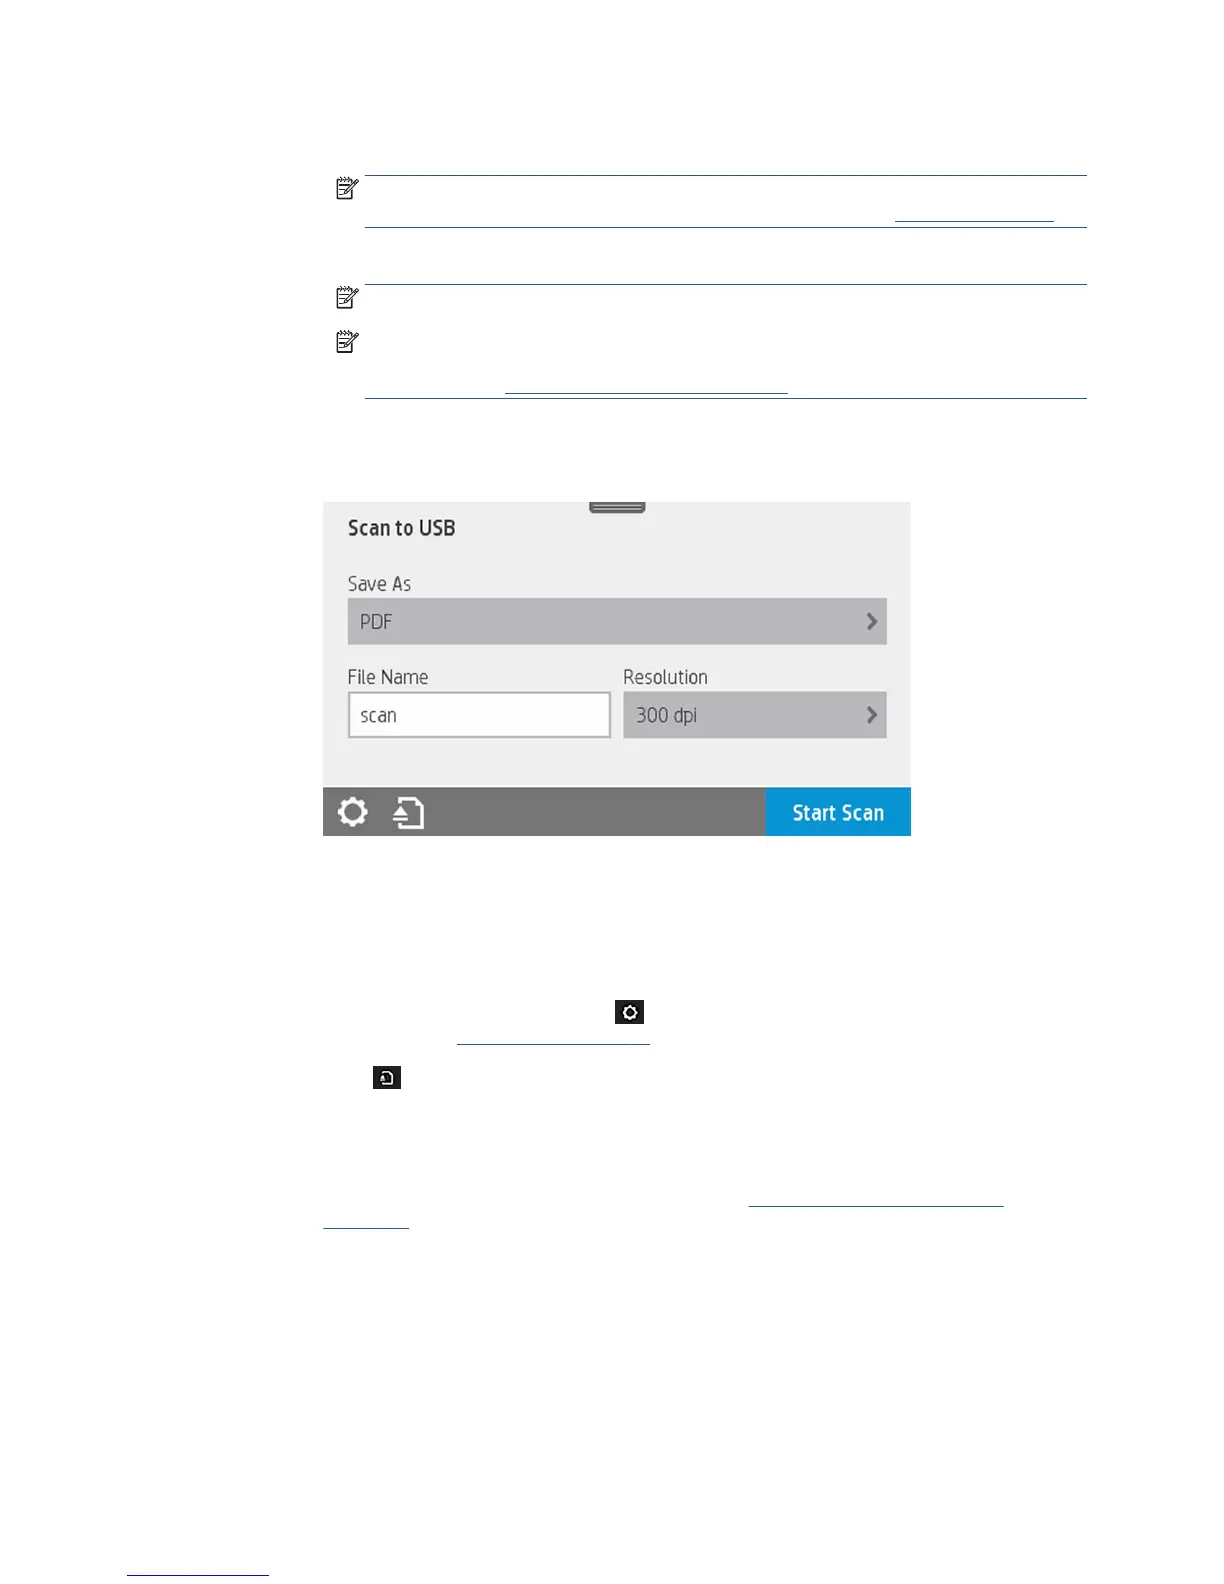
To USB. When scanning to USB, a folder named HPSCANS is created on the USB drive. The le is
saved in the folder. The le is saved in PDF, JPEG, or TIFF format using an automatically generated
le name if you have not given it one.
Scan to USB user interface options:
●
Save As (format le
●
File name
●
Resolution
Swipe down the dashboard and touch to change scan to USB settings. For further information
on settings go to Scan settings on page 61.
Touch to eject the already fed document.
Touch Start Scan to start the scanning process.
●
Scanning from a Mobile device.
You can also scan from your smartphone or tablet: See Mobile Printing and Web Services
on page 12 for more information.
Scan settings
Some of the default scan settings are displayed. Touch Settings to see the complete list of settings, and
check in particular that the Original type setting corresponds to the paper type that you intend to scan.
Original
ENWW Scan settings 61
 Loading...

