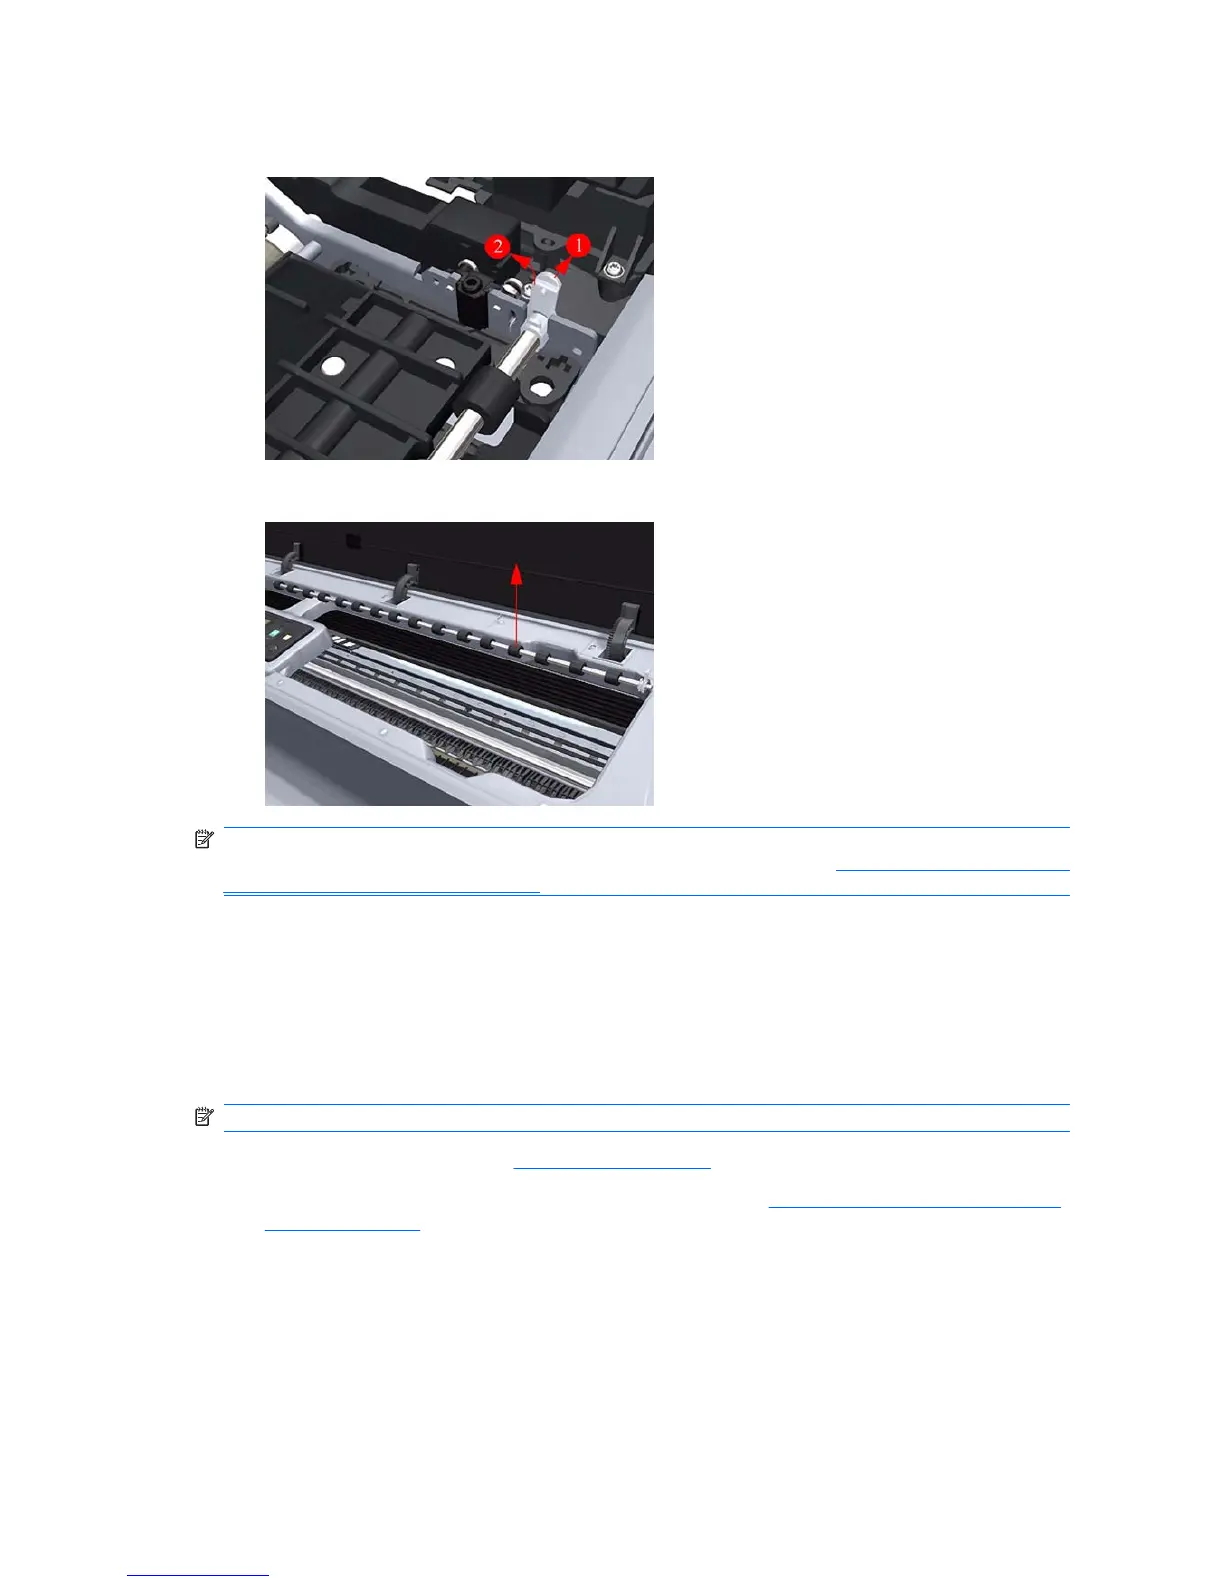
11. Use a flat bladed screwdriver to unclip the left Print Zone Overdrive retaining clip and rotate the
clip vertically.
12. Carefully lift the right Print Zone Overdrive out of the printer.
NOTE: When you finish installing or replacing this component, you must perform the necessary
Service Calibrations. To find which calibrations you must perform, refer to
Service Calibration Guide to
Removal and Installation on page 170.
Left Spittoon
Removal
This procedure describes how to remove the complete Left Spittoon which is necessary to gain access
to other components. If you only need to replace the Foams of the Left Spittoon, use the protective
gloves and the tweezers (provided in the Tool Kit) to remove them with it in place.
NOTE: Switch off the printer and remove the power cable.
1. Remove the Left Cover (refer Left Cover on page 188).
2. Remove the Electronics Module (Main PCA and PSU) (refer
Electronics Module (Main PCA and
PSU) on page 298).
306 Chapter 6 Removal and Installation ENWW
 Loading...