426 Chapter 8 Removal & Installation
Removal & Installation
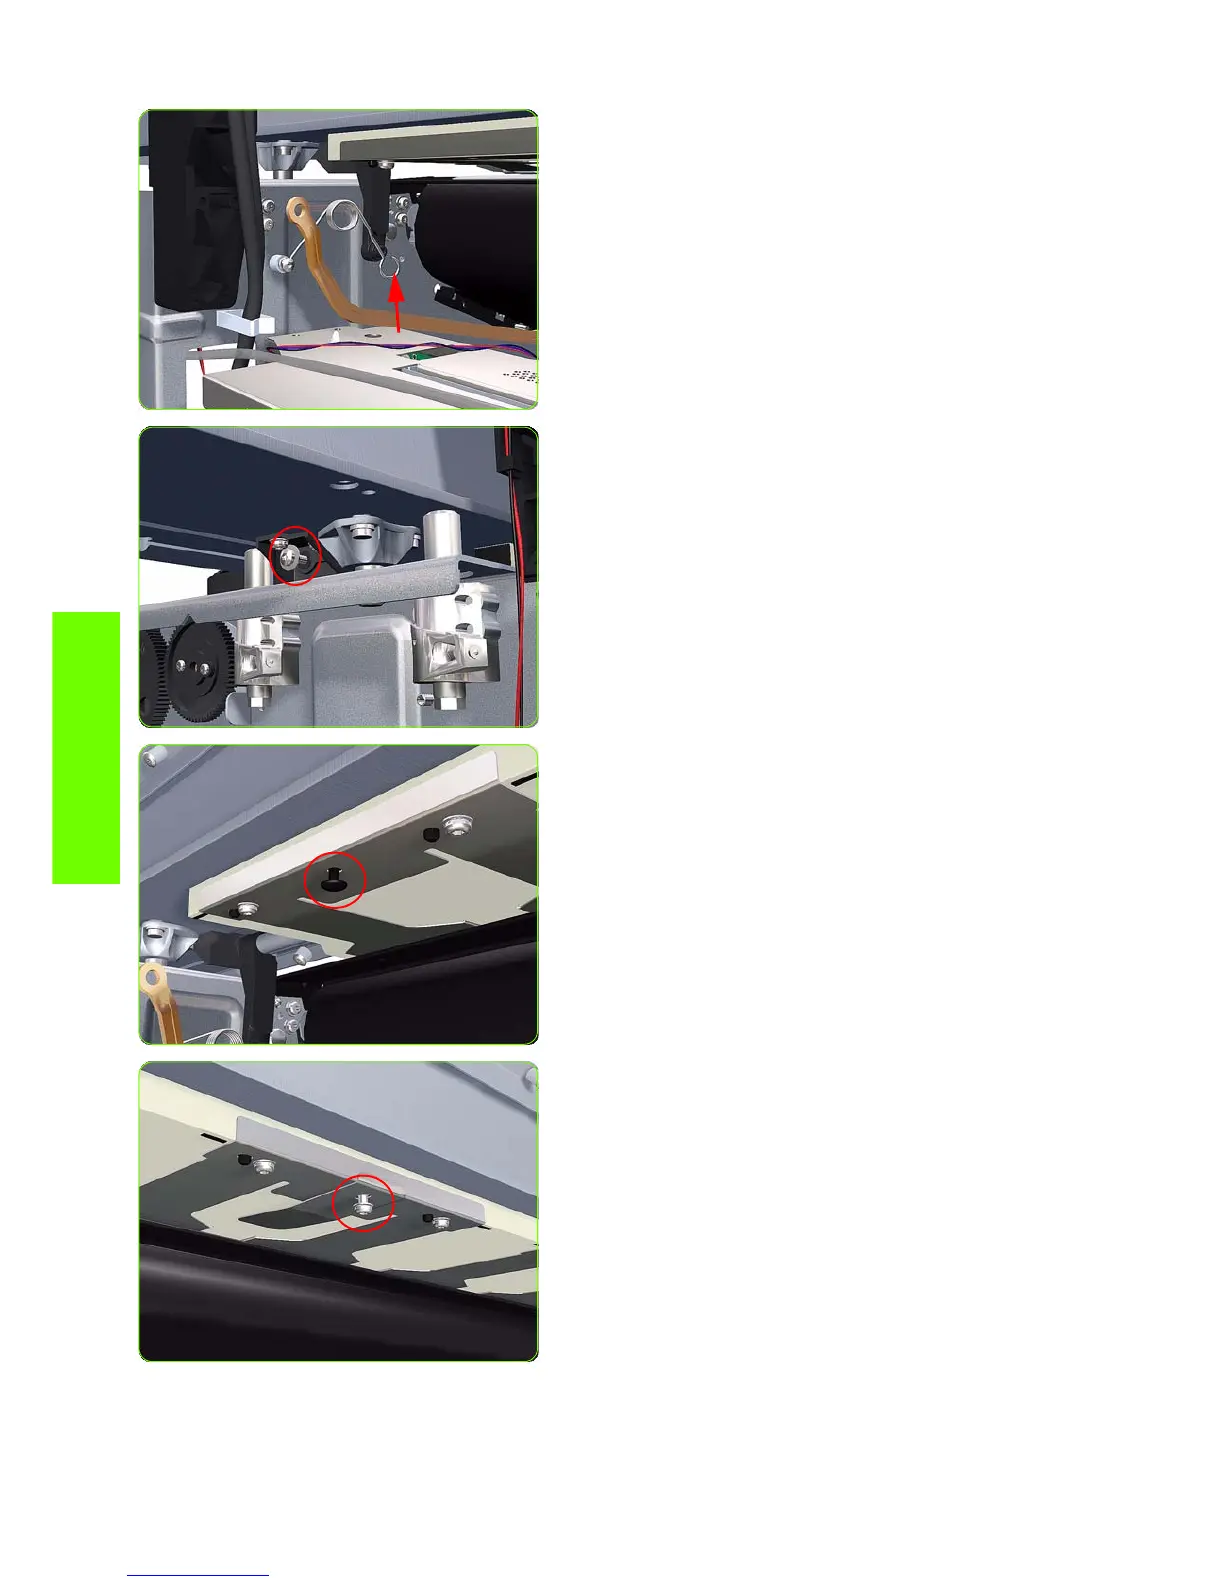
7. Disconnect the spring from the Pinch Wheel cam-arm.
8. Remove one T-20 screw that secures the Cam to the
Cam Lever.
9. Insert a plastic stud in to each Pinchwheel Subassembly
(the Plastic Studs can be found in the replacement
Pinchwheel Assembly kit).
10. For the 60-inch model, remove one T-20 screw that
secures the attachment plate to the center Pinchwheel
Subassembly.
 Loading...