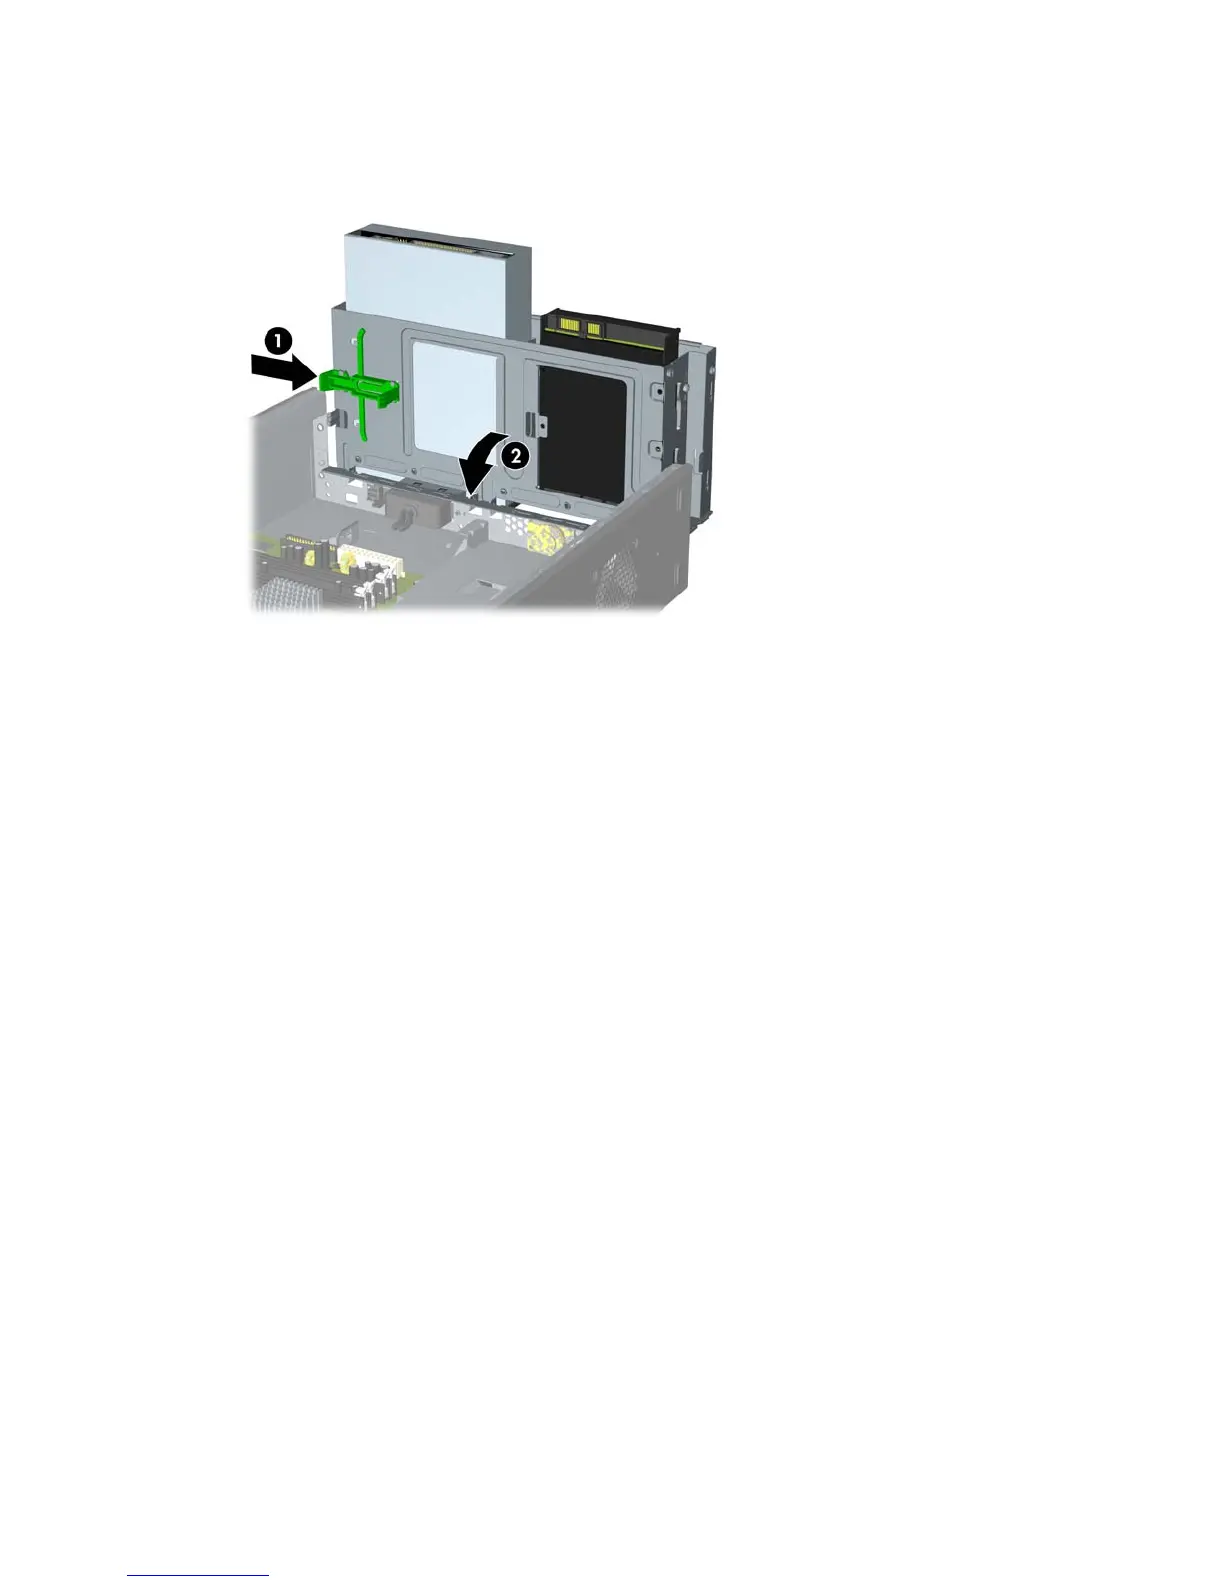
11. Push in the latch holding the drive cage upright (1) and lower the drive cage all the way down (2).
Figure 2-9 Lowering the Drive Cage
12. Replace the computer access panel.
13. Reconnect the power cord and any external devices, then turn on the computer. The computer
should automatically recognize the additional memory when you turn on the computer.
14. Lock any security devices that were disengaged when the access panel was removed.
18 Chapter 2 Hardware Upgrades ENWW
 Loading...