2. Thread the keyboard and mouse cables through the lock.
Figure C-4 Threading the Keyboard and Mouse Cables
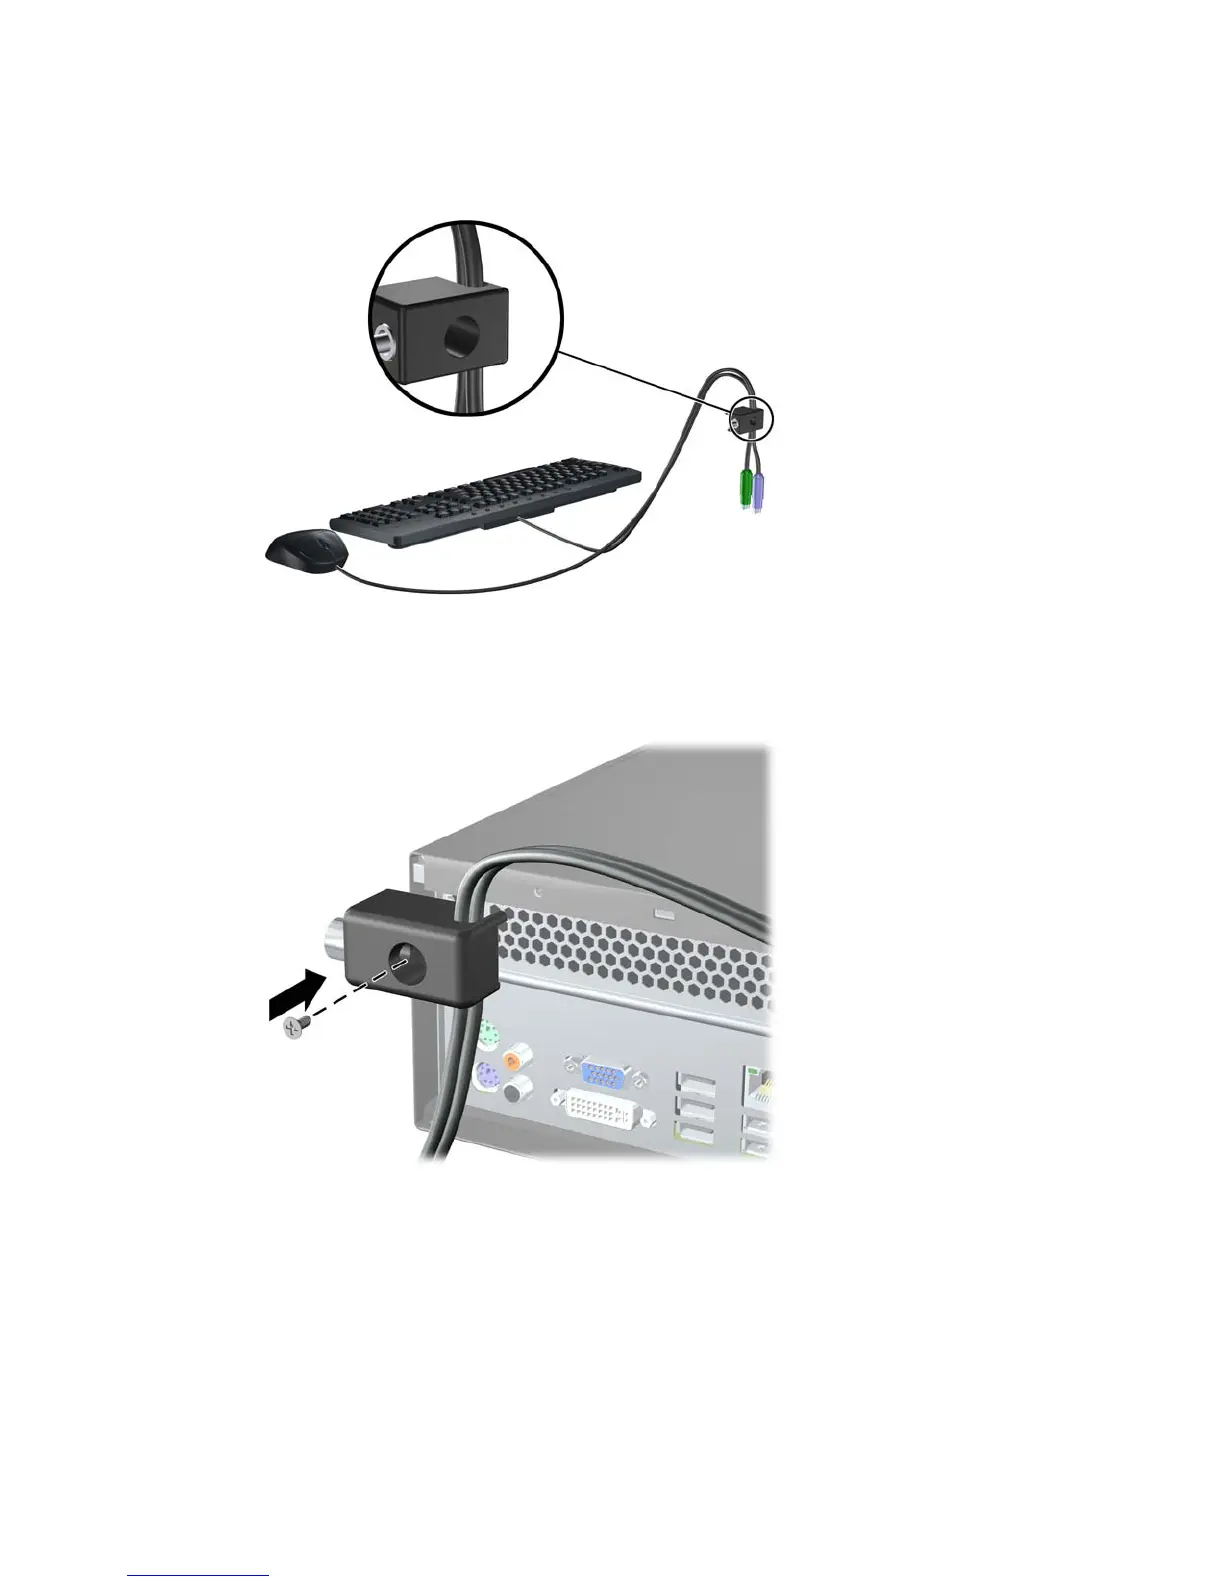
3. Remove the left screw that secures the computer access panel to the chassis and screw the lock
to the chassis using the screw provided.
Figure C-5 Attaching the Lock to the Chassis
ENWW Installing a Security Lock 47