Display assembly
This section describes removing components that require you to completely remove the display panel. Individual
components are not spared for the display assembly.
Before removing the display assembly, follow these steps:
1. Turn o the computer. If you are unsure whether the computer is o or in Hibernation, turn the computer
on, and then shut it down through the operating system.
2. Disconnect the power from the computer by unplugging the power cord from the computer.
3. Disconnect all external devices from the computer.
4. Remove the bottom cover (see Bottom cover on page 26).
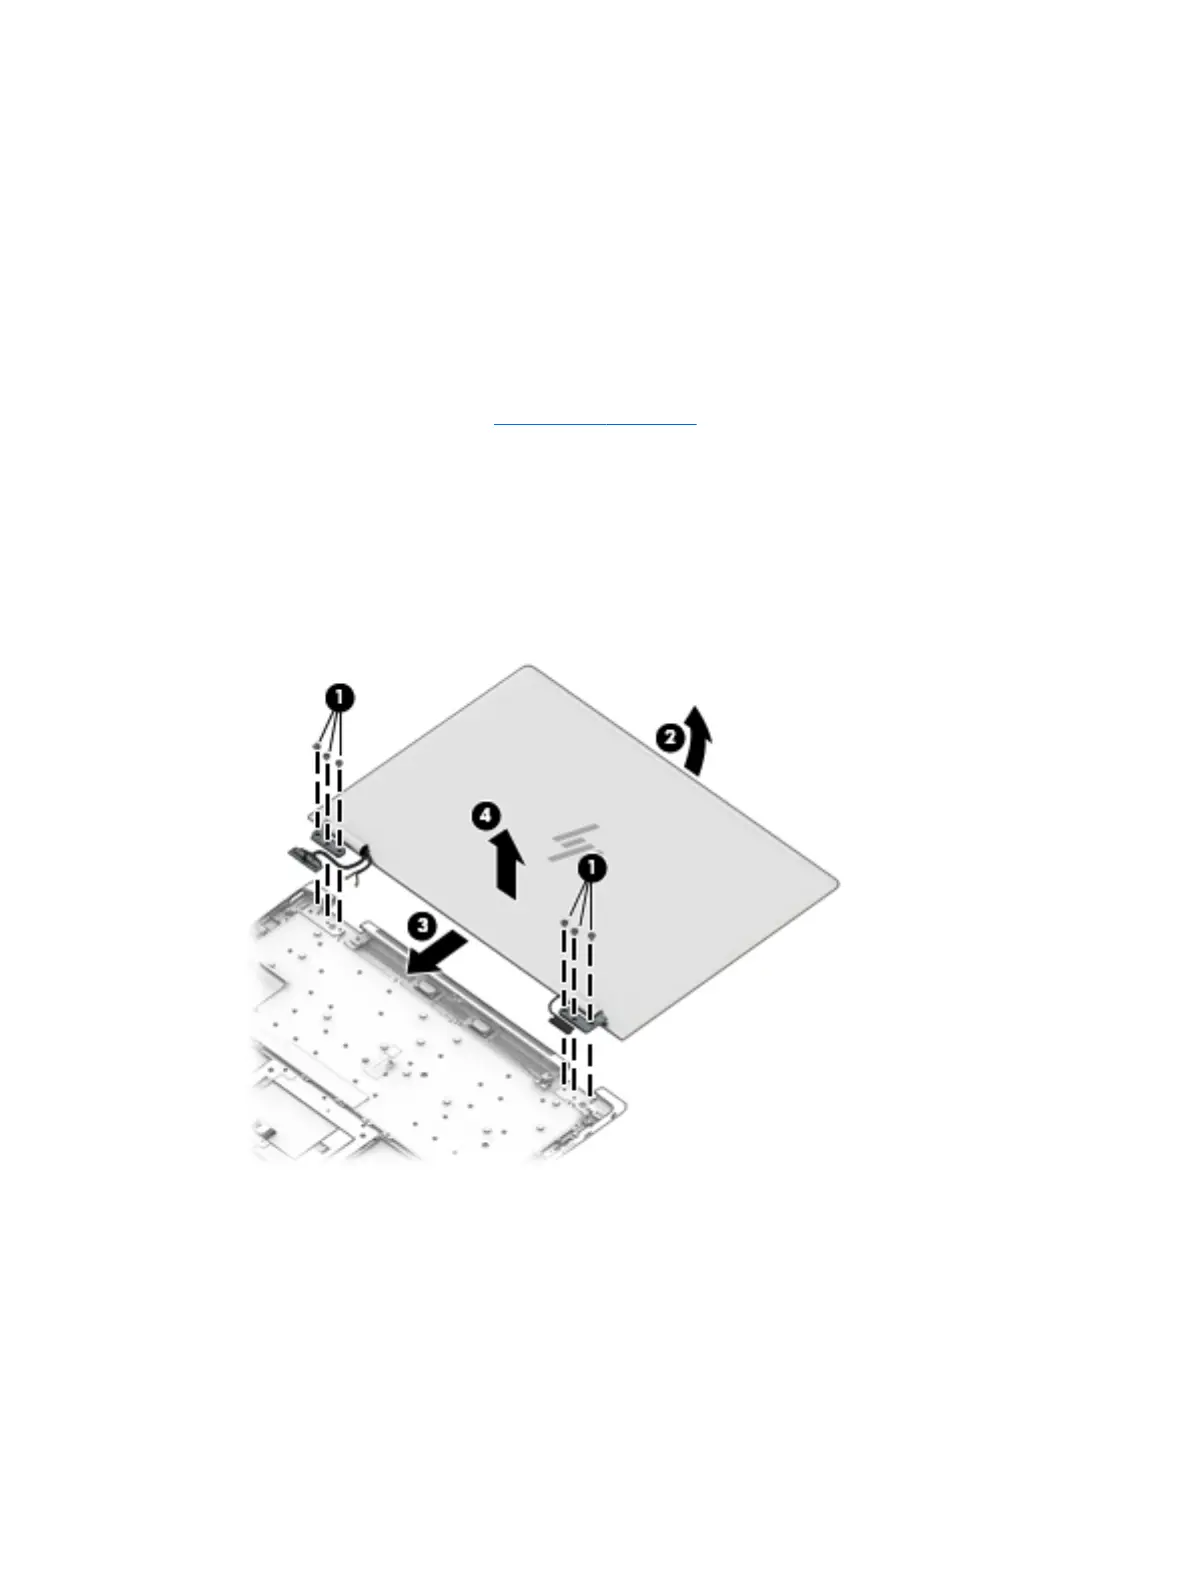
Remove the display assembly:
1. Open the computer completely and fold the display under the base enclosure.
2. Remove the six Phillips screws (1) that secure the left and right brackets.
3. Open the display slightly (2).
4. Slide the display slightly toward the front to disengage the display from the computer (3). Remove the
display (4).
Reverse this procedure to reinstall the display assembly.
Component replacement procedures 35

 Loading...