vii
3.
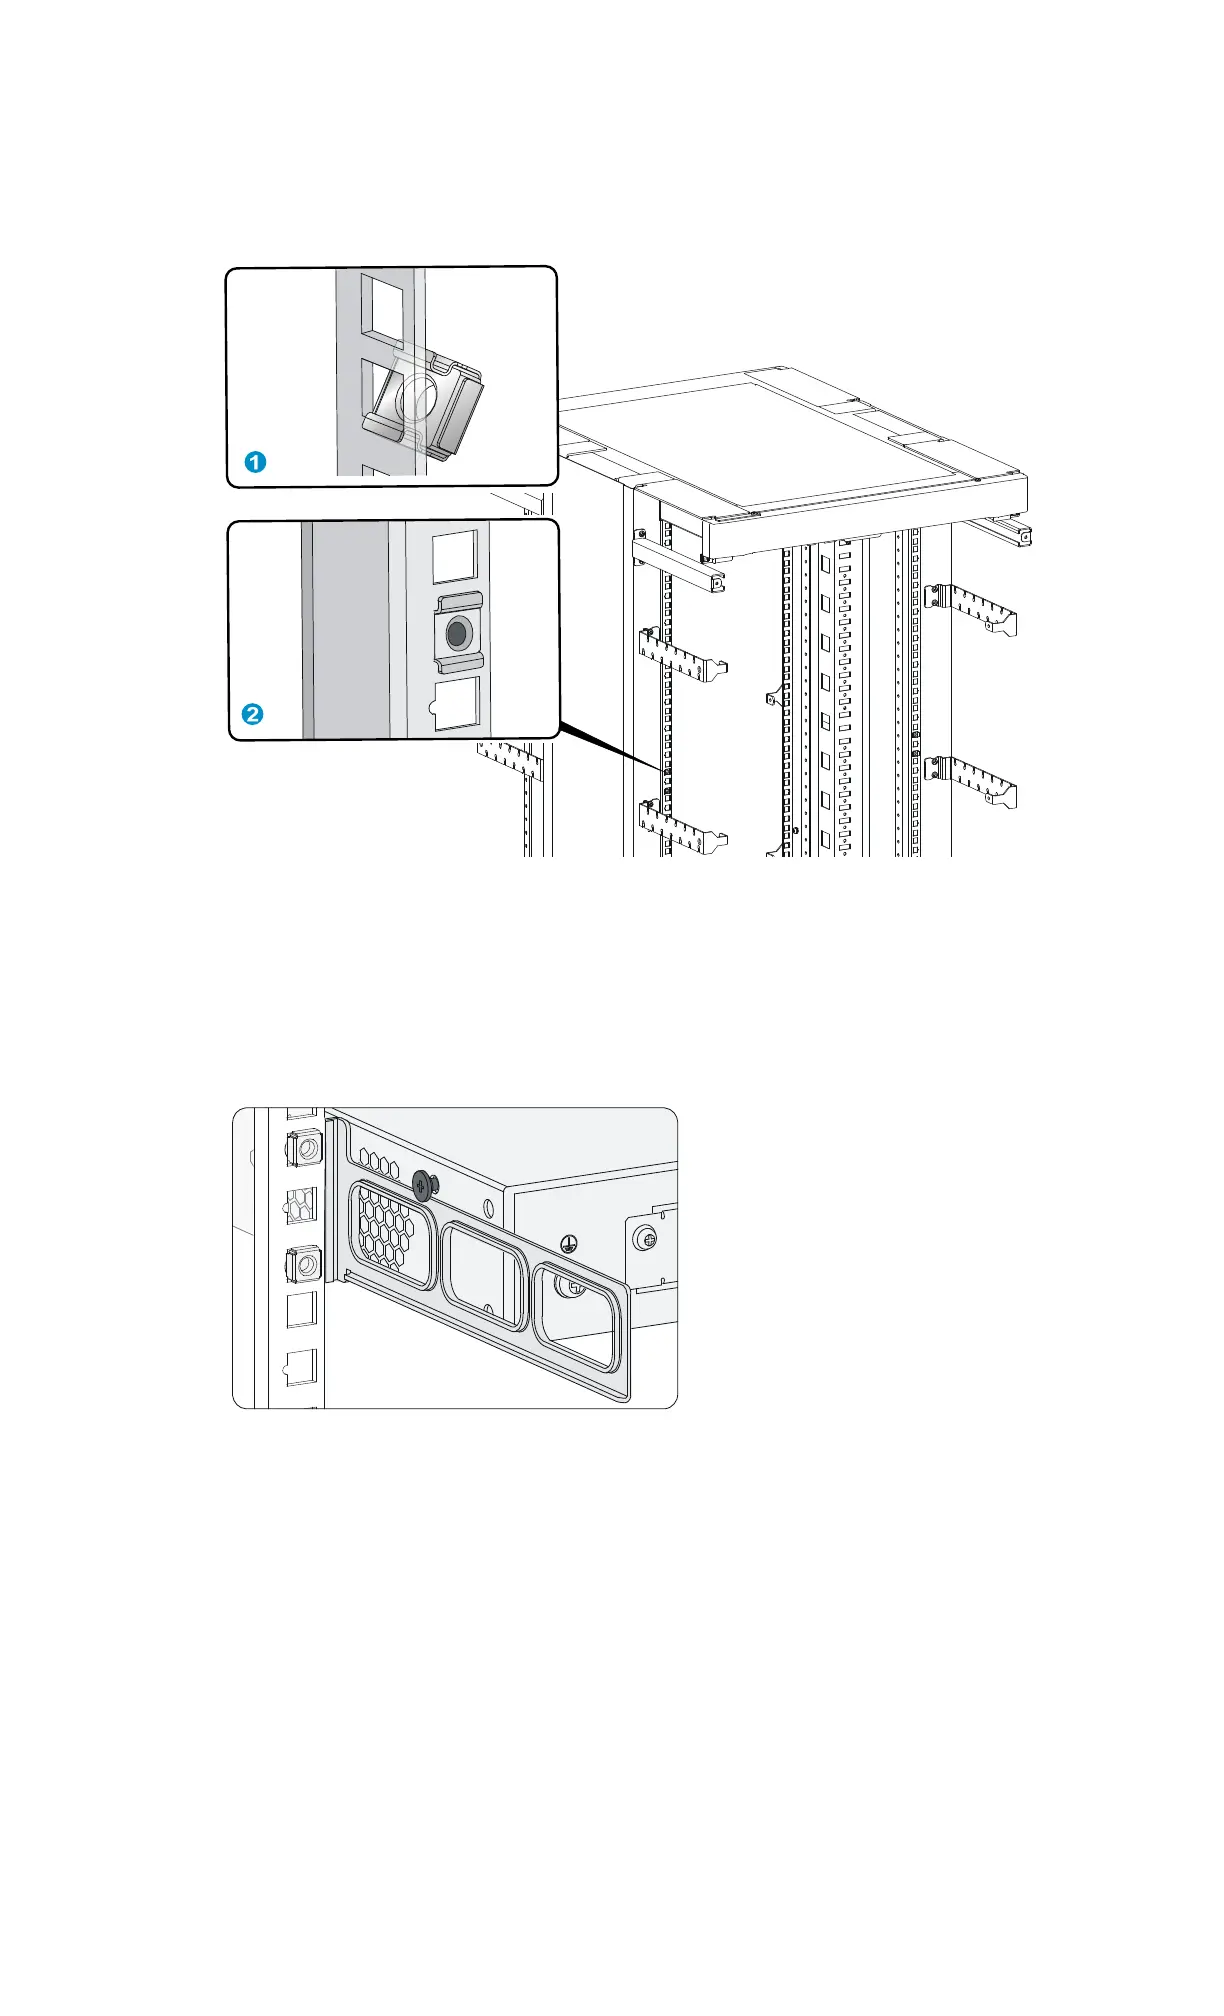
Insert one edge of a cage nut into the hole. Use a flat-blade screwdriver to compress the other edge
of the cage nut, and then push the cage nut fully into the hole.
4. Repeat step 3 to install other cage nuts to all the marked positions on the rack posts.
Figure 12 Installing a cage nut
5. Attach the rear mounting brackets to the rack and fasten the screws.
The depth of the router might be greater or smaller than the depth of the rack, depending on the
rack model. If the depth of the router is greater than the depth of the rack, follow Figure 13 to
attach the rear mounting brackets. If smaller, follow Figure 14 to attach the rear mounting
brackets.
Figure 13 Attaching the rear mounting brackets (router depth greater than rack depth)