4. Gently reinsert the tray.
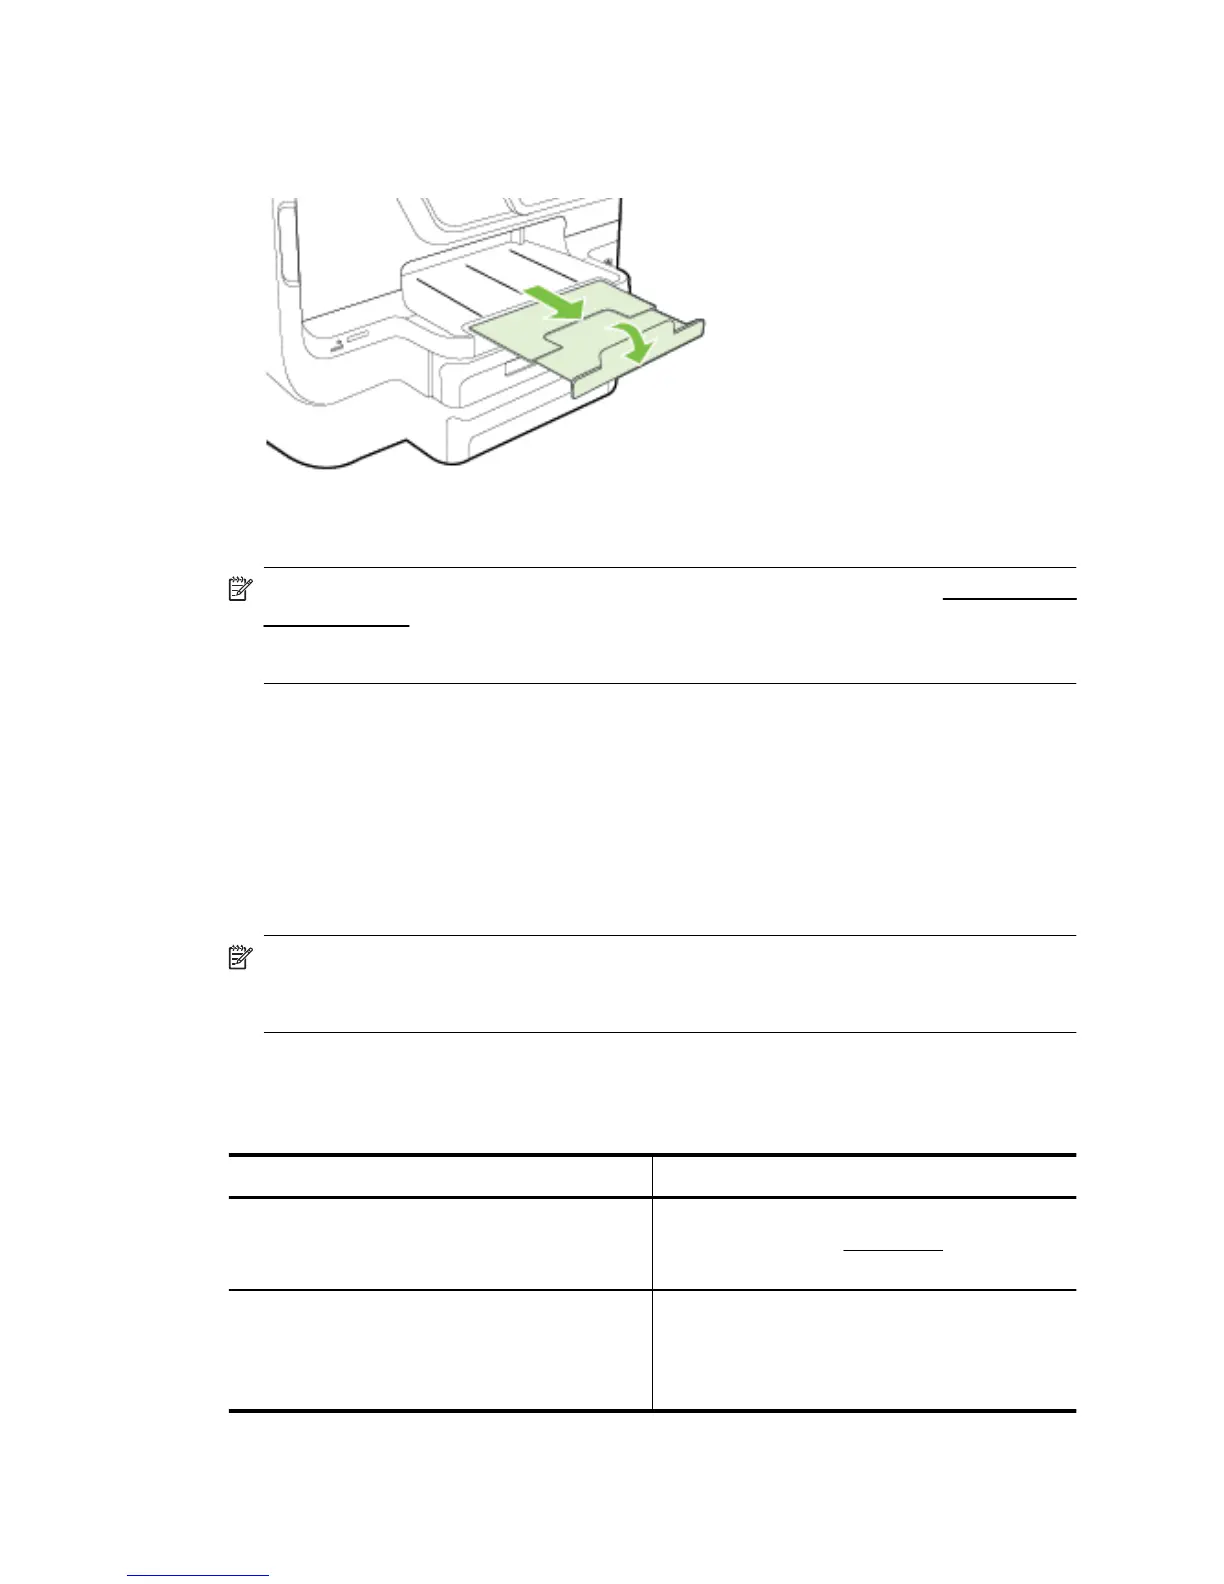
5. Pull out the extension on the output tray.
Configure trays
NOTE: Tray 2 is an optional accessory. For ordering information, see Order printing
supplies online.
To configure the trays, you must have Tray 2 installed and turned on.
By default, the printer draws media from Tray 1. If Tray 1 is empty, the printer draws media
from Tray 2 (if it is installed and loaded with media). You can change this default behavior
by using the following features:
• Tray Lock: Use this feature to protect special media such as letterhead or preprinted
media from accidental use. If the printer runs out of media while printing a document,
it will not use media from a locked tray to complete the print job.
• Default Tray: Use this feature to determine the first tray from which the printer draws
media.
NOTE: To use the tray lock and default tray settings, you must select the automatic
tray selection option in the printer software. Also, if the printer is on a network and
you set a default tray, the setting will affect all users of the printer.
Tray 2 is designed to hold only plain paper.
The following table lists possible ways you can use the tray settings to meet your printing
needs.
I want to... Follow these steps
Load both trays with the same media, and have
the printer pick media from one tray if the other
one is empty.
•
Load media in Tray 1 and Tray 2. For more
information, see Load paper.
•
Make sure tray lock is disabled.
Have both special media (such as
transparencies or letterhead) and plain paper
loaded in the trays.
•
Load special media in Tray 1 and plain
paper in Tray 2.
•
Make sure the default tray is set to Tray 2.
•
Make sure tray lock is set to Tray 1.
Chapter 1
30 Get started
 Loading...