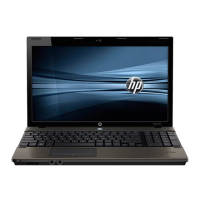
1. Position the computer upside-down with the front toward you.
2. Remove the 2 rubber screw covers on each side of the battery (1), 2 rubber screw covers on each side of
the middle of the computer (2), and 2 rubber screw covers near the bottom corners of the computer (3),
and 1 rubber screw cover near the bottom middle of the computer (4).
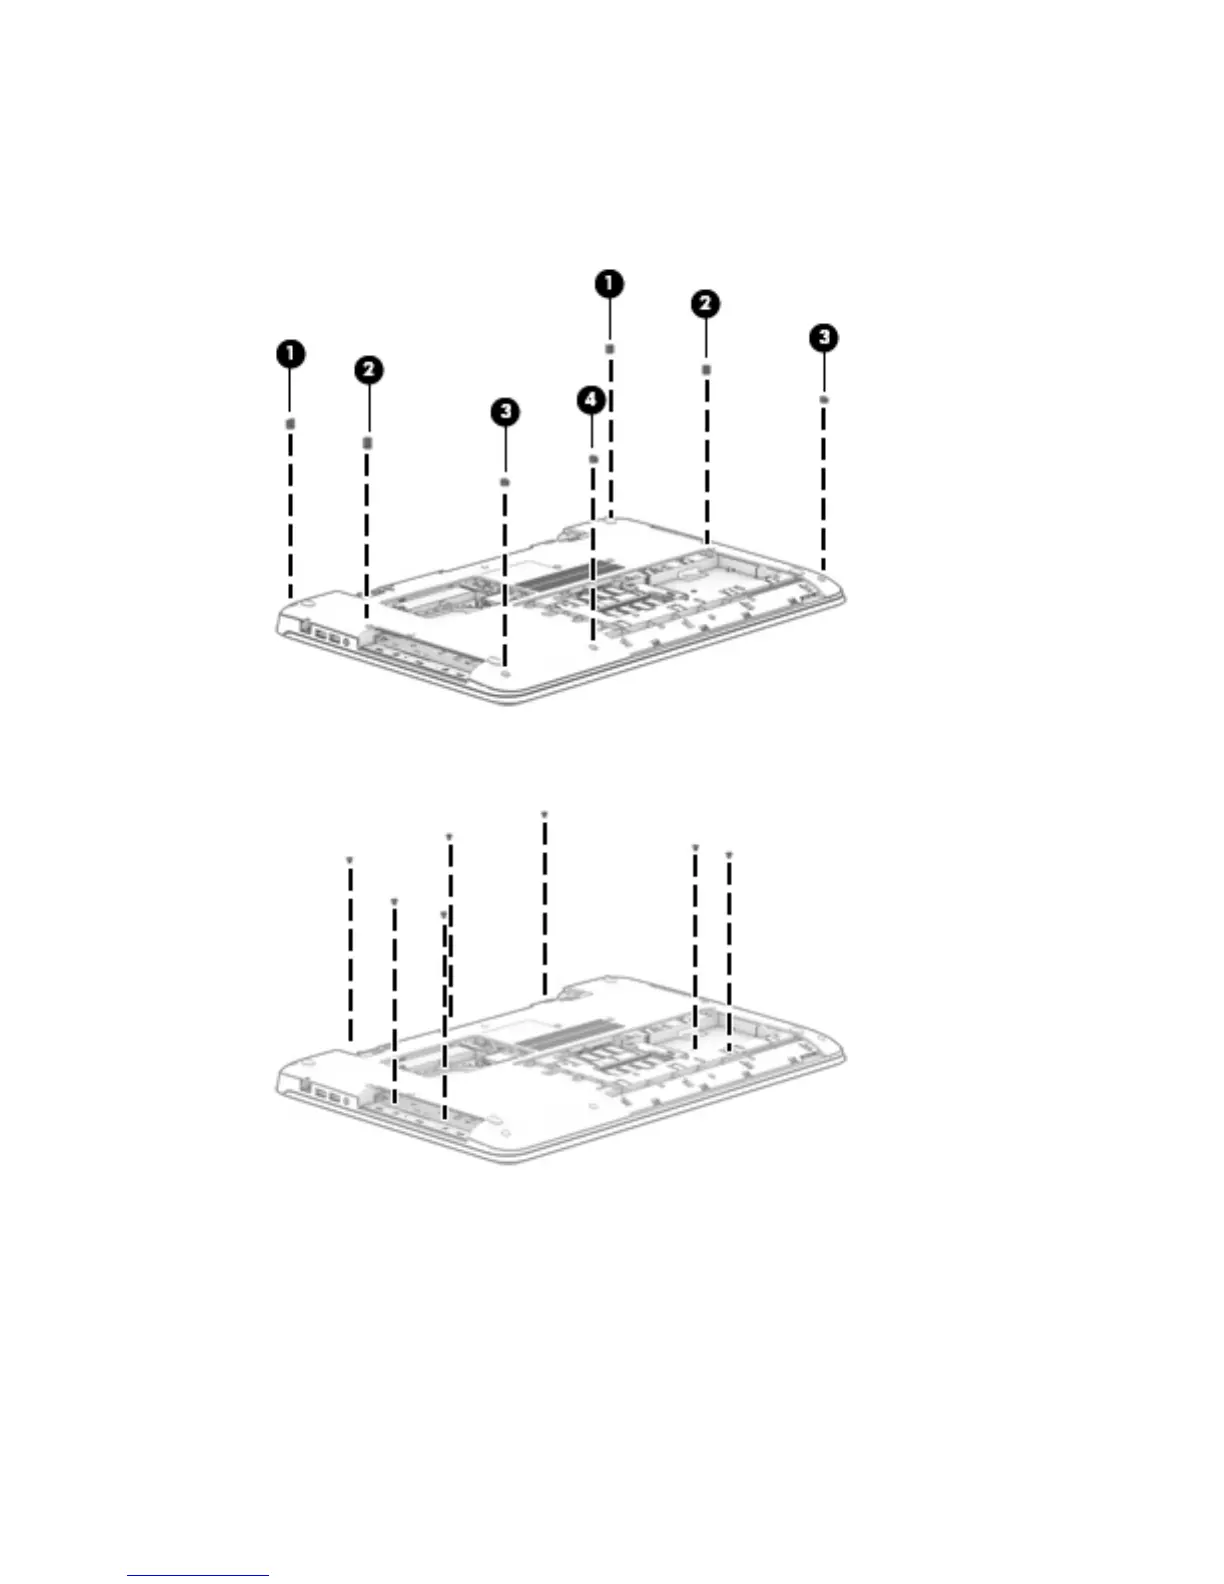
3. Remove the 7 Phillips PM2.0×3.0 screws that secure the top cover to the computer.
Component replacement procedures 49

 Loading...